
When the Jewish New Year would roll around, my mother would always pull out this wonderful honey cake! Traditionally, apples and honey are served for Rosh Hashanna, and this was a dessert keeping with that theme.
Now, the cake was usually a highlight of Rosh Hashanna dinner. She’d make it and we’d all get together at my grandmother’s house (and later on, at my aunt’s house) for dinner. At the end, we’d all be looking forward to her amazing dessert.

There once was a now legendary mistake that she made preparing this cake. In her haste to prepare it in time for dinner, she quickly grabbed a container of what looked to be sugar … but was in fact salt. She cooked the entire cake, but was concerned when it did not rise. It seemed to be a very dense, flat cake. She decided to taste it, to see if it was okay. It REALLY was not!
I don’t remember if we did end up getting a cake that year … anyway, let me show you her recipe. My mom passed away in 2009 and I have kept up this annual tradition, even after moving to Montreal. There is no better way to feel that connection again with a lost loved one that to have that wonderful food they always prepared. Now, let me share it with you.
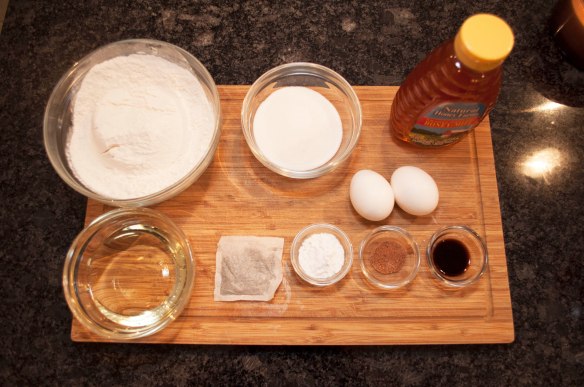
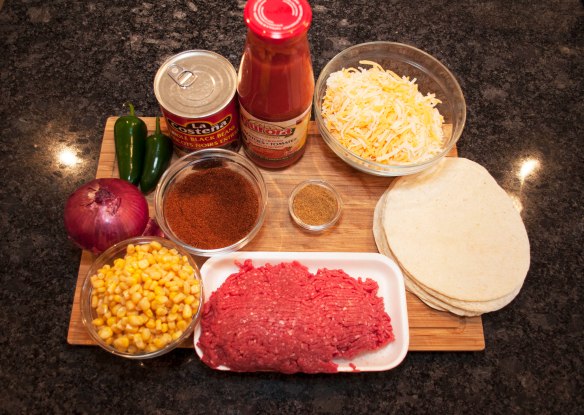
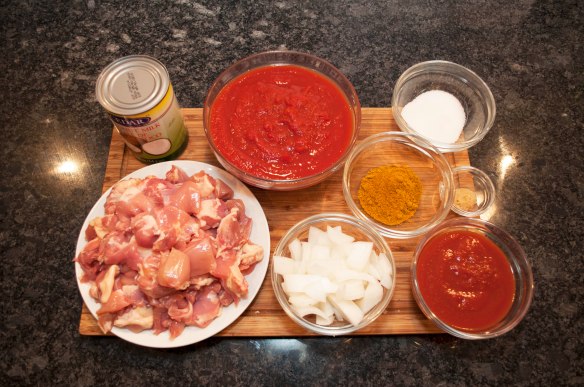
Here’s what you’ll need:
- 2 eggs
- 1 cup of sugar
- 1/2 cup vegetable oil
- 1/2 tsp nutmeg
- 1 cup liquid honey
- 1 cup of strong black tea (cooled)
- 2 cups flour
- 2 tsp baking powder
- 1 flat tsp baking soda
- 1 tsp vanilla


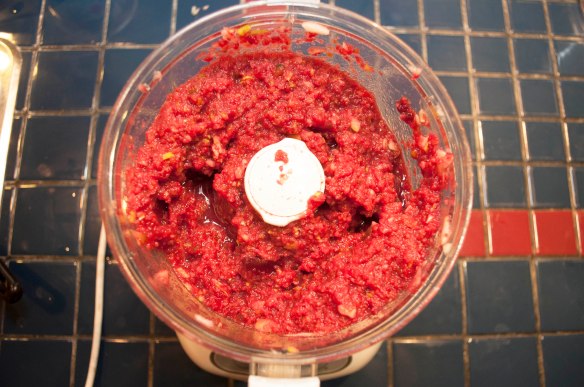
Add the flour to a large mixing bowl


Add the sugar (once again, make sure it’s not salt!)

Eggs! (Mugging for the camera not necessary, but I don’t own you … do as you wish)
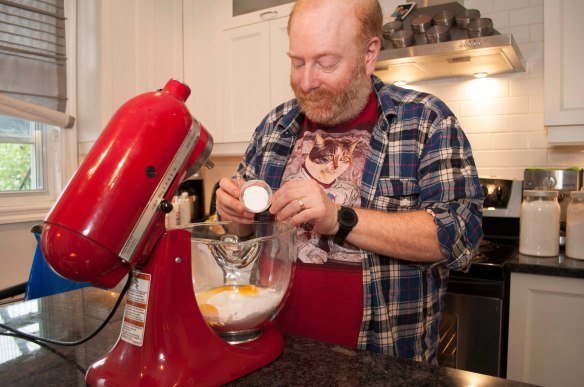
Baking powder and baking soda …
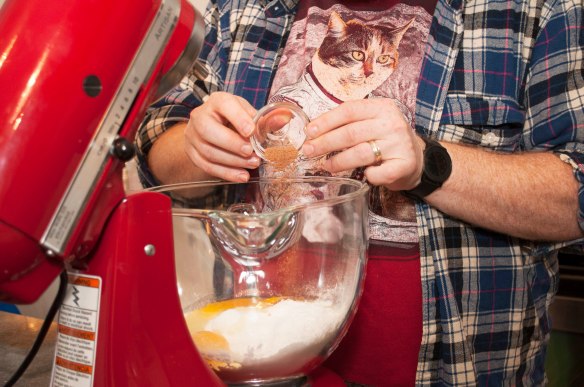
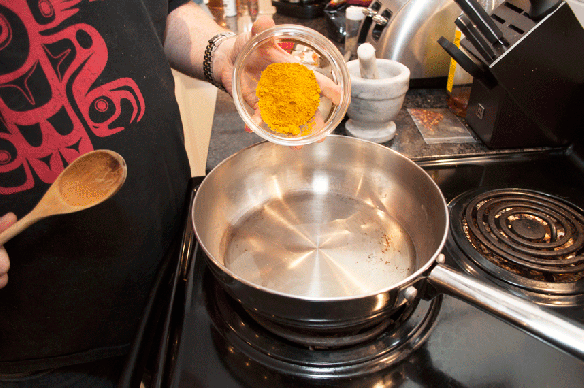
some nutmeg …
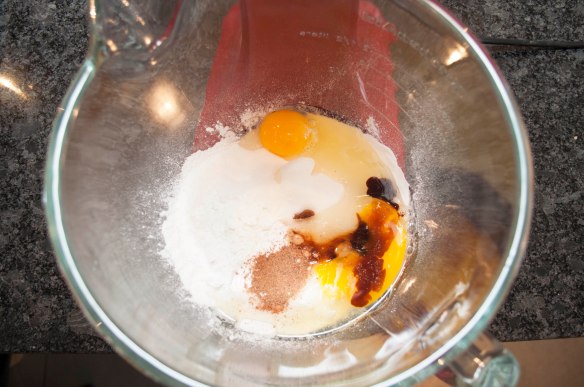
once you add the vanilla, you should have something like this.
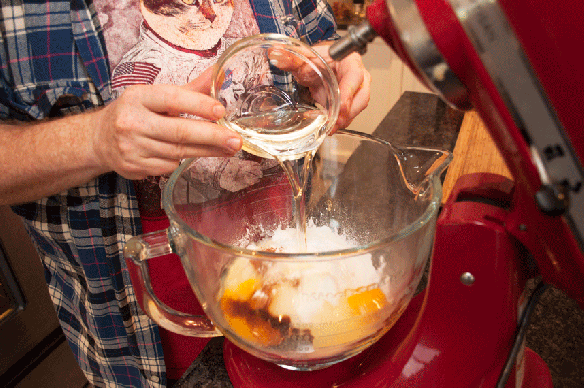
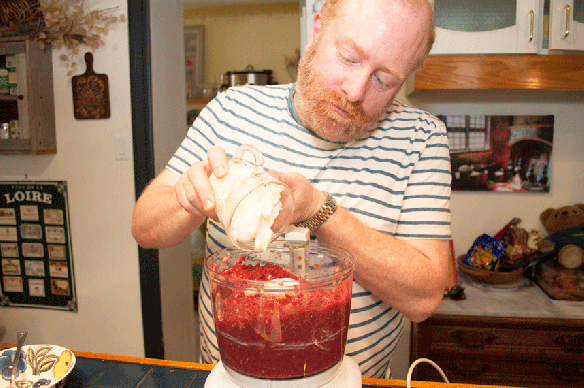
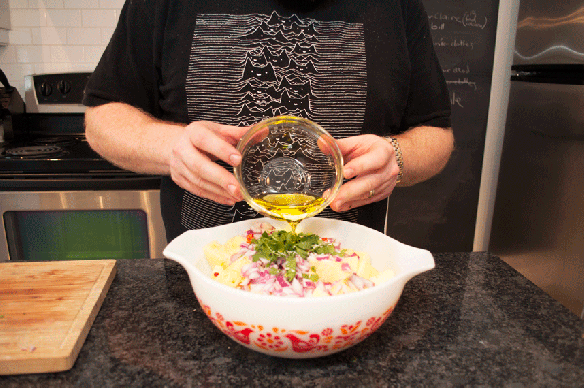
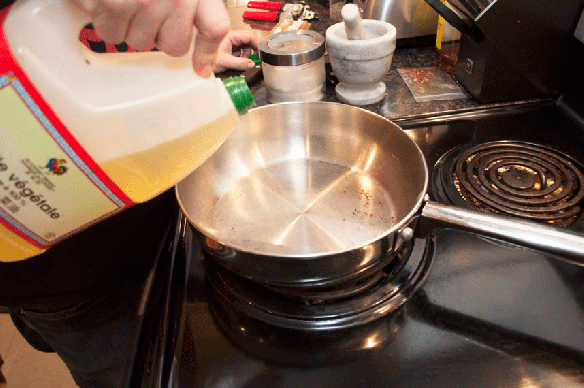
Pour in the oil.
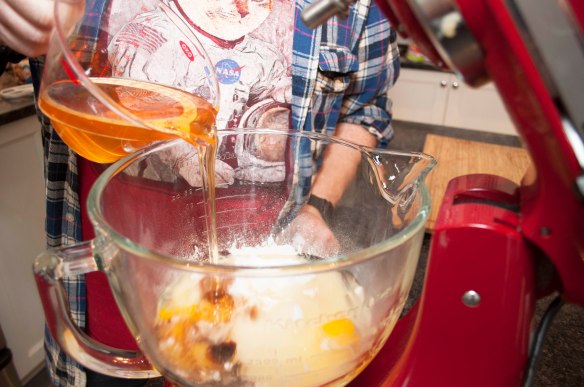
oh, and of course, don’t forget the honey!

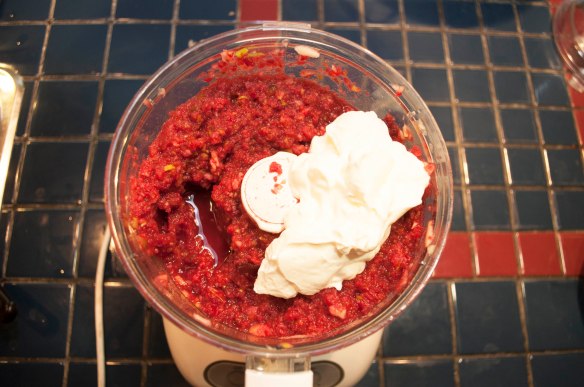
a cup of strong black tea … make sure it’s cooled down or you’ll cook the eggs!
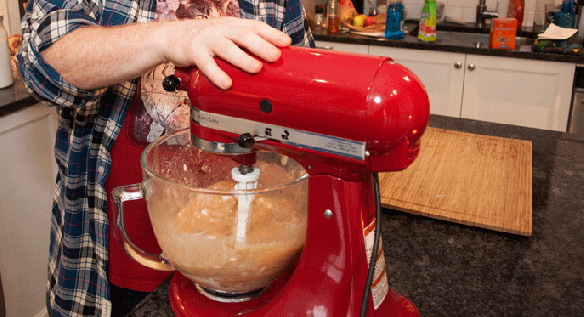
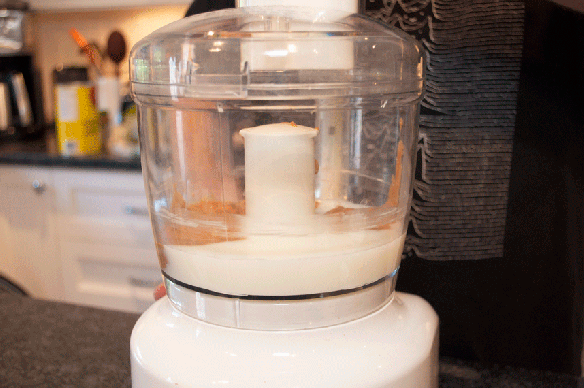
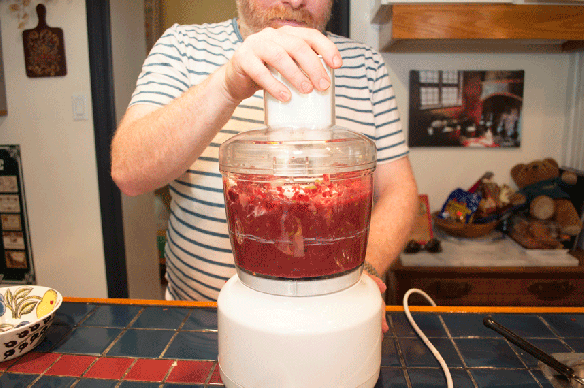
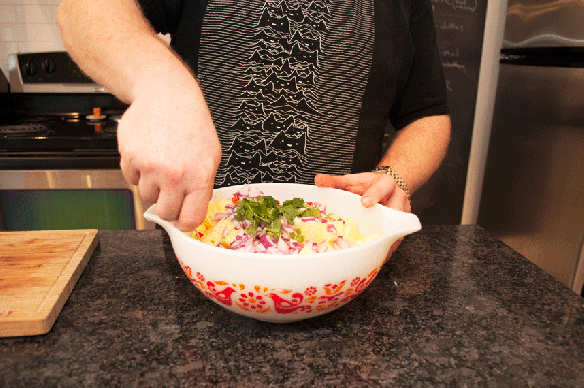
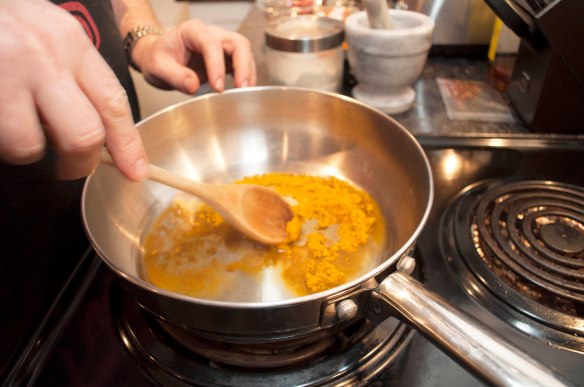
Now mix! Apparently, rubbing the top of the mixer also helps!


Mix until smooth.

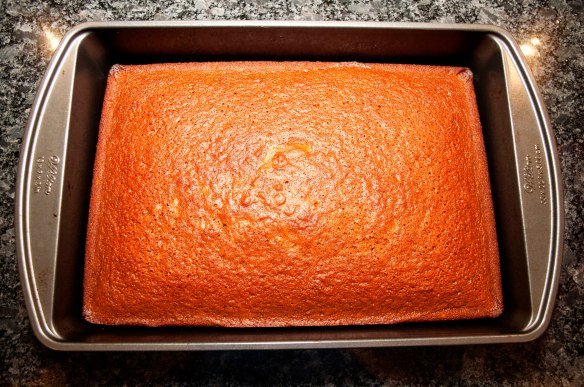
Pour into a well greased 9×11 cake pan. You can also make 2 small loaves instead if you want to serve it that way!

Ready to bake.


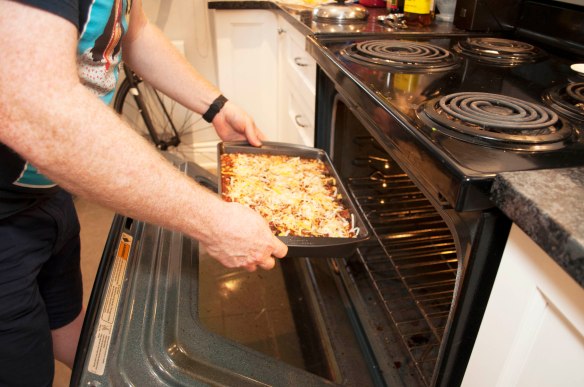
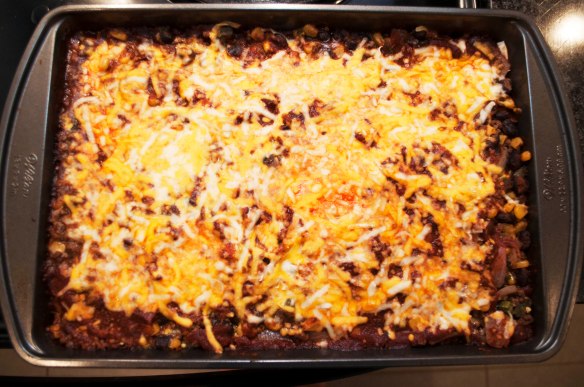
Bake in 350F oven for approximately 45 minutes – until a toothpick pressed into the middle of the cake comes out clean.
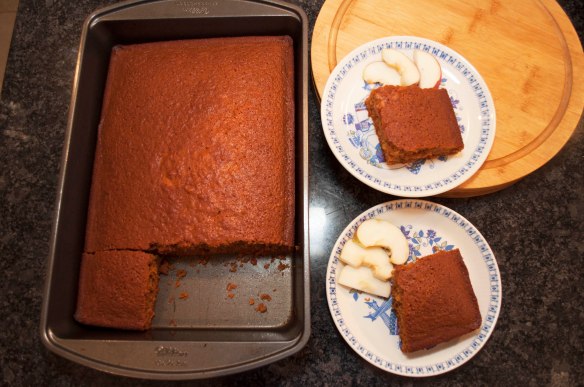
Let the cake cool … I know, I know, it smells so good!
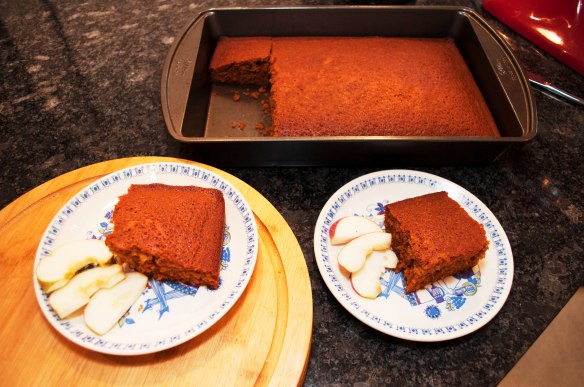
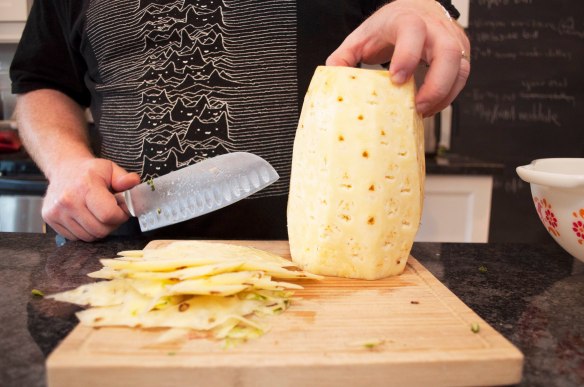
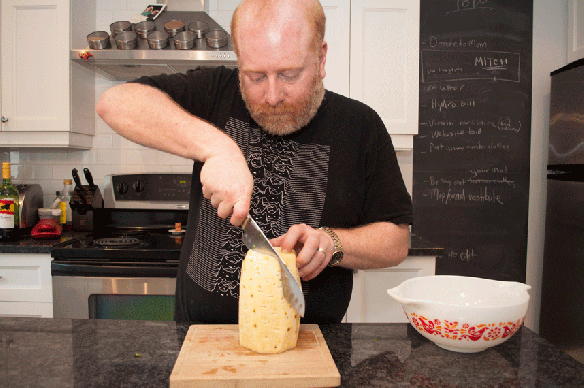
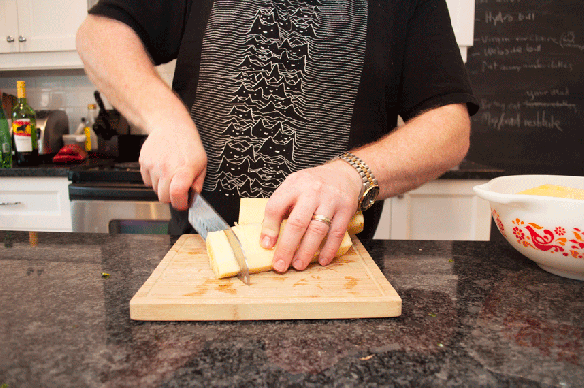
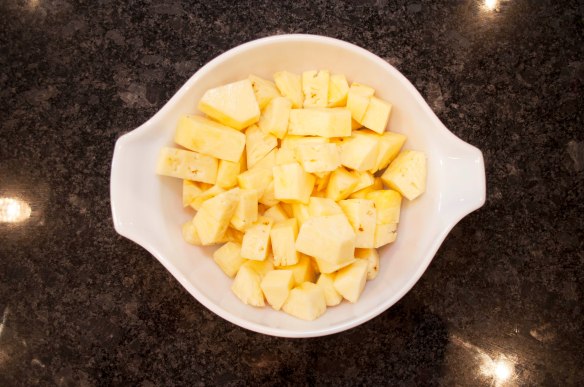
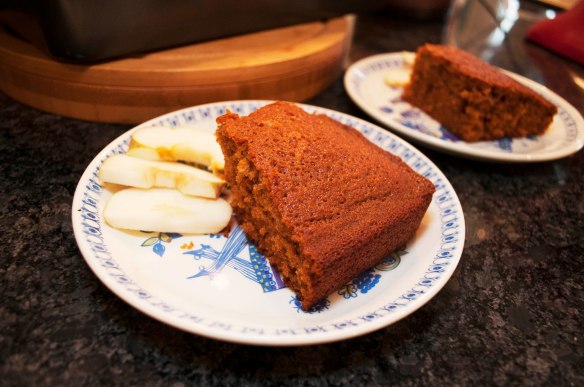
Serve with some apple slices.
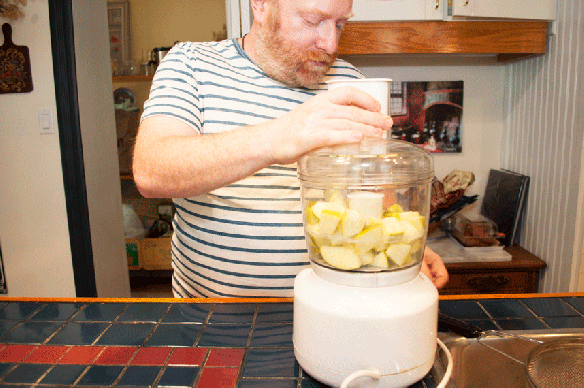
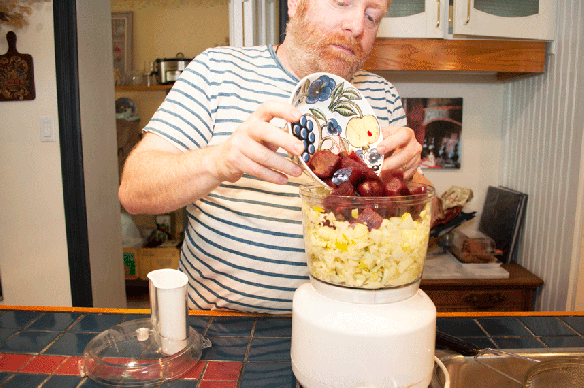
Optionally you can add apple bits into the cake recipe! Or if you want, raisins or walnuts also work … if you are so inclined.
So there you have it, my Mom’s Rosh Hashanna Honey Cake!
Shana Tova and Bon Apetit!