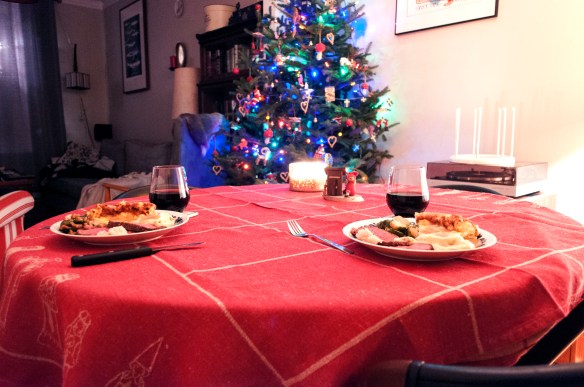
Our home is a mix of Swedish and Jewish, so December means both Christmas and Chanukah (we win!)
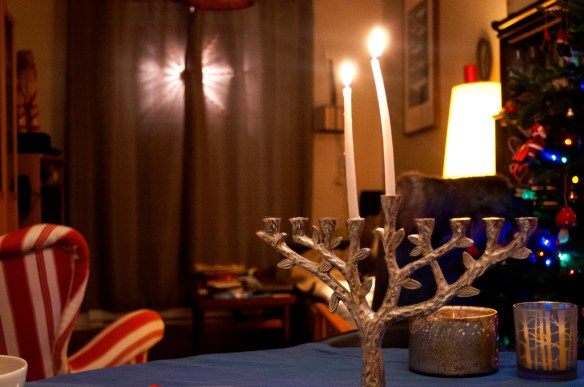
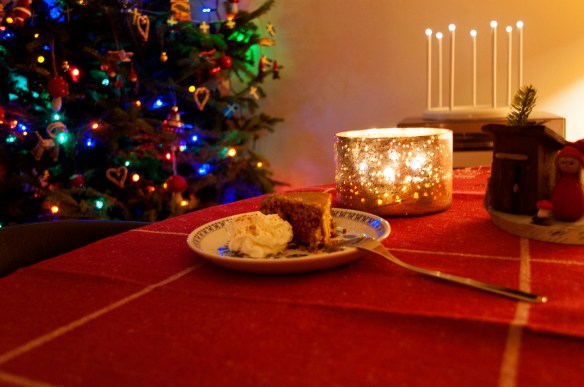
Growing up, we never made a big deal of Chanukah. I might get a couple of presents (little ones, the kind of stuff you’d find in a Christmas stocking), some terrible chocolate coins (Chanukah Gelt) and we’d light some candles, but the main thing I remember was this was the latke holiday! (note, the candles above are not placed properly but arranged for the photo … don’t kill me!)
For any readers who don’t know what a latke is, it’s a potato pancake. Made of potatoes and onions and pan fried, these are delicious!
No Jewish meal would be complete without Chicken Soup and this is my family recipe …
To make it extra special, I’ll be showing you how to make your own matzo balls too!
So, you’re getting a gift of THREE recipes for Chanukah!
Recipe 1 – Chicken Soup
This simple yet fantastic recipe was passed down from my Mother, and slightly altered by me. Like any good recipe, it should be a living thing, ready for a tweak here and there!
Okay, let’s get this soup going …

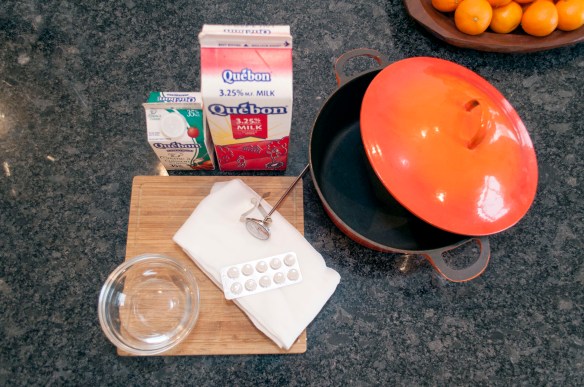
Here’s what you’ll need:
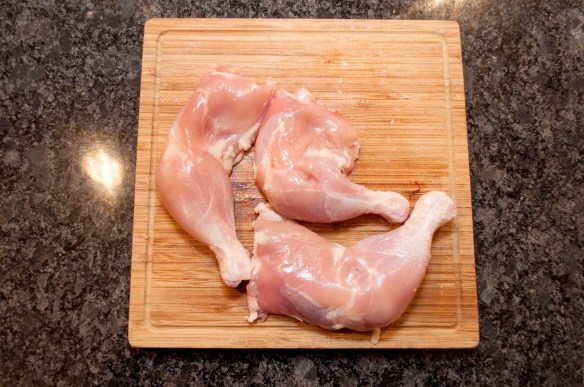
- 3 chicken legs w/ back attached
- one medium yellow onion
- 3-4 carrots
- 1 bunch of celery
- 900g (1 carton) of chicken stock
Hey, that’s a pretty simple list!
Simple is often the best, especially when talking comfort foods like chicken soup!
Chop the celery into pieces that can fit easily on a spoon.
Peel and chop the carrots (same idea, spoon size pieces).
Slice the onion. Cut the rings in half.
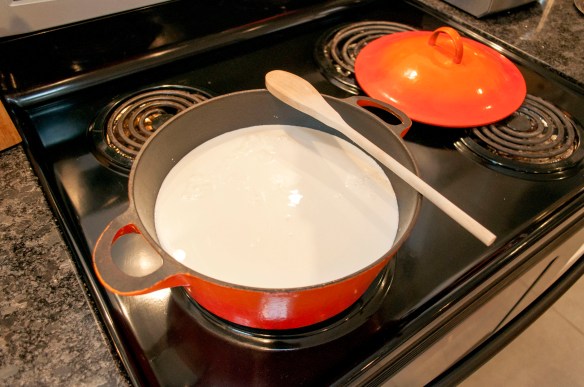
Put all the veggies aside and get out a large soup pot.
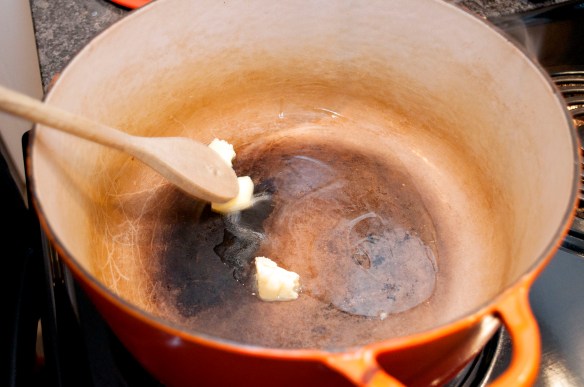
At low to medium heat, melt some butter in the bottom of the pot.
Add the veggies!
Add salt, pepper and garlic to taste and mix it together.
Put the lid on and let the veggies cook while you do the next step.

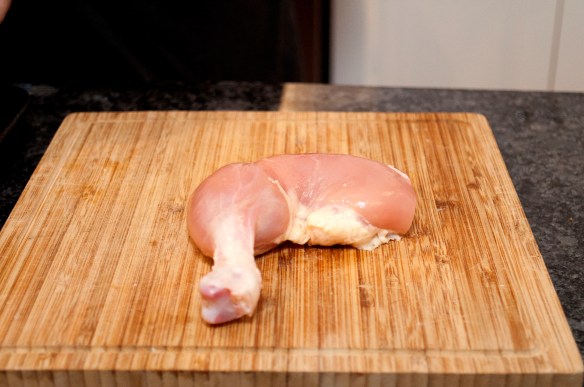
Time to prepare the chicken!
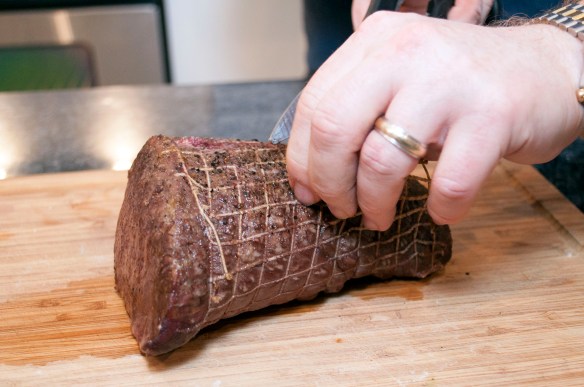
Like a scene from a horror movie, you want to remove the skin from the chicken. Get your thumb under the skin at the top of the leg and pull down with the other hand. It should come off quite easily.
Trim off any excess fat. In most recipes, you keep the fat as it adds flavour. In a soup, it just makes things greasy. Your flavour mostly comes from the bones!
You’ll want to do this for all the chicken.
Good job!
Add the chicken to the pot. Place the pieces on top of the veggies.

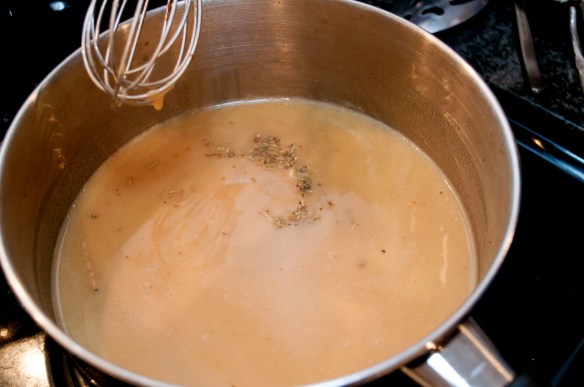
Pour in the chicken stock. This is a base stock to get the soup going.

Now you’re going to want to fill the pot with water. I find for my pot it takes about 6 cups of water to fill. Get it to within about an inch or two of the rim.
Bring this to a boil, then reduce to a simmer.
Put the lid on and move on the the next step …
Recipe 2 – Matzo Balls
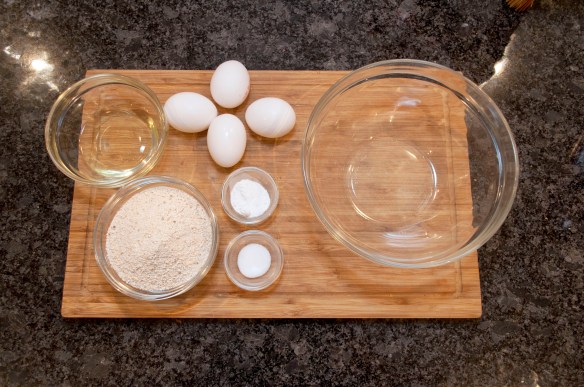
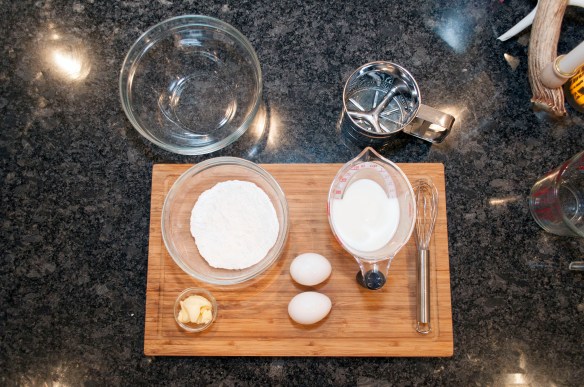
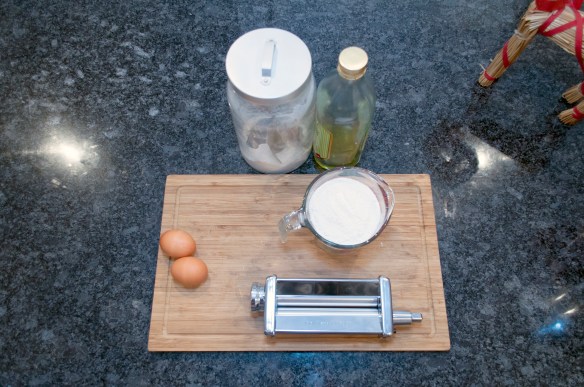
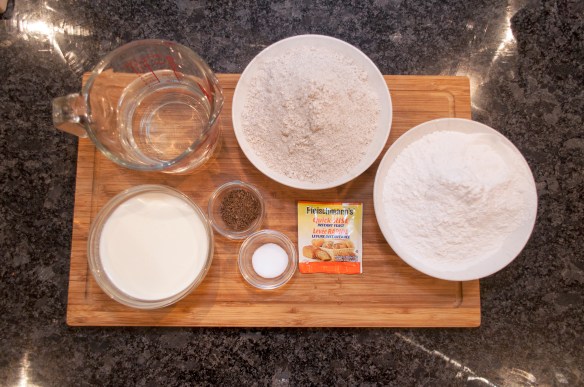
For this you’ll need:
- 1 cup of matzo meal (similar to bread crumbs, can be found in the grocery where the kosher/Jewish foods are kept)
- 4 large eggs
- 4 tbsp of vegetable oil
- 2 tsp baking powder
- 1 tsp salt
(these are light, fluffy matzo balls. For firm ones, replace the baking powder with 4 tbsp of water)
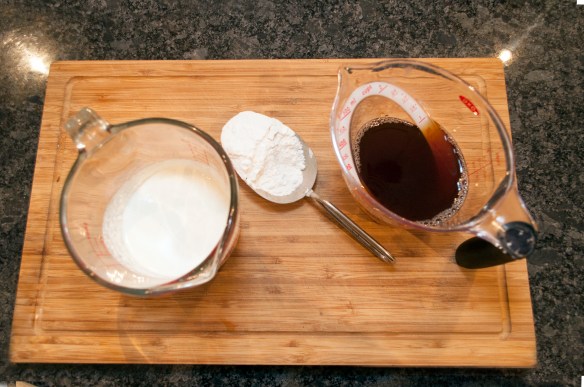
 Add the eggs and the oil.
Lightly mix with a fork.

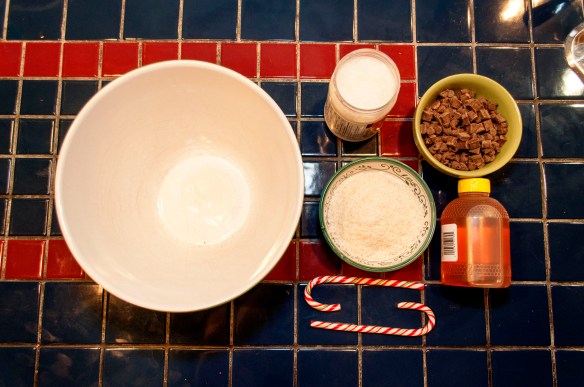
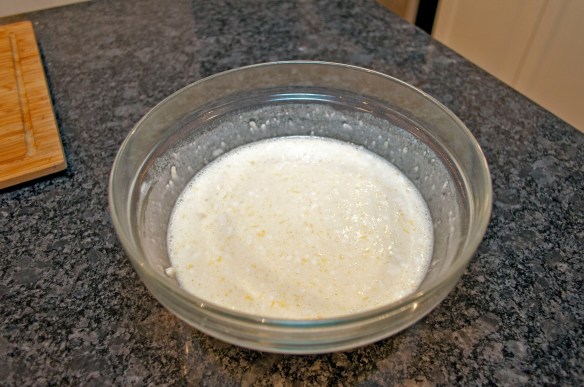
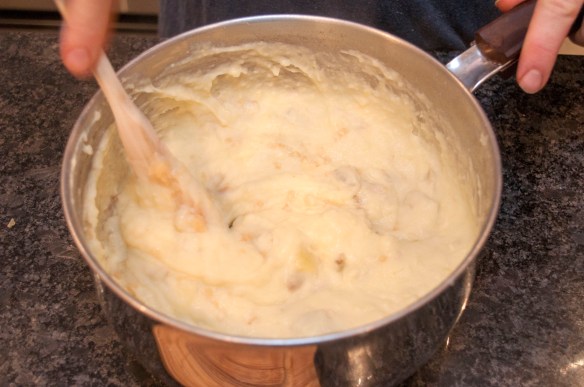
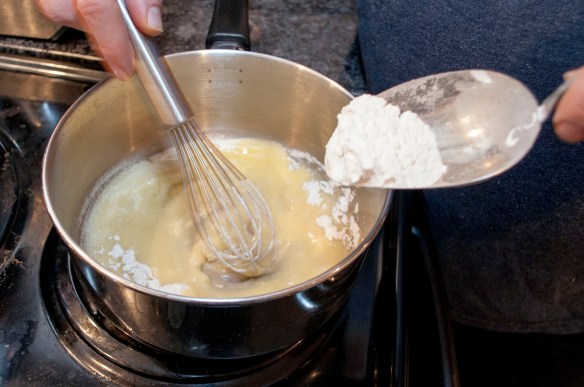
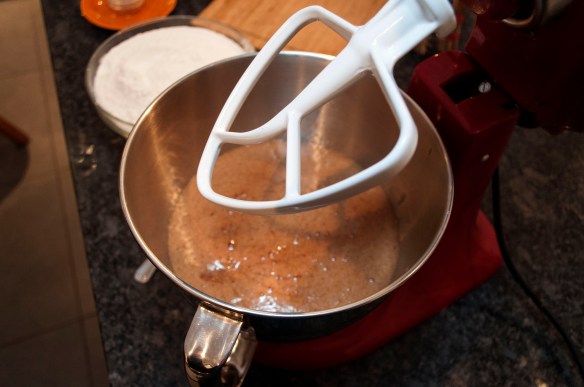
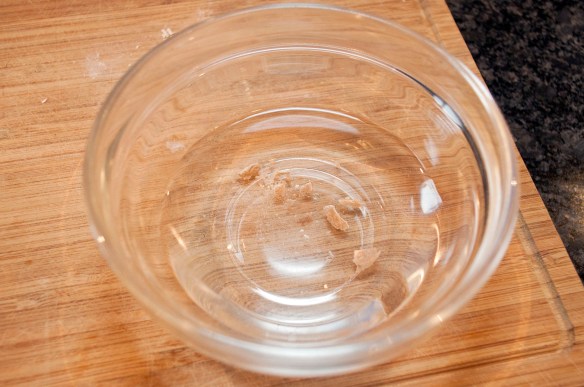
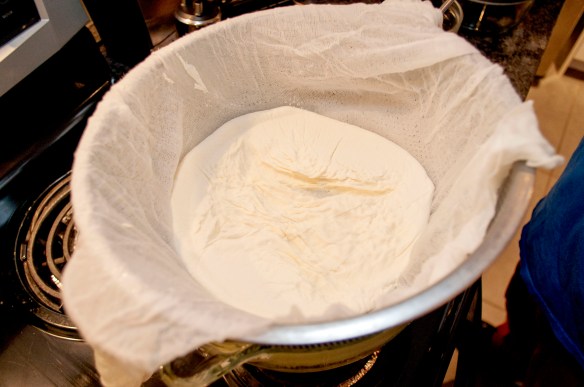
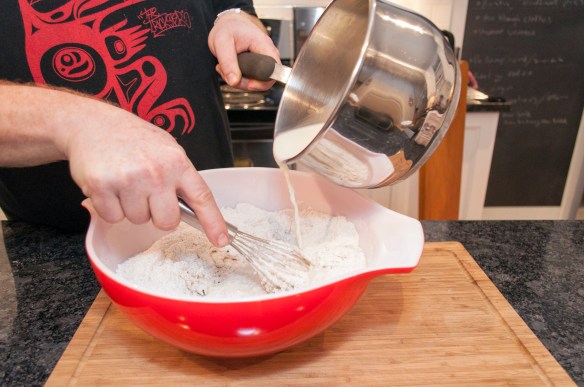
Add the dry ingredients to a large mixing bowl.
Pour the eggs and oil into the mixing bowl and stir.

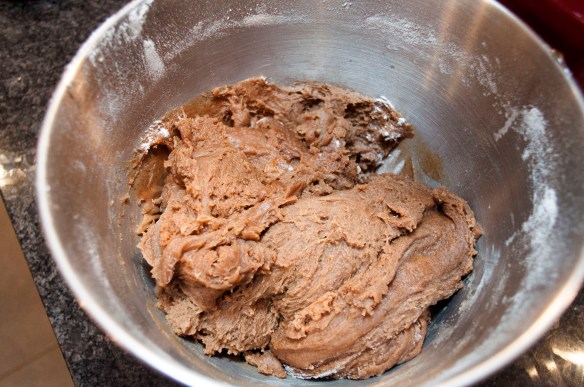
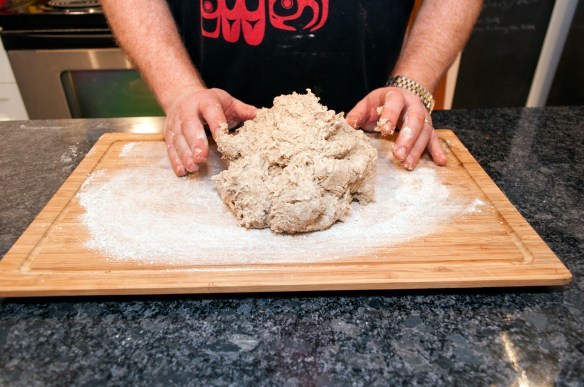
Don’t over mix. You want this a bit lumpy.
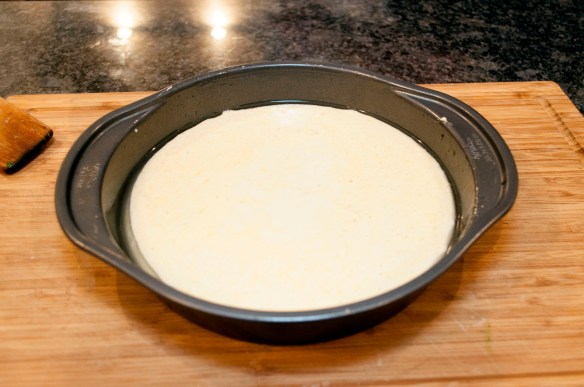
Now you are going to some plastic wrap over this and let it sit in the fridge for about an hour, to get solid.
Okay, internet magic, an hour has passed!

Get about a teaspoon of mixture and roll it into a ball. It should be pretty easy to do!
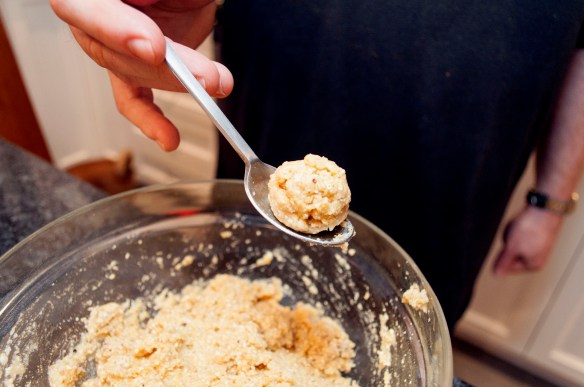
This may look small, but once you cook it, it’s gonna expand greatly! You don’t want to make them any bigger than this, trust me!

You can drop these right into the boiling soup.
Now, I suggest that before you add the matzo balls, take a spoon and taste your soup. This is the time to add any further salt or pepper … make it taste good!

See how those matzo balls are already expanding?
Once you have put in all the matzo balls, put on the lid, let it cook for another 40 minutes.
We’ll come back to check on the matzo balls in a bit … now let’s make those latkes!
Recipe 3 – Potato Latkes!
The single most important part of any Chanukah meal is potato latkes. The oil is supposed to represent the oil in lamps that miraculously stayed lit for 8 days … but honestly, all I ever cared about is they just taste amazing!
Here’s my very simple recipe.
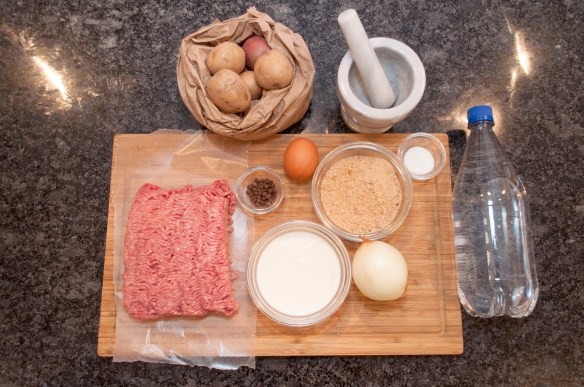
You’ll need:
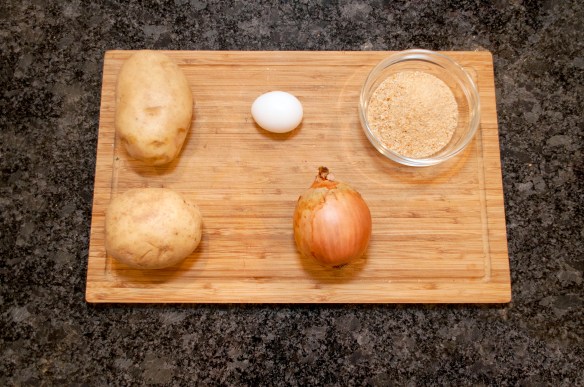
- 1-2 white potatoes (depending on size)
- one large yellow onion
- one large egg
- appox. 1 cup of bread crumbs (or matzo meal)
This recipe will make about 6 latkes, which I’d say is good for 2 people.
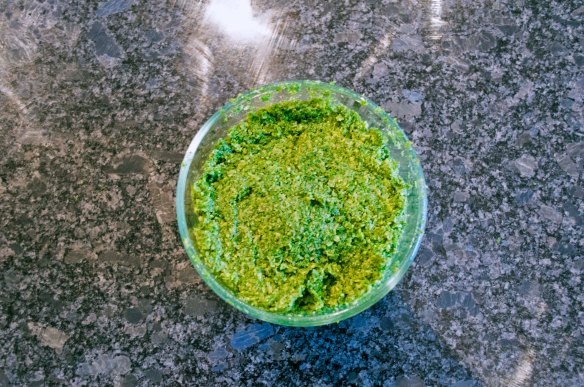
Slice and grate your potato.
Grate the onion.
Add together in a bowl with some pepper, salt and garlic (to taste)
Mix well.
Add the breadcrumbs …
Mix well again!

Add that egg … and you probably can guess what I’m gonna say next
MIX WELL!
The reason I gave an approximate measure for the bread crumbs, is this is where you can play around a bit. Add more breadcrumbs if you think the mixture is too watery. (If it’s too thick, and not like a batter, you can add a tiny bit of water)

Your final mix should be like a very thick batter. The potato will still be very much visible, don’t worry. You want this!

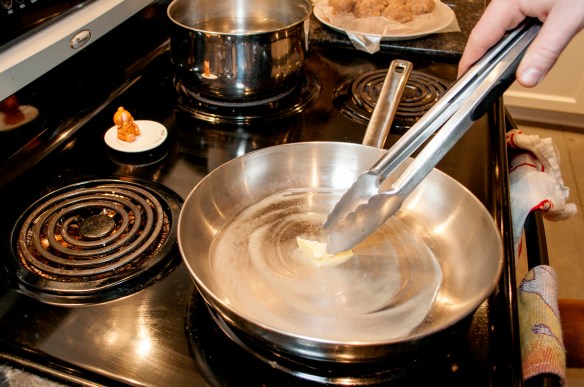
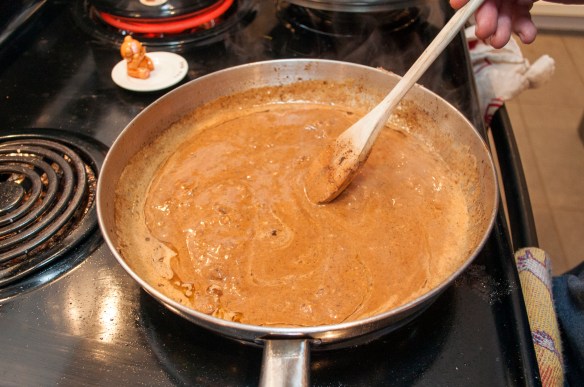
Pour oil in a large pan or skillet.
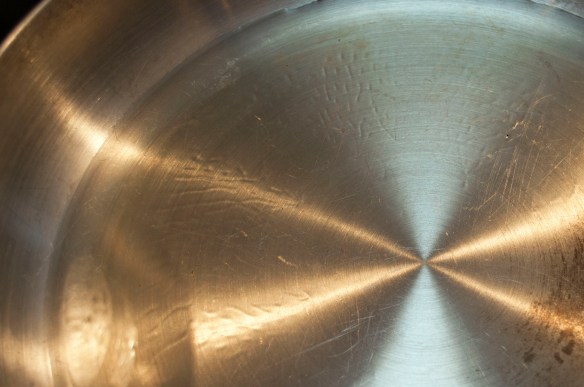
Let the oil get hot over a medium to high heat. The slight ripples you see in the oil mean it’s hot enough.
Place a heaping tablespoon worth of the mixture into the hot pan and flatten into a pancake shape

Let them cook in the oil until the edges start to get a dark brown.

Flip them over to let the other side cook!
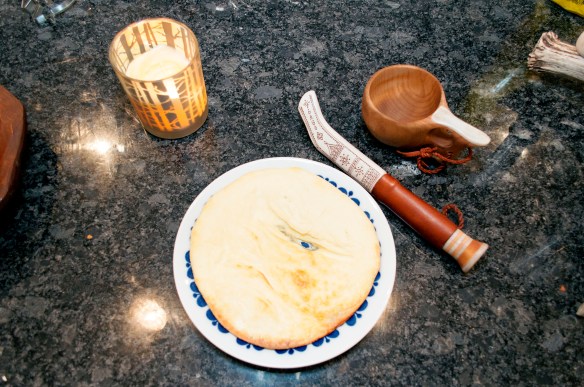
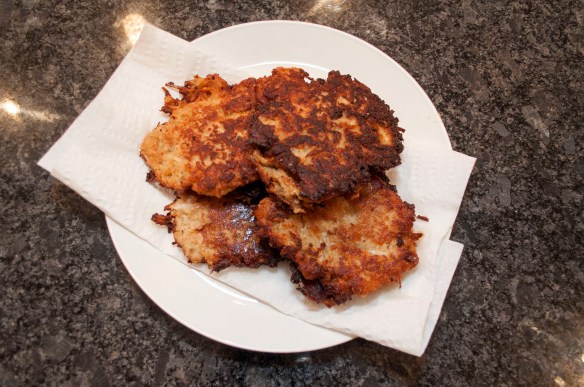
Place the cooked latkes on a plate. I usually place them on paper towel, just to make it a little less oily.
But wait … how are those matzo balls doing?

Holy cow! I told you they would expand!

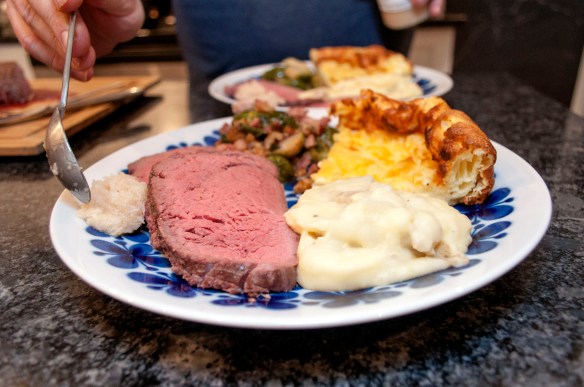
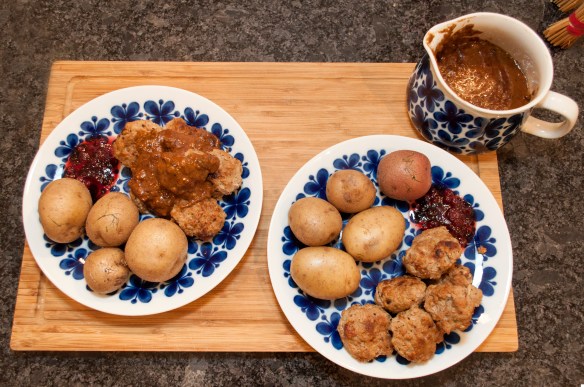
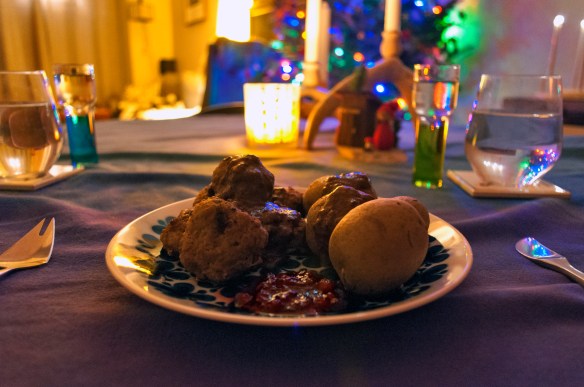
Put the soup in bowls with about 3 to 4 matzo balls in each. Put latkes the plate. Now, the great debate in our house begins …
Some people (Claire) like to put apple sauce on potato latkes. These people are wrong. It’s topped with sour cream.

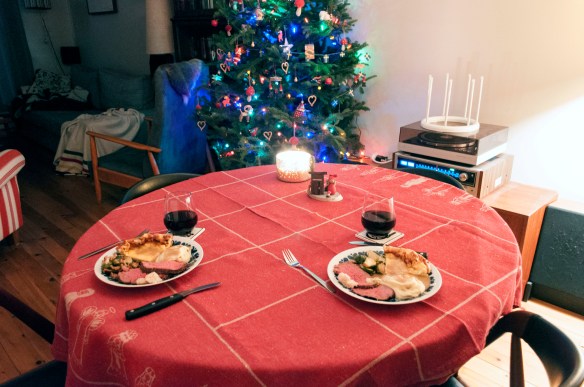
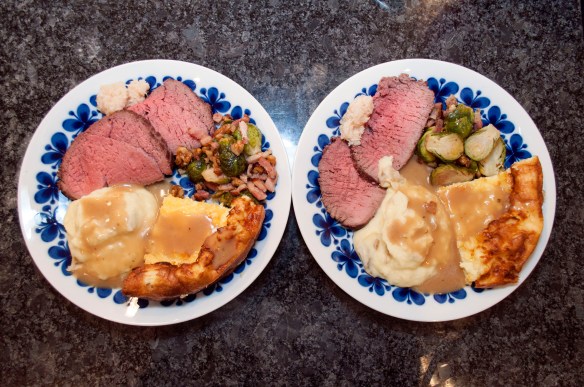
There you have it, a lovely traditional Chanukah dinner from my family to yours.
Light some candles, spin a dreidel!
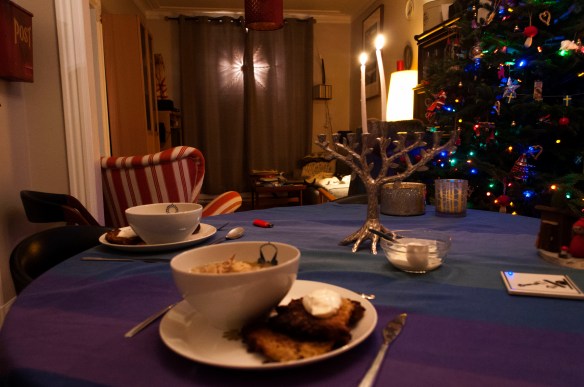
Bon apetit!