This recipe was the special dish that Claire’s grandmother Marianne would make when it was a big occasion. Made with lobster, shrimp and haddock, it really is a treat!
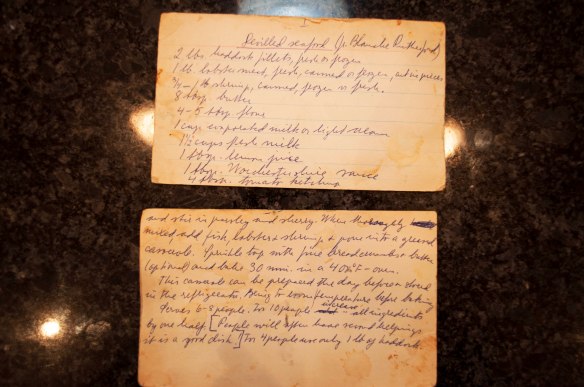
Here you can see the actual recipe cards handed down from Marianne to Claire, probably written down sometime in the 1940s.
She called this “Deviled” Seafood. Not many recipes have names like this anymore. Deviled actually was used to describe any recipe that had spice or was intense flavours.
Now, you may have noticed lately that the recipes I’ve been showing you have had pretty simple ingredients. If you’ve been unhappy with this, wanting something that is a bit more of a challenge … well, here you go!
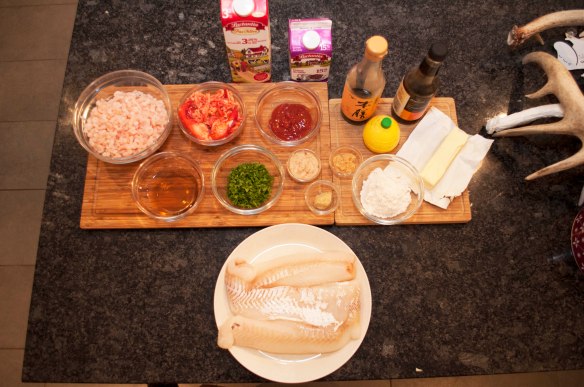
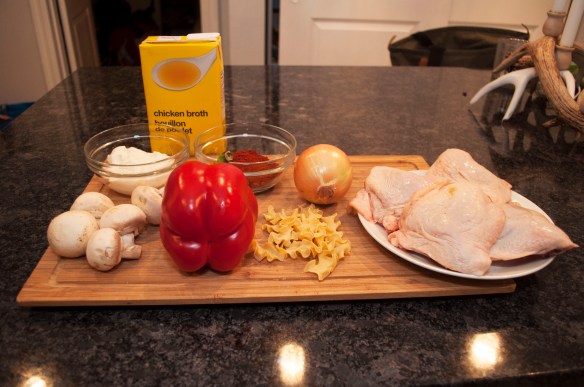
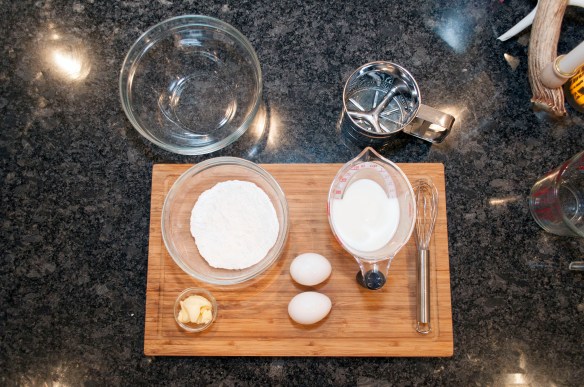
Here is the BIG list of what you’ll need to make this dish:
- 2 lb of haddock or cod fillets
- 1 lb of cooked shrimp (small ones)
- 1 lb of lobster meat
- 8 tbsp butter
- 4-5 tbsp flour
- 1 can evaporated milk or light cream (15%)
- 1 1/2 cups whole milk
- 4 tbsp chopped parsley
- 4 tbsp ketchup
- 1/4 cup sherry
- 1 tbsp lemon juice
- 1 tbsp Worcestershire sauce
- 1 tbsp horseradish
- 1 clove garlic (minced)
- 1 tsp mustard
- 1 tsp soy sauce
- 1/2 tsp salt (to taste)
- breadcrumbs
Think of it like a scavenger hunt!
Let’s get started …

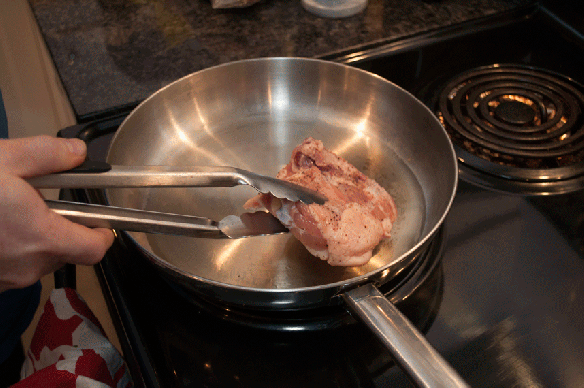
Grease the inside of a double boiler (I used butter)


Cut the haddock into smaller pieces to fit inside double boiler. This will allow them to cook faster.
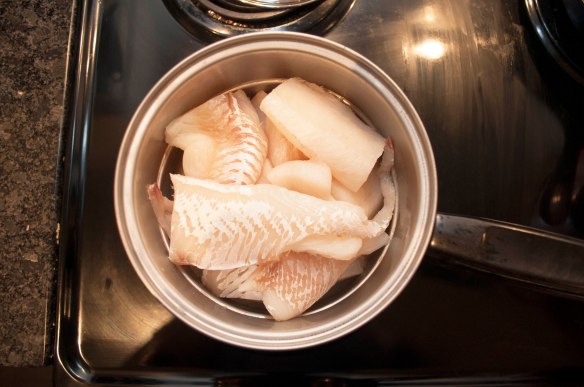
Place haddock in double boiler and get it cooking.

After about 20 min the fish should be cooked. Set it aside.
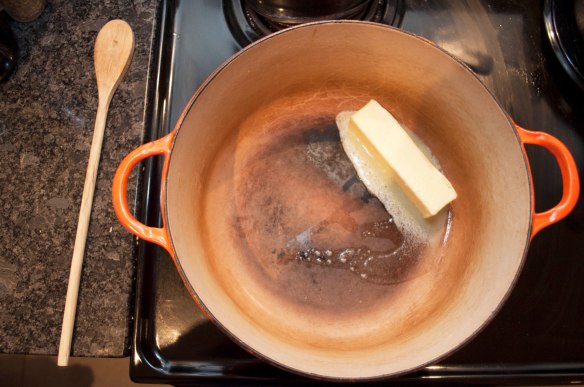
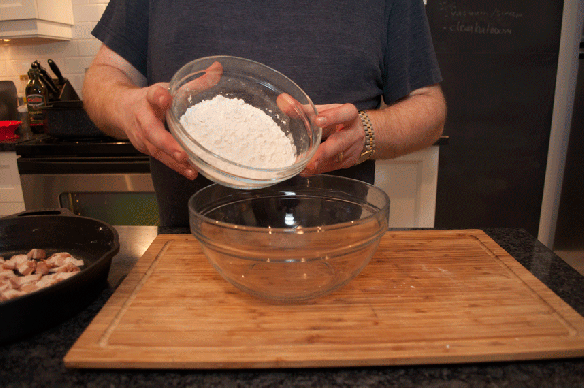
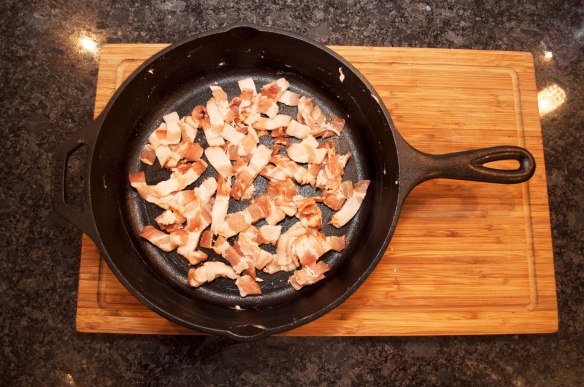
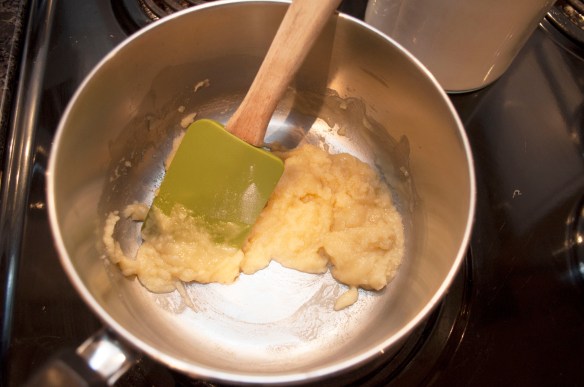
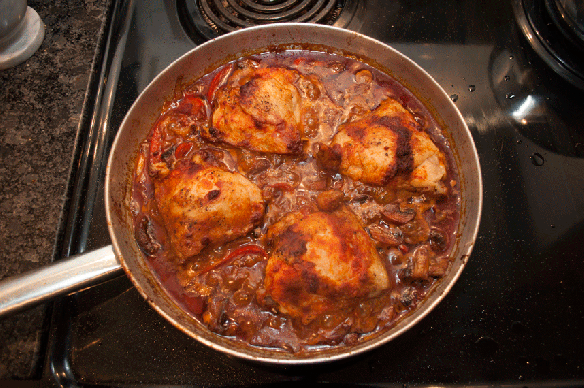
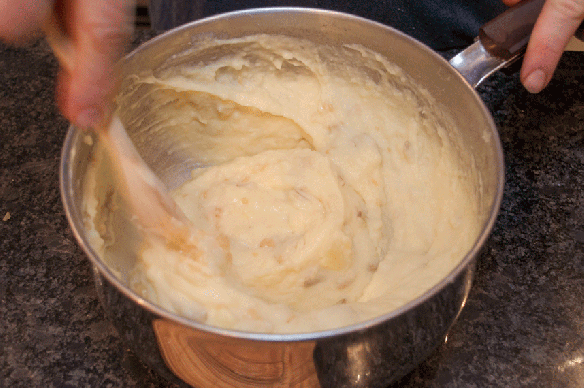
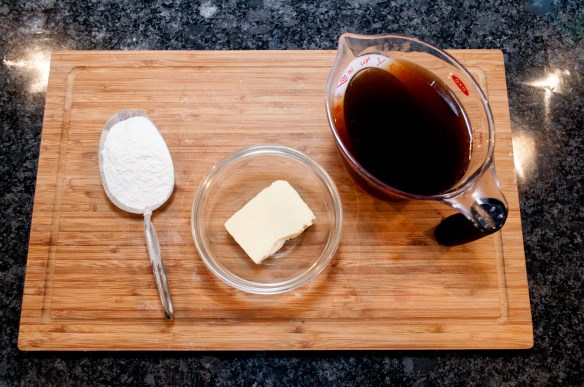
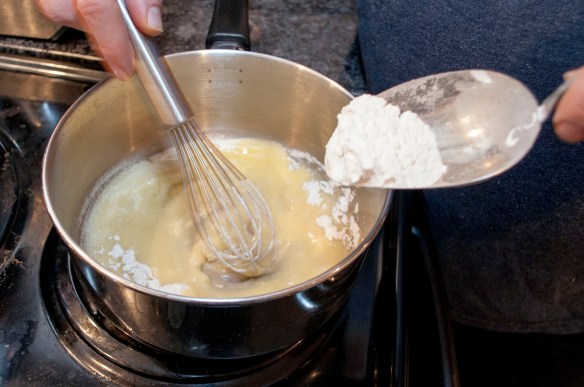
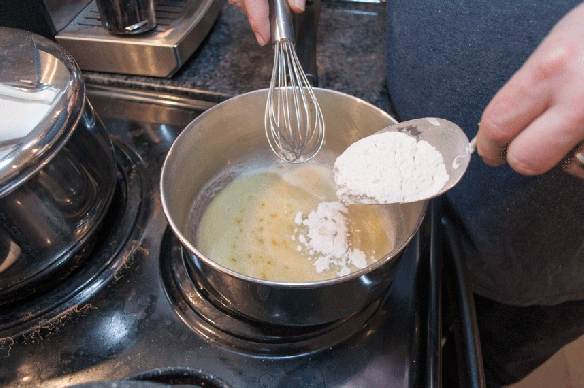
Melt the butter in a large pot on medium-low heat
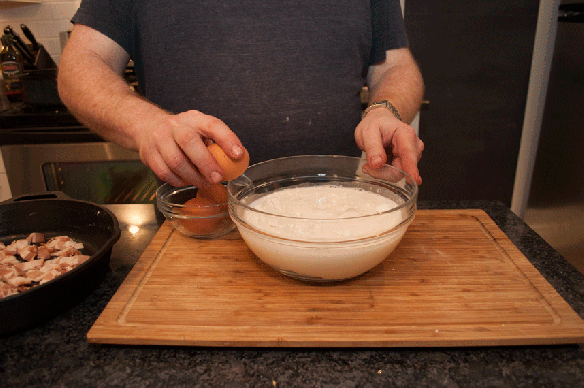
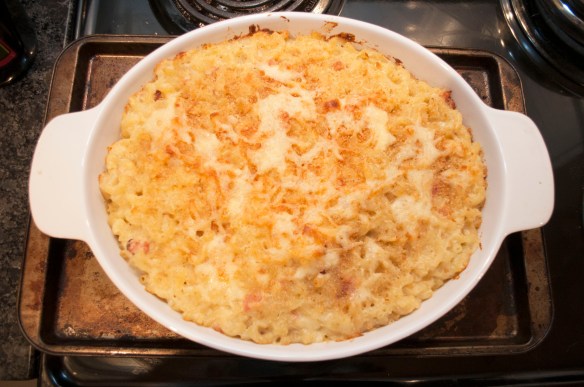
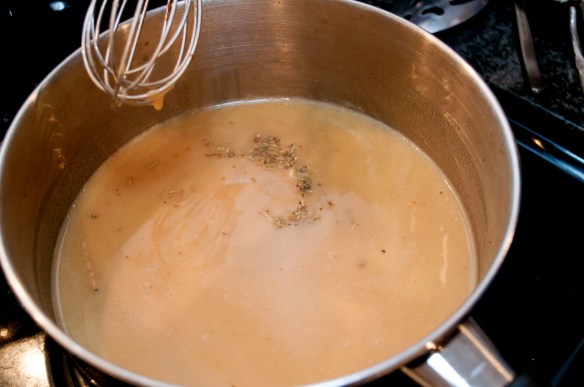
Now, we’re going to make a béchamel sauce like we did for our Hearty Bacon MacN’ Cheese
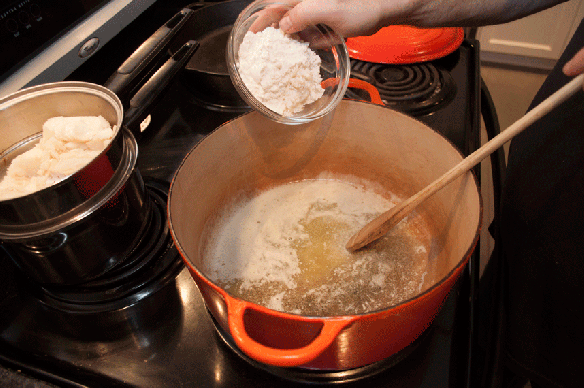
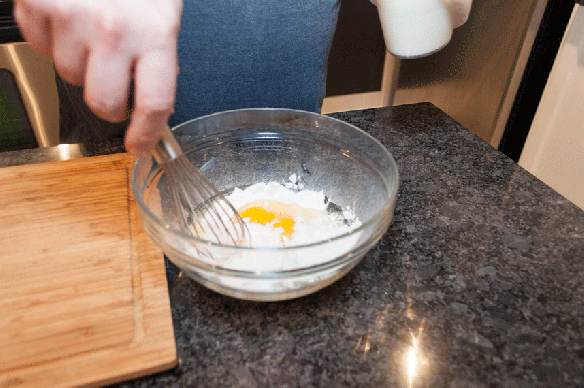
Slowly add some flour to the butter and stir. Repeat this until all your flour has been mixed in.

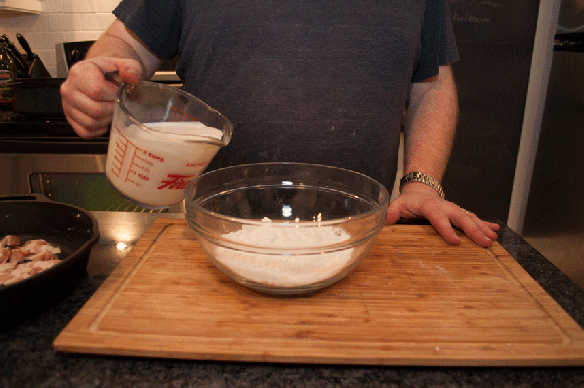
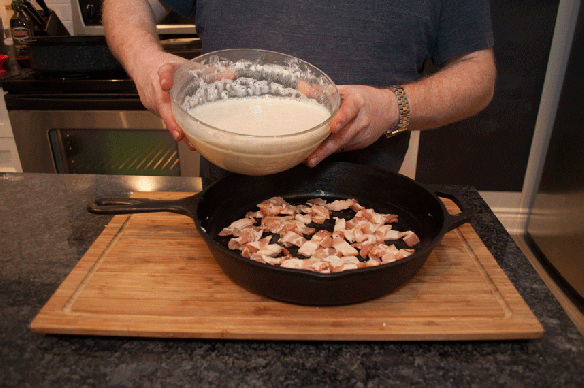
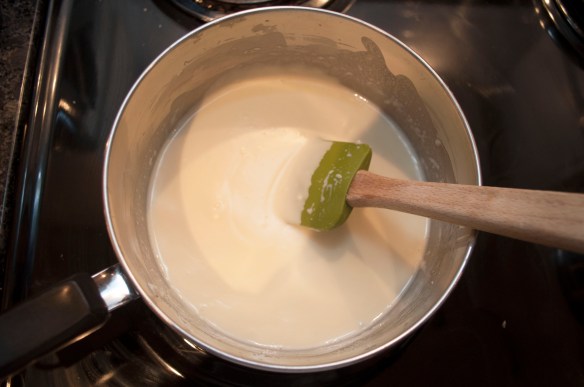
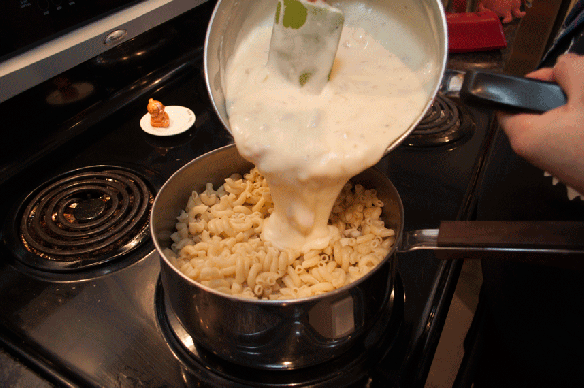
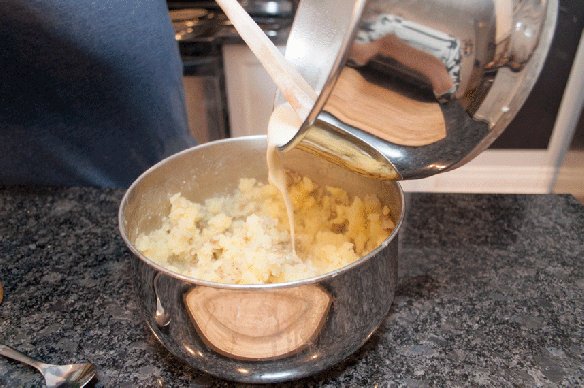
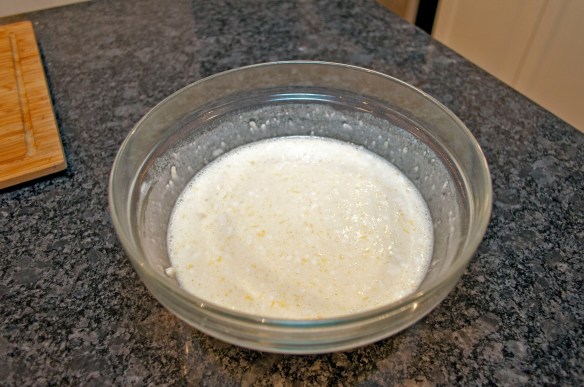
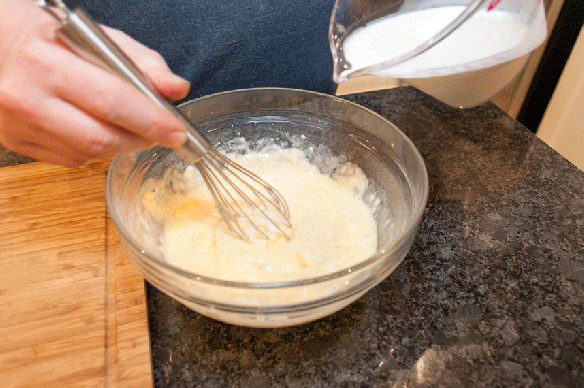
Combine the cream and milk and warm it. Slowly pour into the pot.


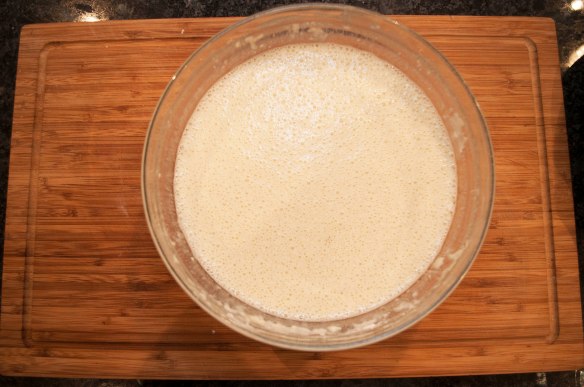
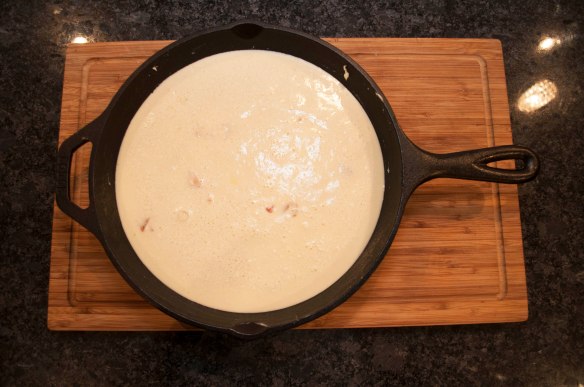
Stir and add some more milk/cream. Keep going until you have added all the milk and cream and have a nice, smooth sauce.
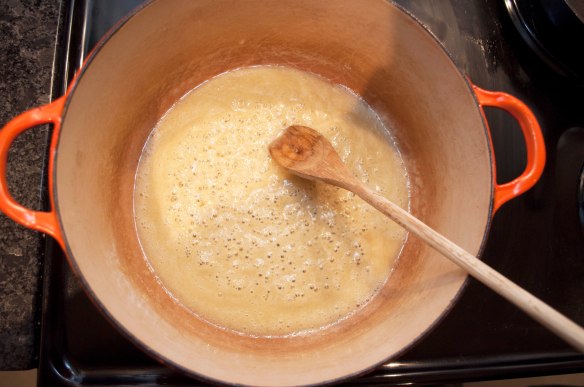
Should look like this


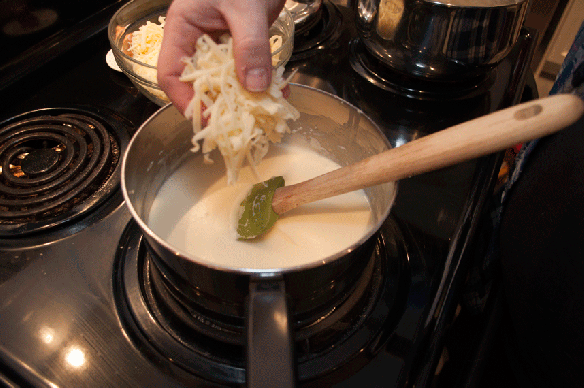
Next, add the worcestershire sauce, soy sauce, lemon juice, horseradish, garlic, mustard and salt.
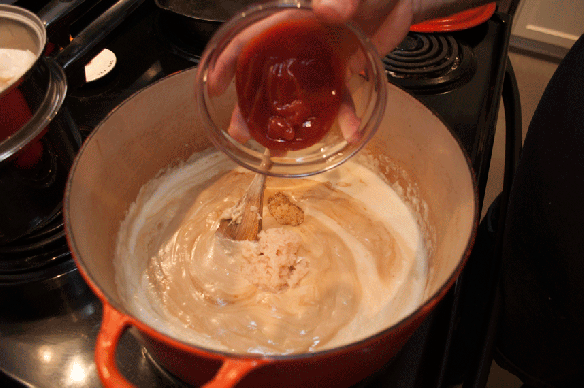
Add ketchup
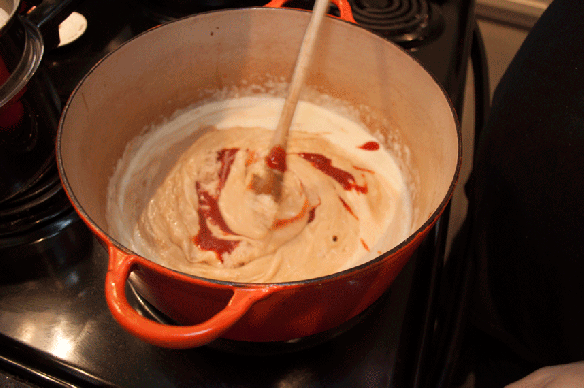
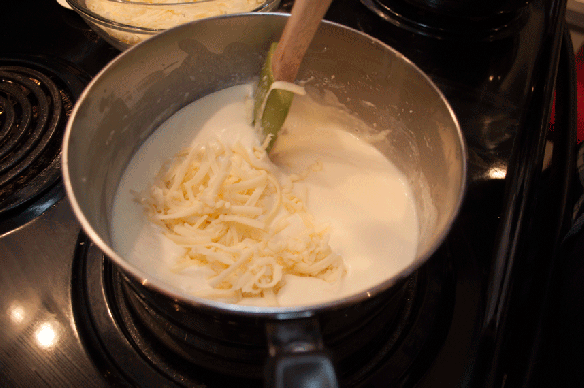
Okay, mix it all together!
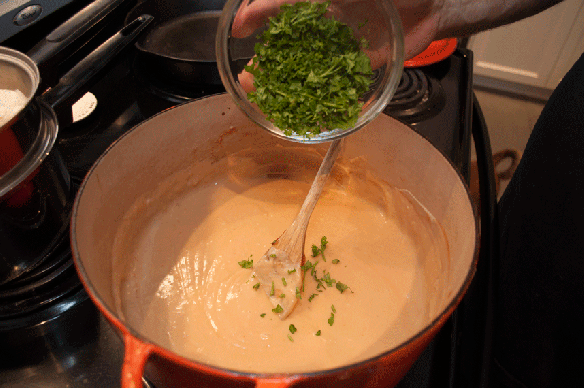
Add the chopped parsley

MIX!
Now, some special flavour …
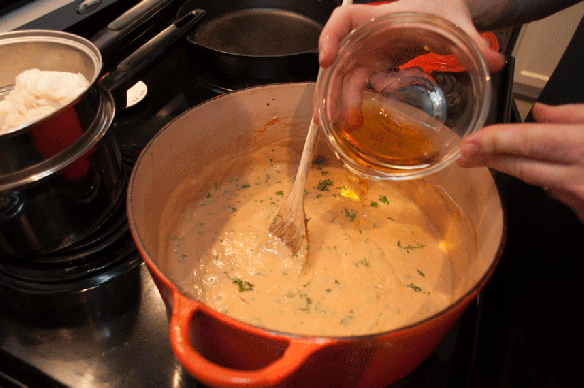
Add that sherry!
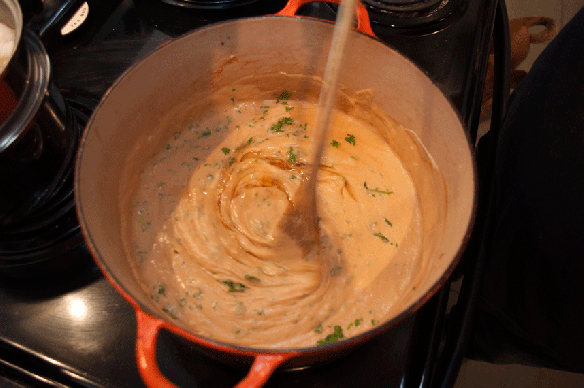
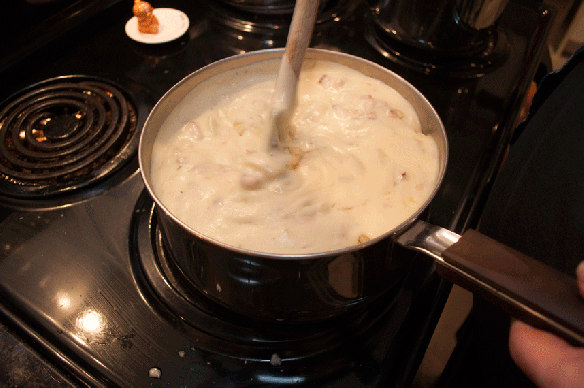
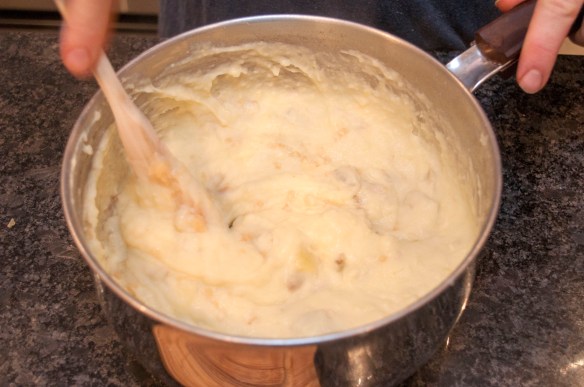
Stir all this until well mixed
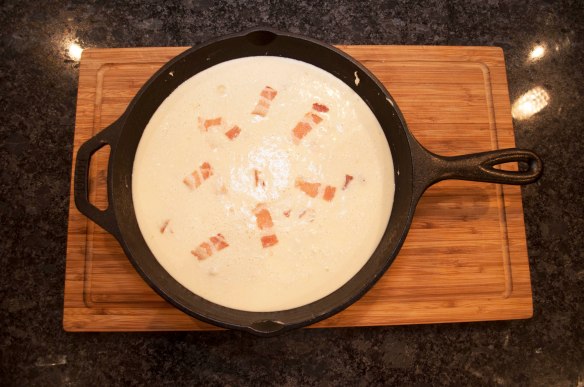
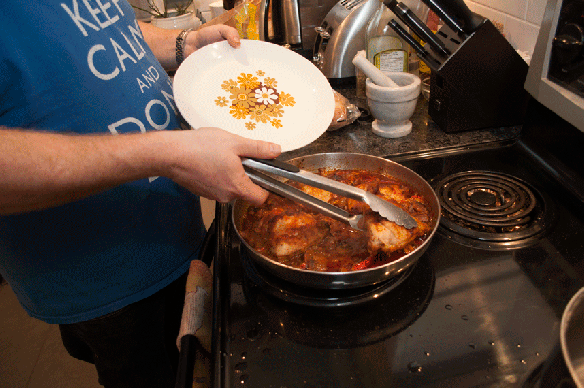
Go grab that pot of haddock
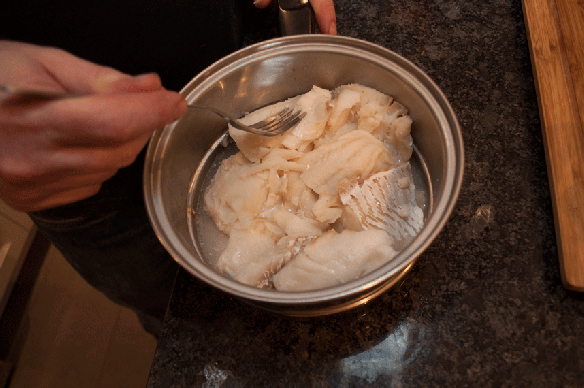
Use a fork to break the haddock into bite-sized pieces
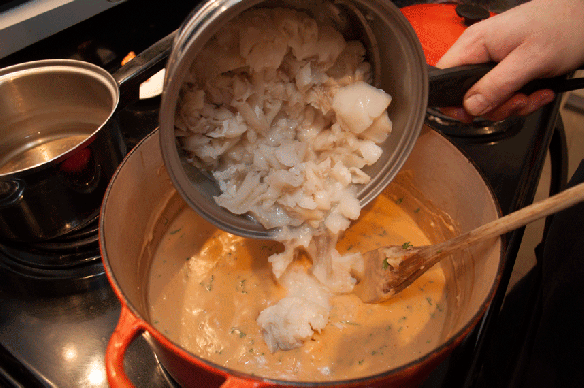
Add the haddock to the pot
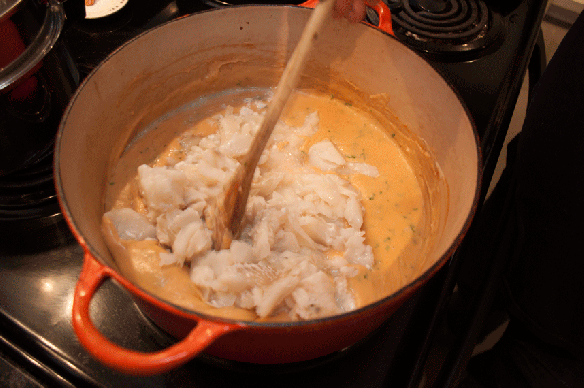
Mix it in


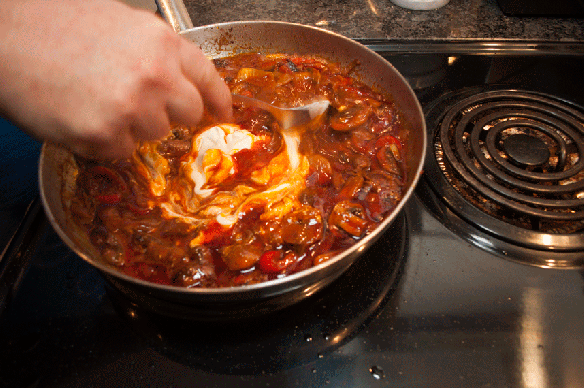
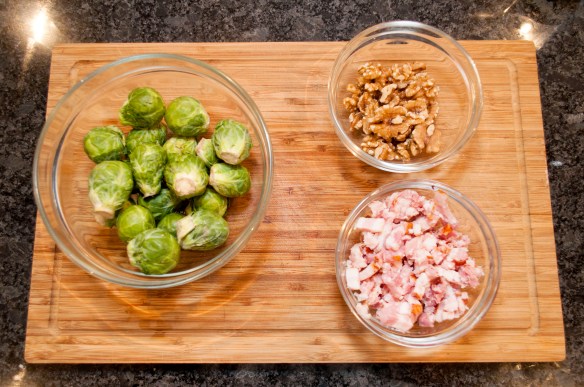
Add the shrimp and mix it well
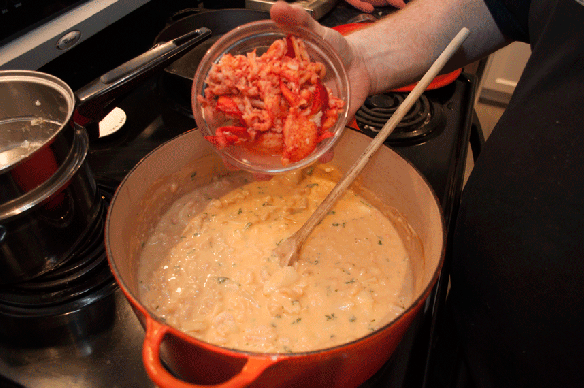
And finally add the lobster meat!
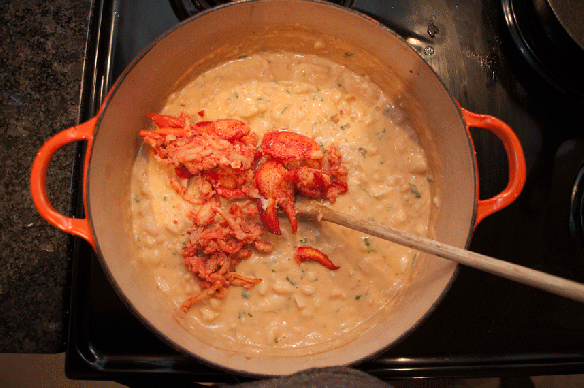
Mix this whole thing together
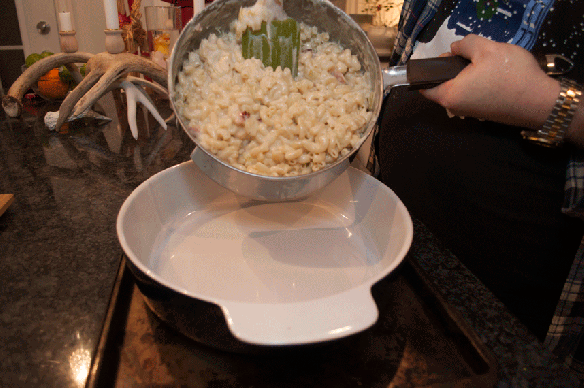
Time to go grab a large casserole dish
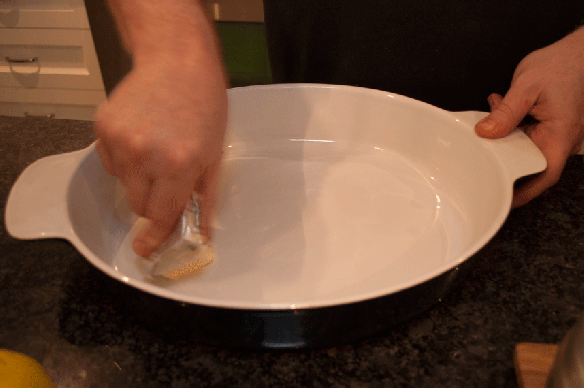
Grease the dish, bottom and sides, with butter
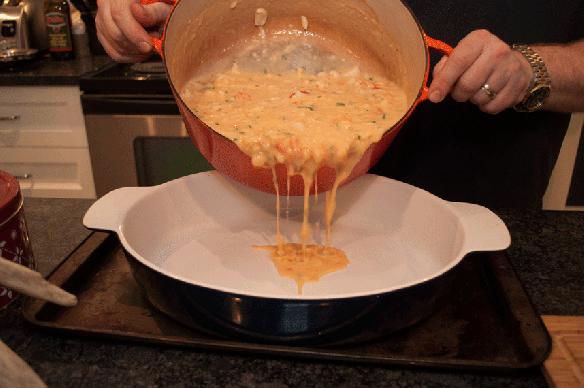
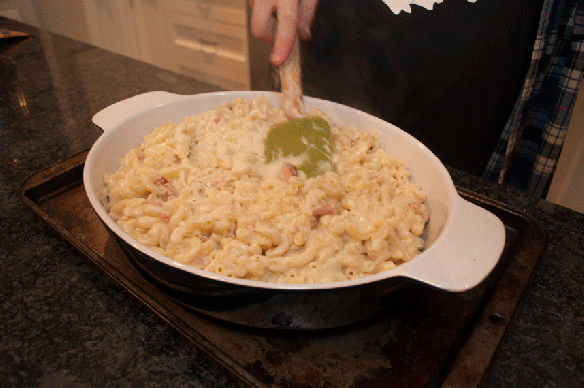
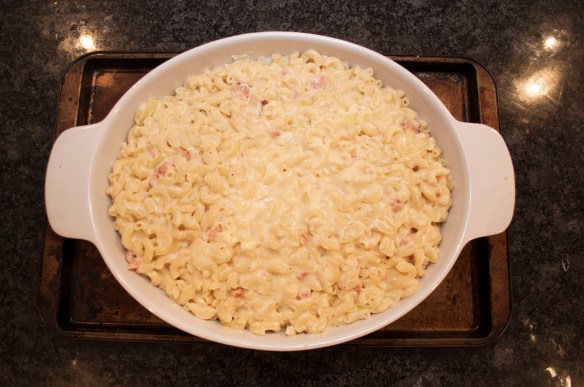
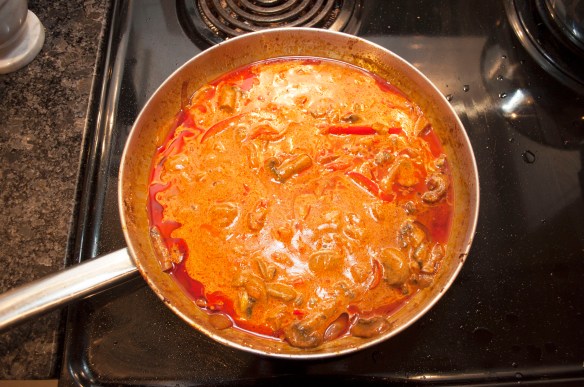
Pour that mixture into the dish!
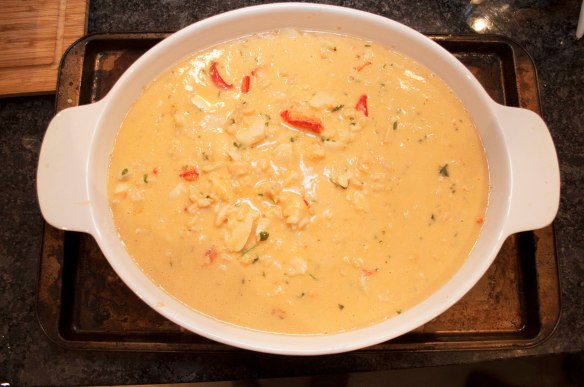
Looks like this, right?
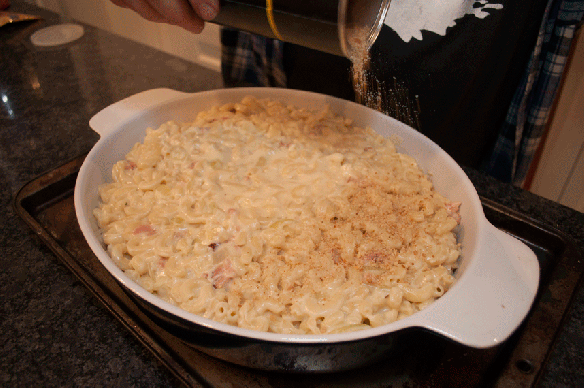
Almost ready to put in the oven, just one more thing …
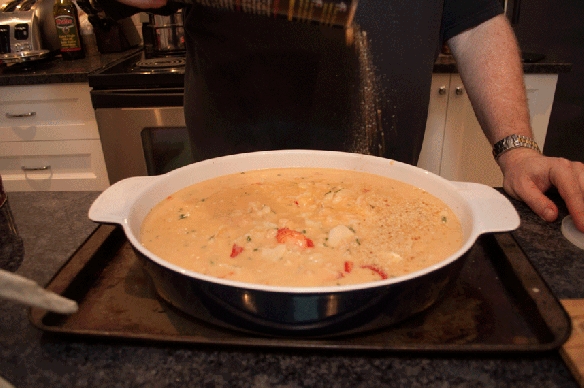
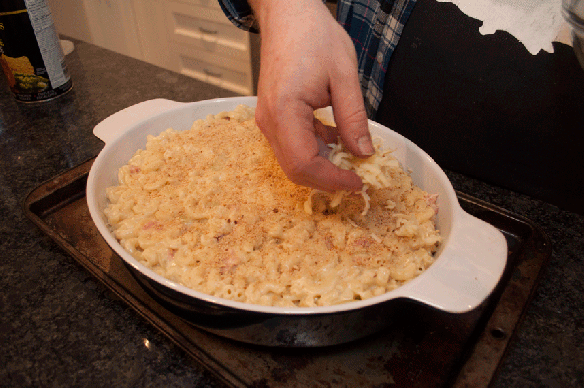
Sprinkle bread crumbs over the entire dish. At this point you can also dot the top with butter if you’re feeling really decadent.
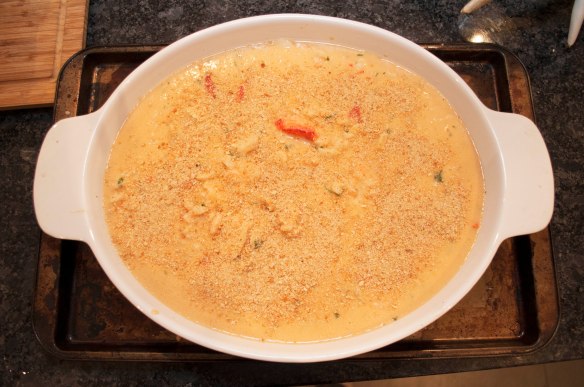
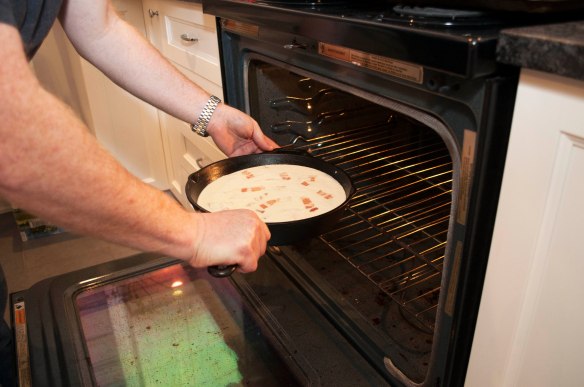
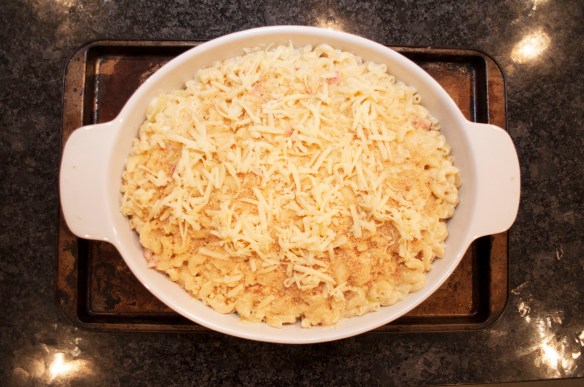
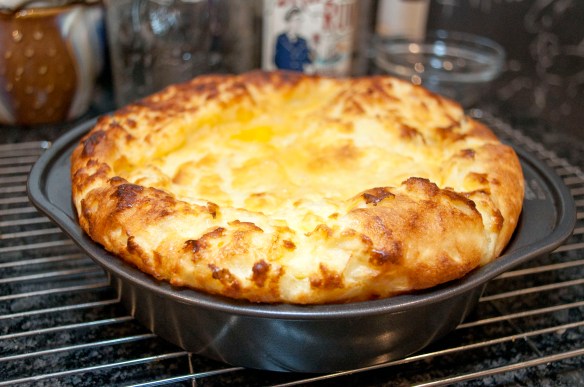
Okay ready for the oven
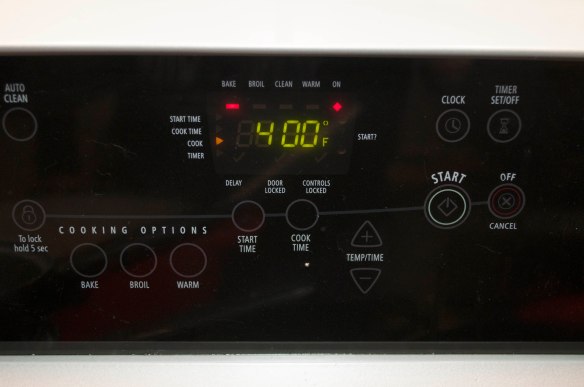
Place in 400F oven for approximately 25 minutes, or until top is starting to brown
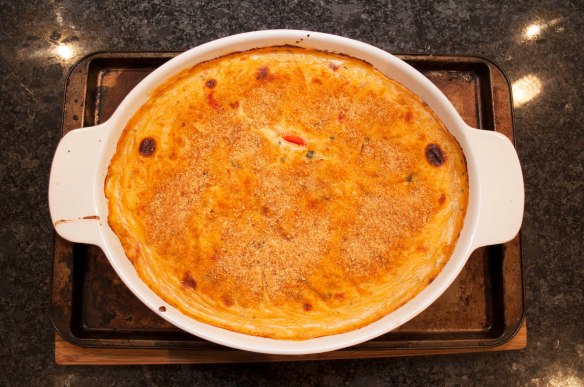
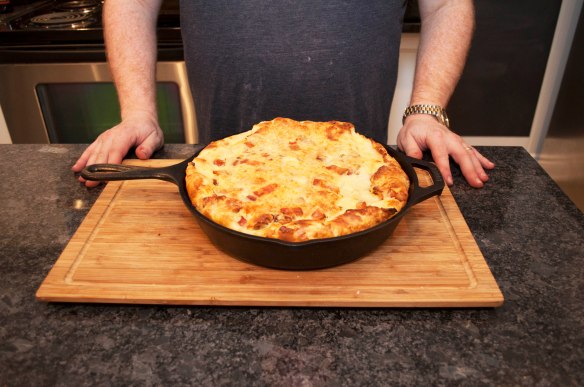
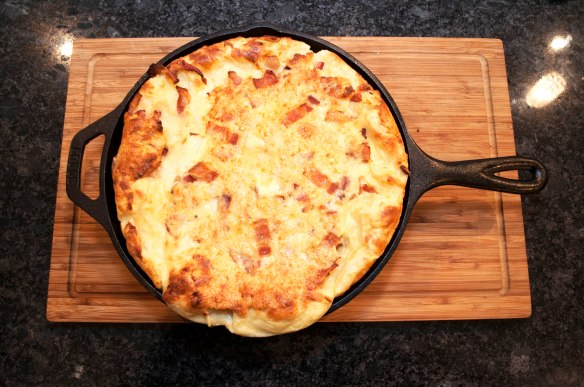
Like this!

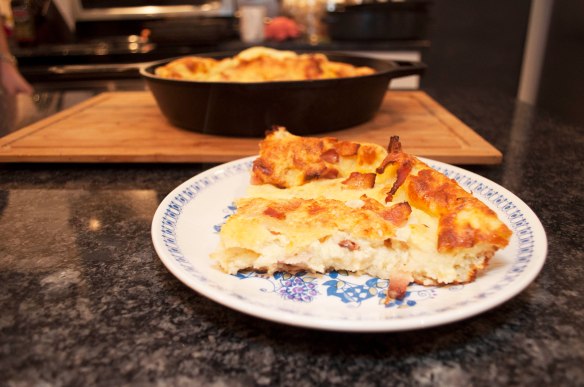
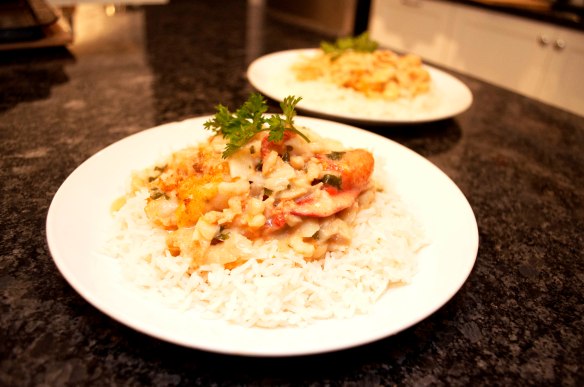
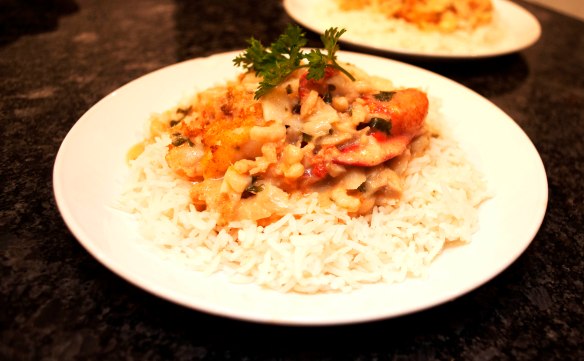
Let the casserole sit while you prepare some rice to serve it on.
The casserole will be more like a stew in it’s consistency, not too thick.
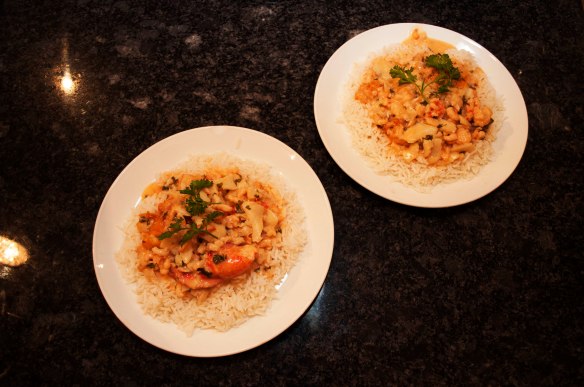
Spoon it over rice and serve. Damn, you’re gonna like it!
So there you have it, the super special treat of “Marianne’s” Seafood Casserole.
From our family to yours!
Bon Apetit!