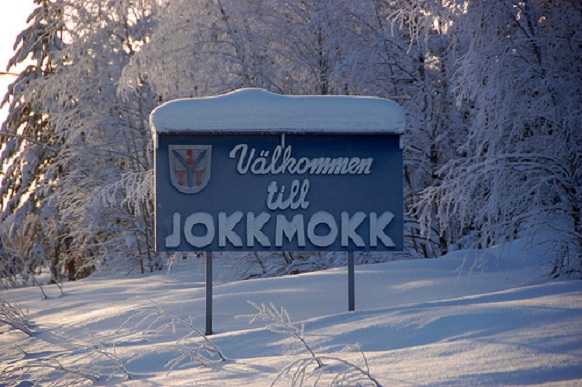
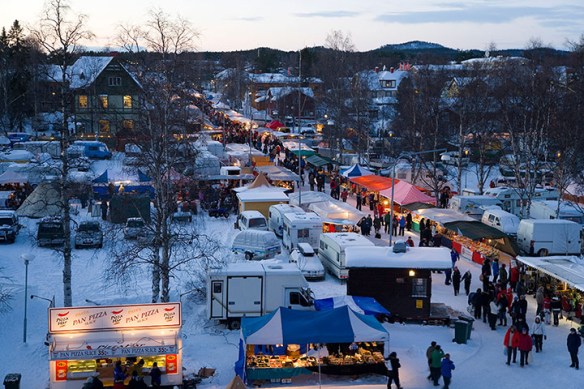
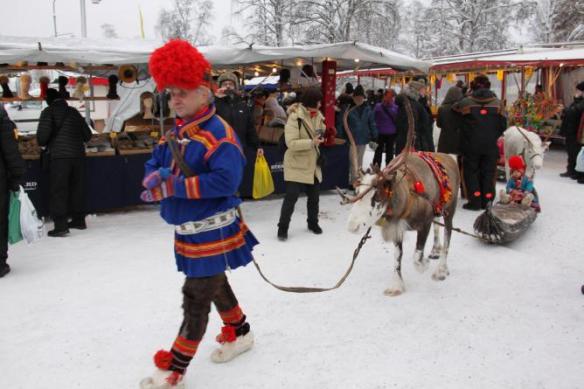
Up in Northern Sweden we discovered a new way to have coffee, and it’s delicious! Yes, it’s coffee with cheese … a sweet, spongy cheese.
Once we got home, we discovered that it was near impossible to find a source for this kaffeost. As I researched importers, Claire came up with what anyone who knows her would call a “Claire idea” … why don’t we just make our own?
Make our own cheese? Like, from scratch?
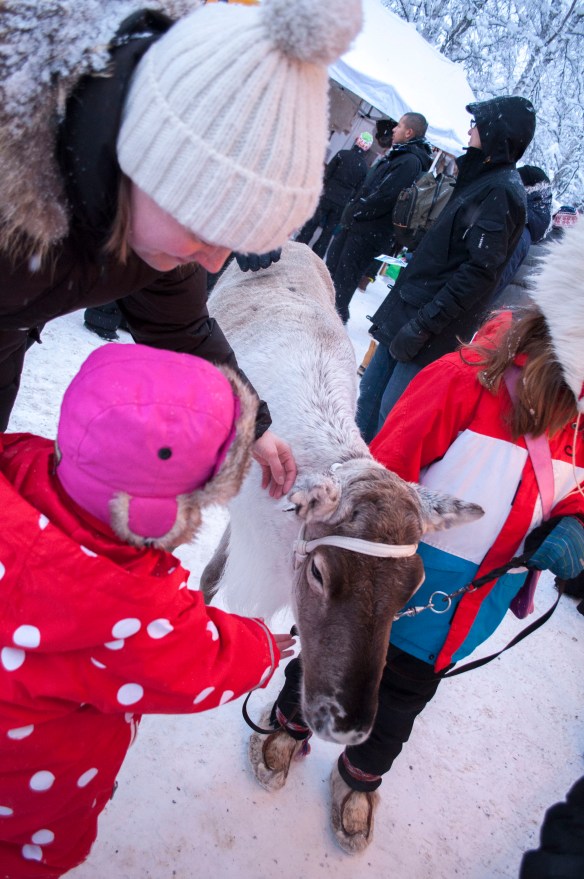
We looked into it, and as long as we used whole milk instead of traditional reindeer milk … not only was it possible, it really wasn’t too difficult and could done in an afternoon!
Here’s how it’s done.
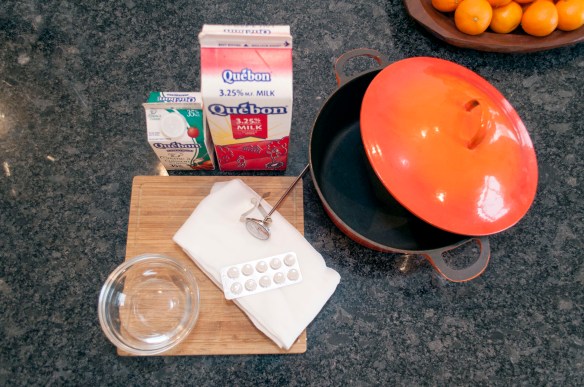
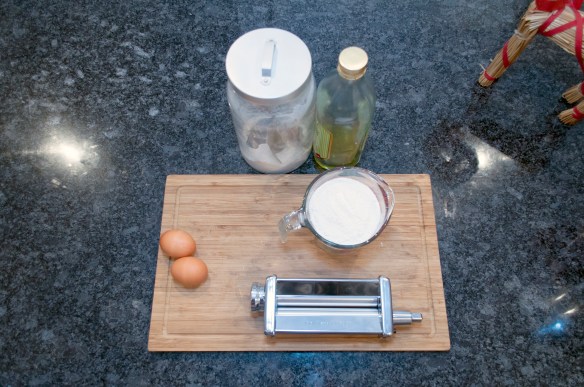
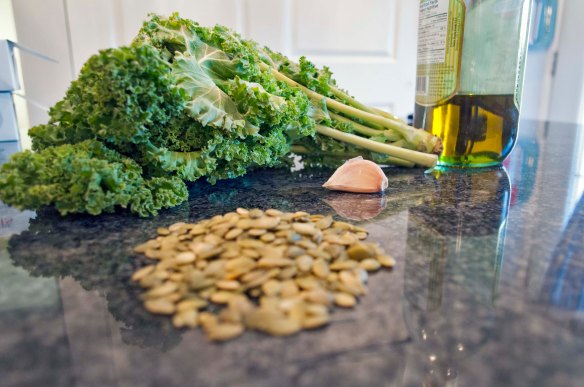
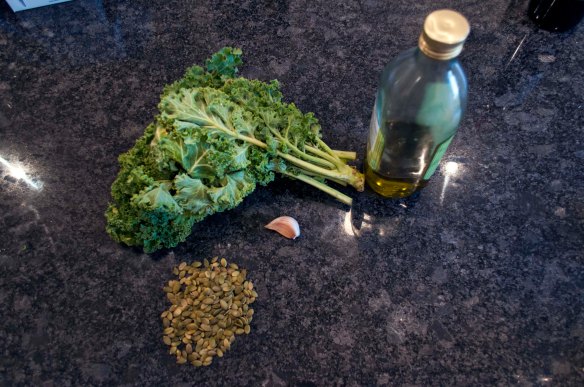
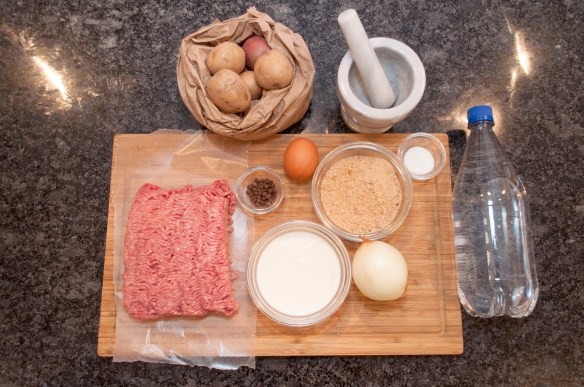
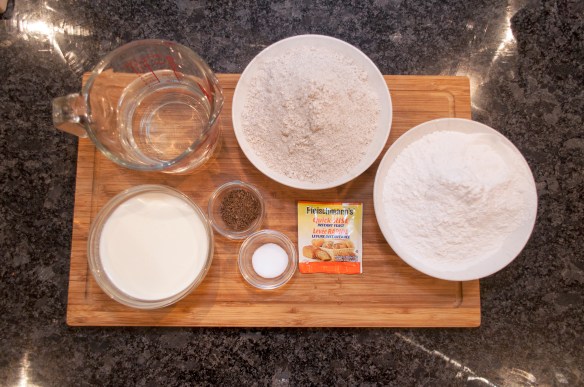
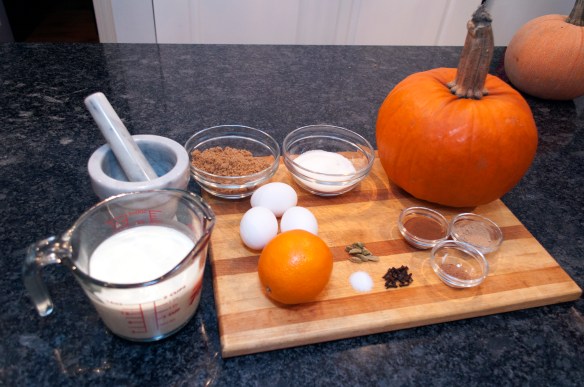
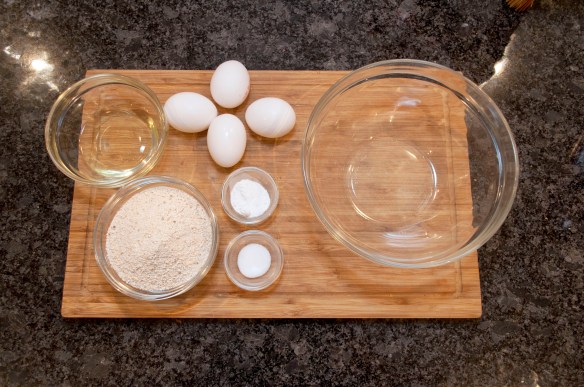
What you’ll need:
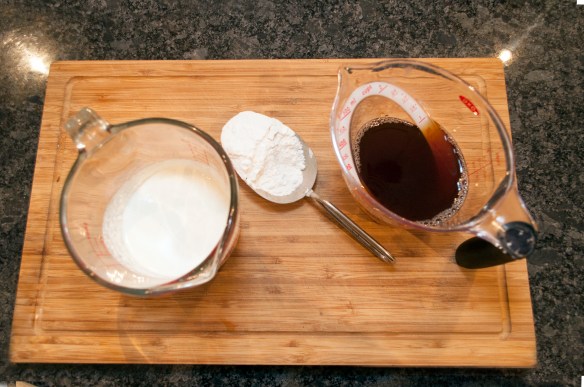
- 2L of whole milk
- 60 ml of heavy cream
- 2 tsp of rennet
and that’s it for ingredients … seriously
You’ll also want a thermometer and some cheesecloth!
Where do you get rennet? It can be ordered online. We got ours from a site called Make Cheese (Our webstore should be up and running soon and hopefully we’ll have some there for sale too!)
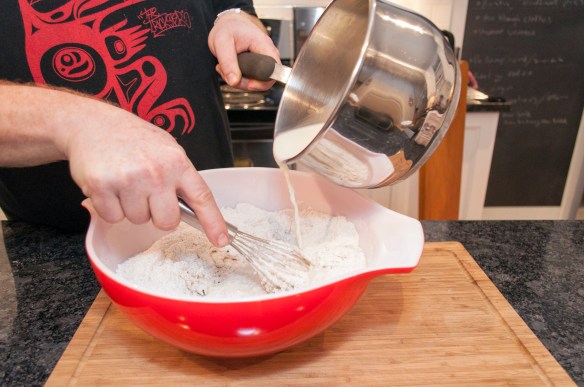
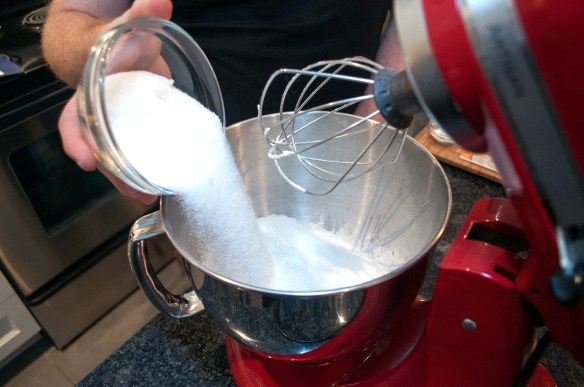
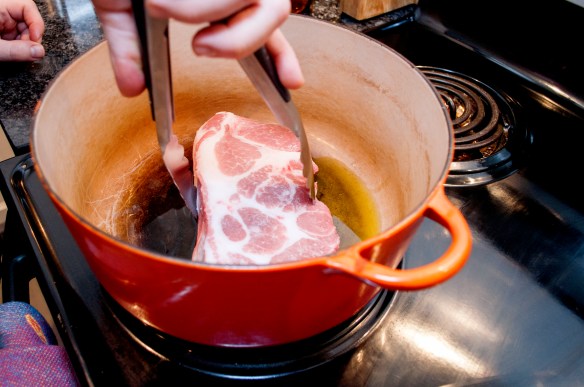
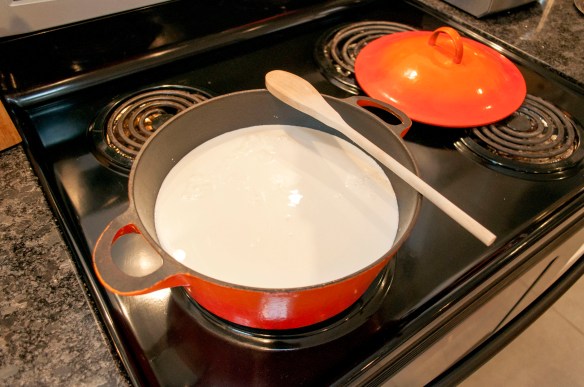
Pour the milk into a large pot and place it on the stove top.
Add the cream
Now, we needed to prepare the rennet. Ours came in tablets that had to be dissolved in water first.


1/4 of a tablet dissolved in a little distilled water was supposed to do the trick, but we found we needed half a tablet.
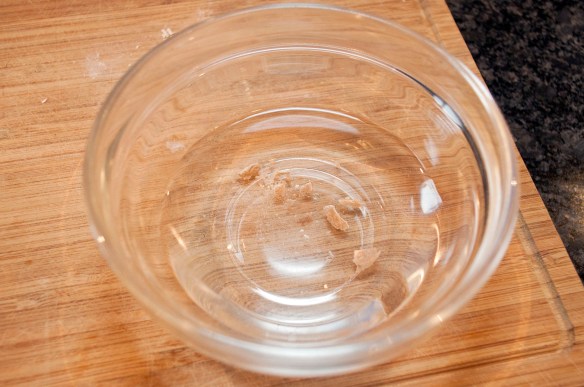
Wait about 15 min for the rennet tablet to dissolve


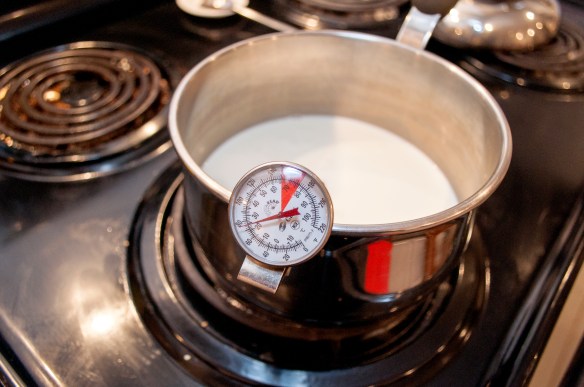
Warm up the milk and cream to 37C (around body temperature). Remove from the heat.

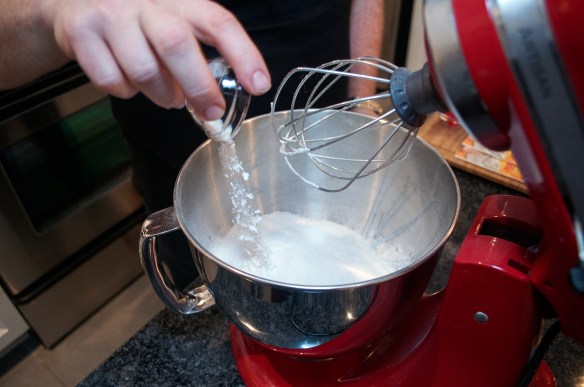
While stirring add the rennet!
Now, we play the waiting game! Let the pot sit for about an hour.
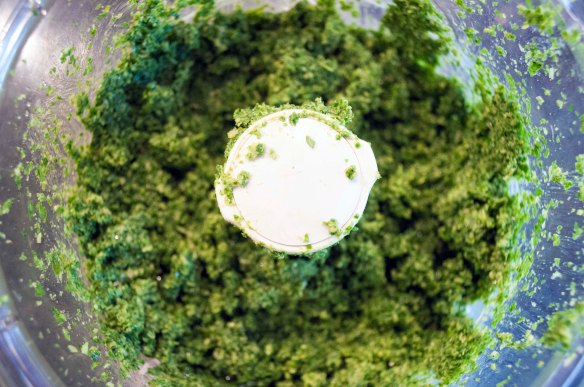
Internet magic, an hour has passed … did it solidify?
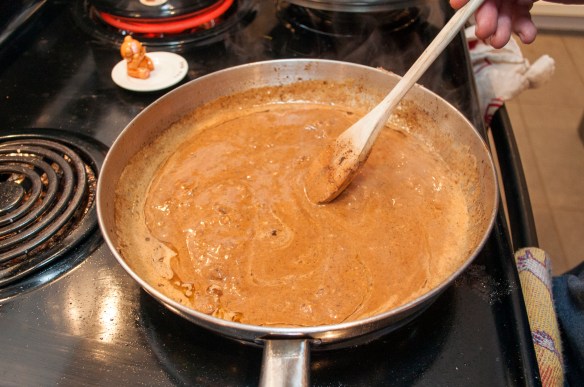
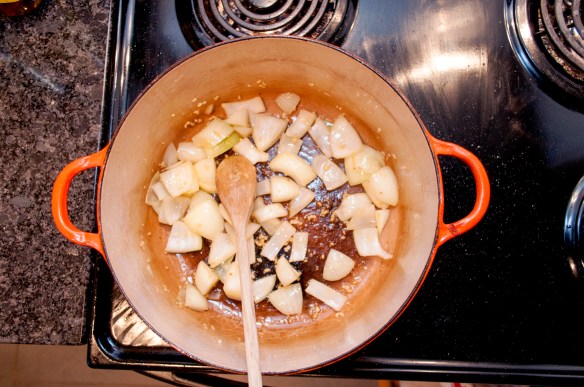
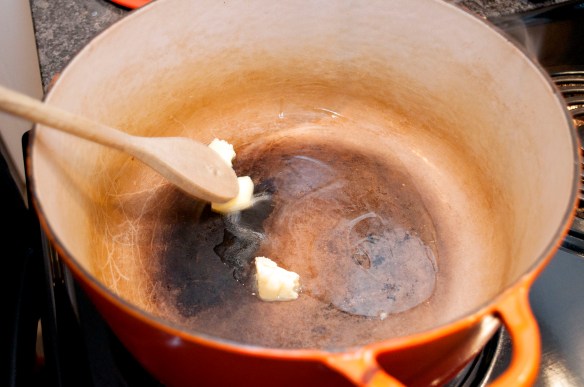
It did, but the curds are small. Warm the mixture back up to 37C while moving the curds towards the centre with a slotted spoon.
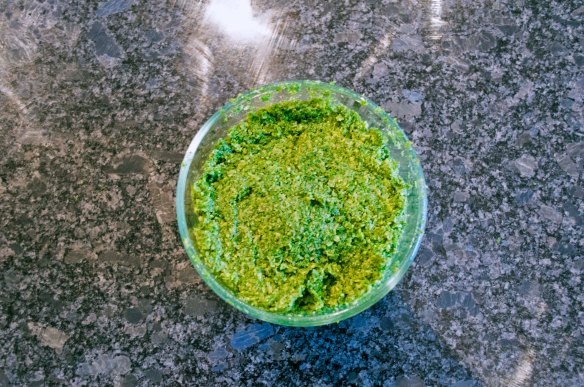
Once you have the curds in the centre … or as good as you’ll get … warm the mixture up to just under a boil.


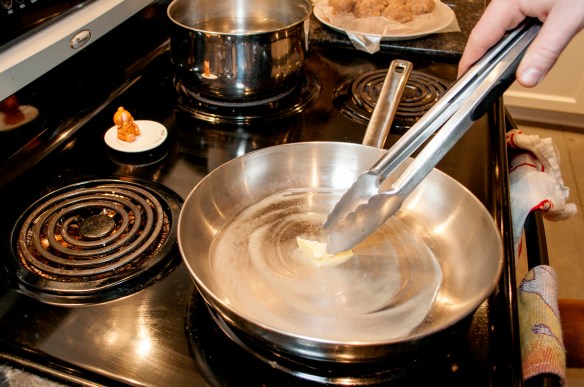
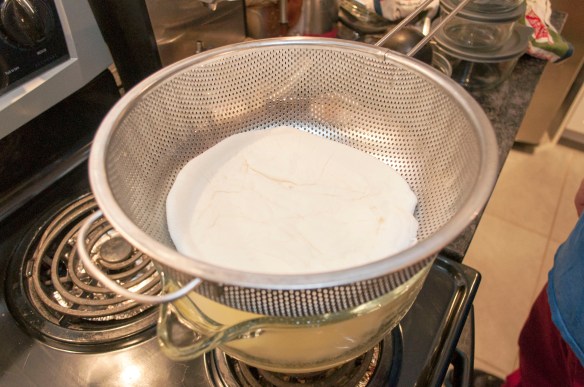
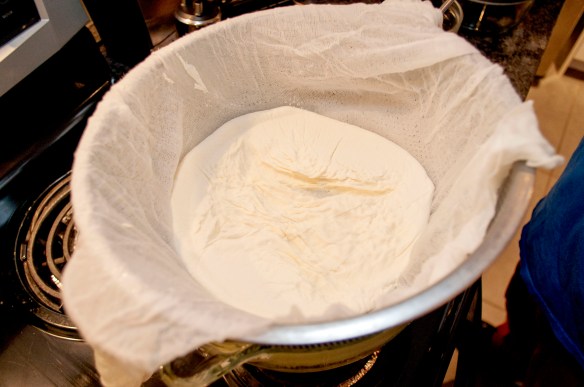
Laddle the curds into a cheesecloth lined colander or strainer.


fold the cloth over top and press out as much liquid as you can!
The curds will be very hot … I found this out the hard way!
The reason for that last round of heating is you need the curds to be hot or when you press them at this stage, they won’t stick together and you won’t have a solid cheese in the end.
Temperatures in cheesemaking are important, much like when you make candy (oh, the disasters I’ve had trying to make candy!)
You’ll want to place something heavy on top of the cheese and leave it pressing the water out for at least a couple of hours.

We found a pot filled with water to be an excellent weight for this!
Again, internet magic … and a few hours have passed.
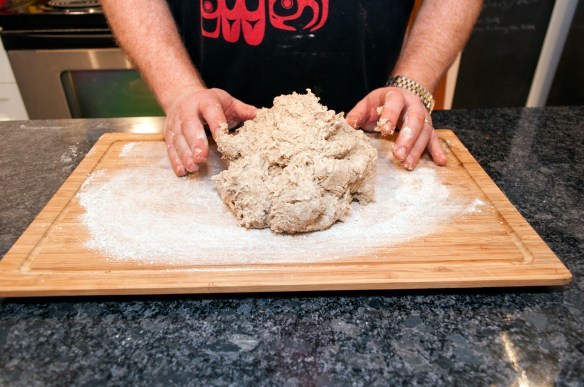
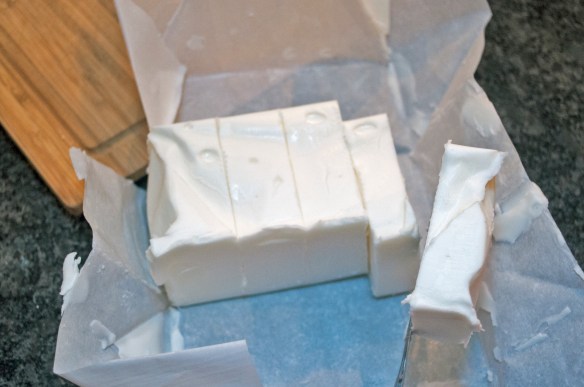
We remove the pot … now the moment of truth as we open the cloth …
WE MADE CHEESE!


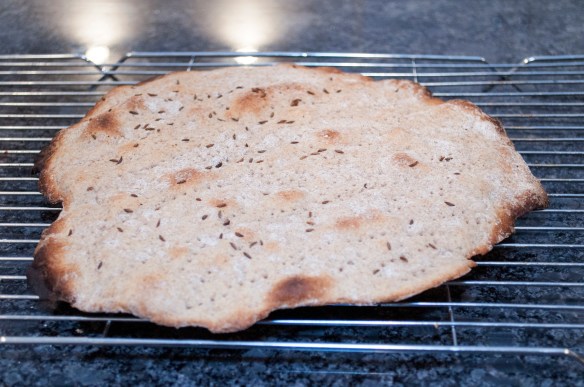
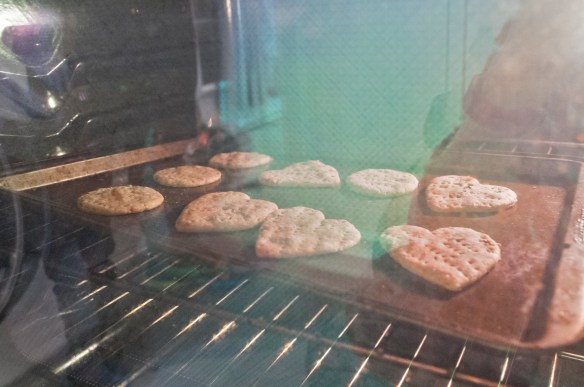
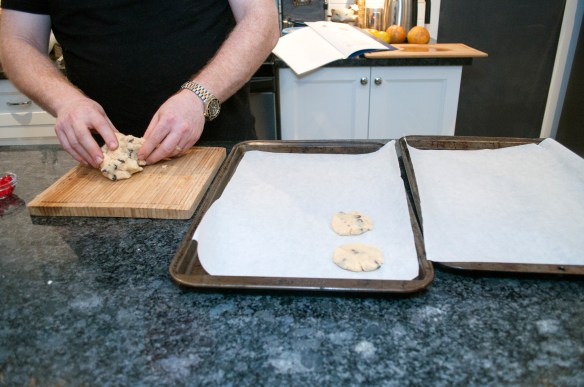
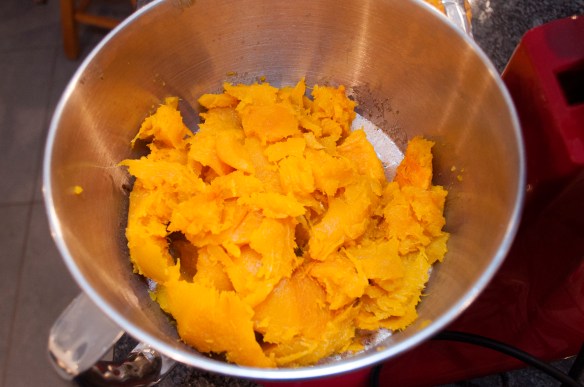
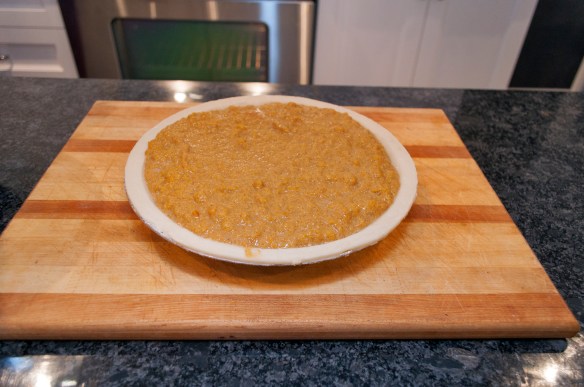
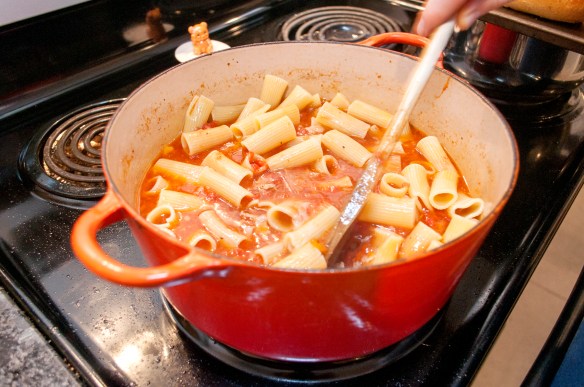
Take your cheese and place it into an oven proof dish.

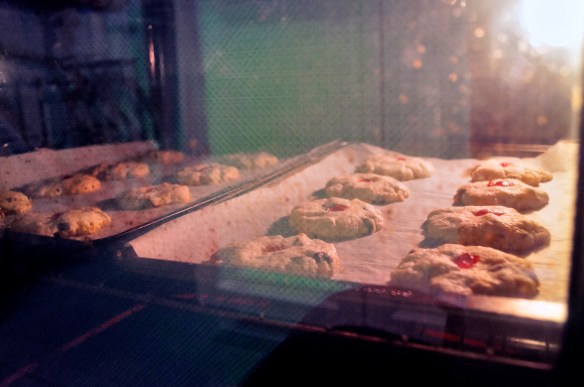
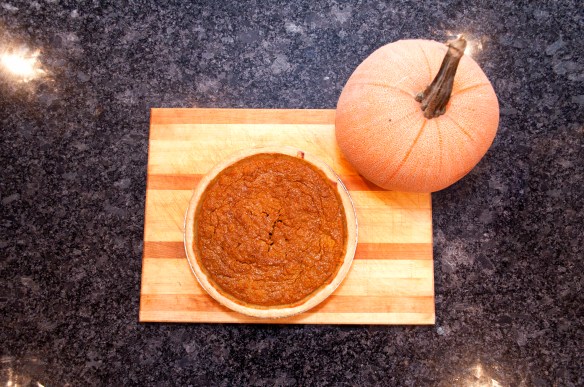
Place it into an oven heated to 350F and bake until golden.
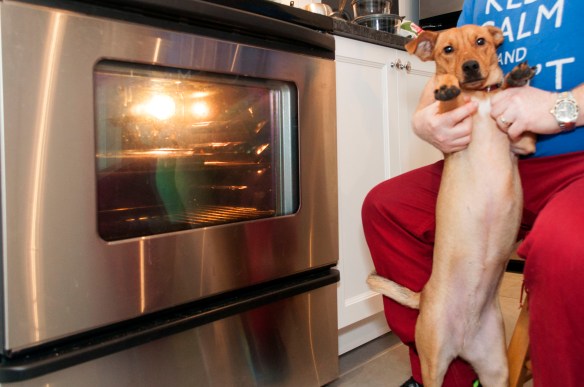
Dog’s don’t understand that we bake this to add flavour … sorry Pippi, you’re just going to have to wait.
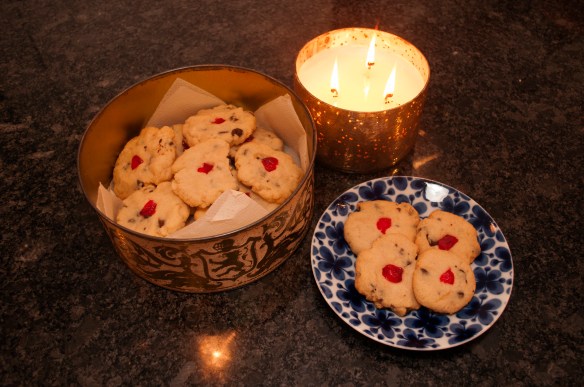
Some more internet magic and …
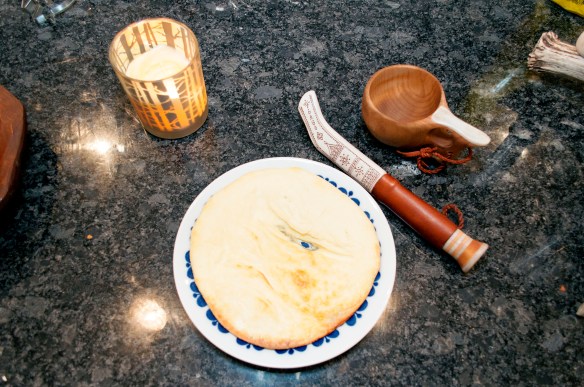
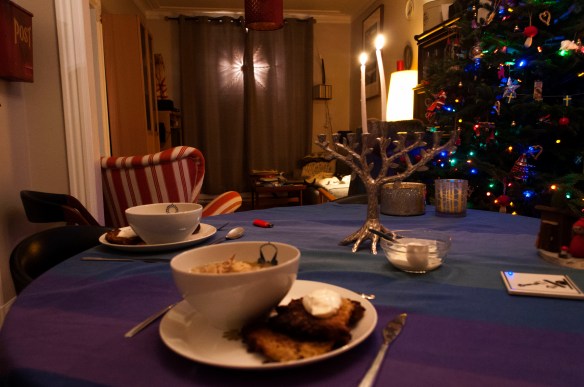
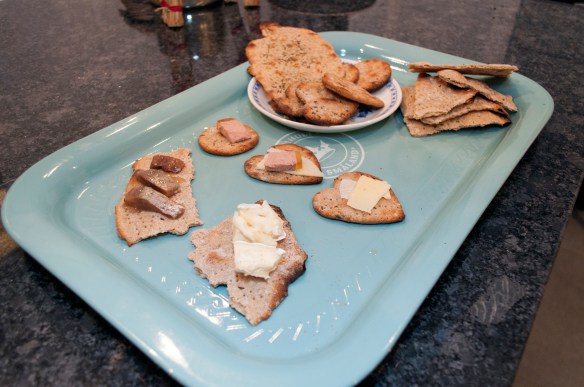
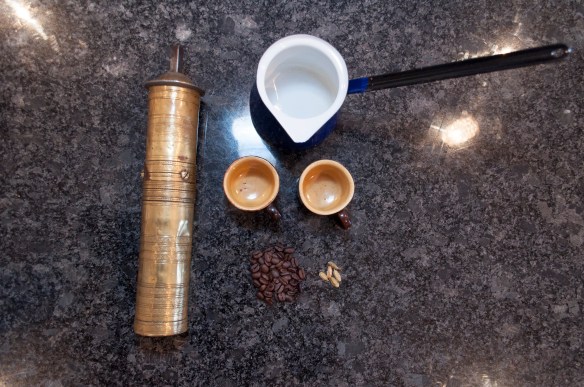
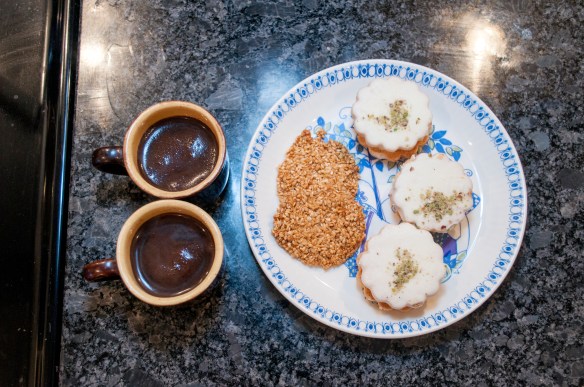
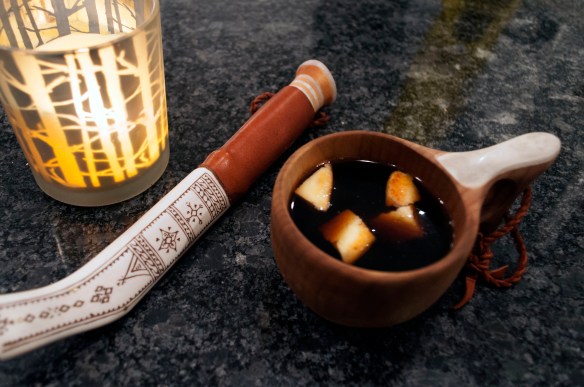
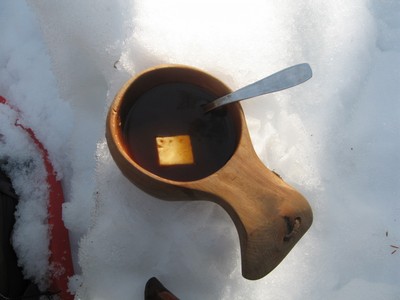
So grab your knife and your kåsa (or guksi) and let’s have some kaffeost!
cut the cheese in small cubes.

about the size of sugar cubes
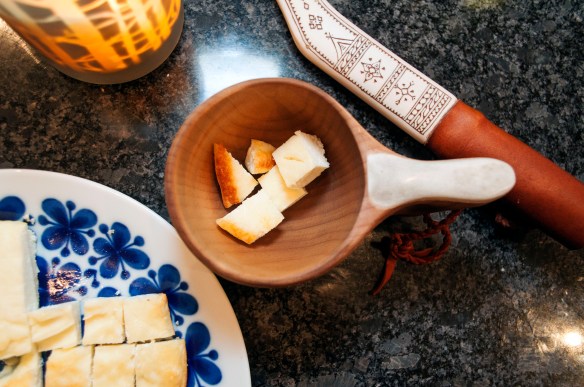
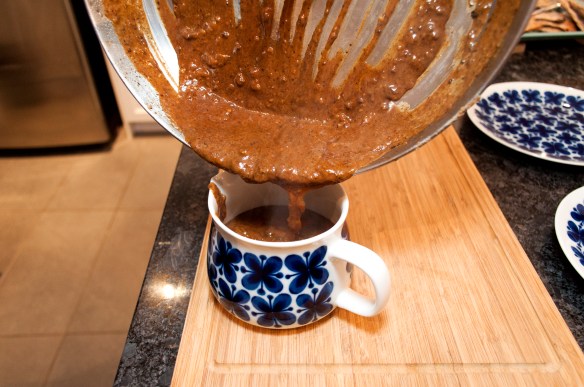
Drop a few into your kåsa (if you don’t have this traditional cup carved out of a birch burl, any coffee cup will do, don’t worry!)
Pour the coffee over the cheese. The cheese will float to the top. This cheese does not melt!

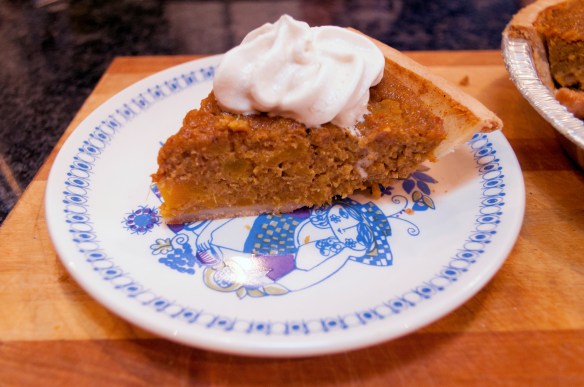
This wonderful kaffeost will absorb coffee like a sponge. Take out a piece with a spoon and enjoy. It will squeak when you bite into it and you’ll have coffee and a sweet, creamy cheese fill your mouth.
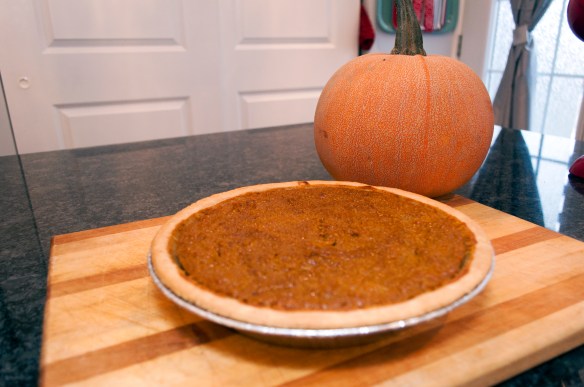
And there you have it … homemade coffee cheese!

Bon apetit!


 Add the eggs and the oil.