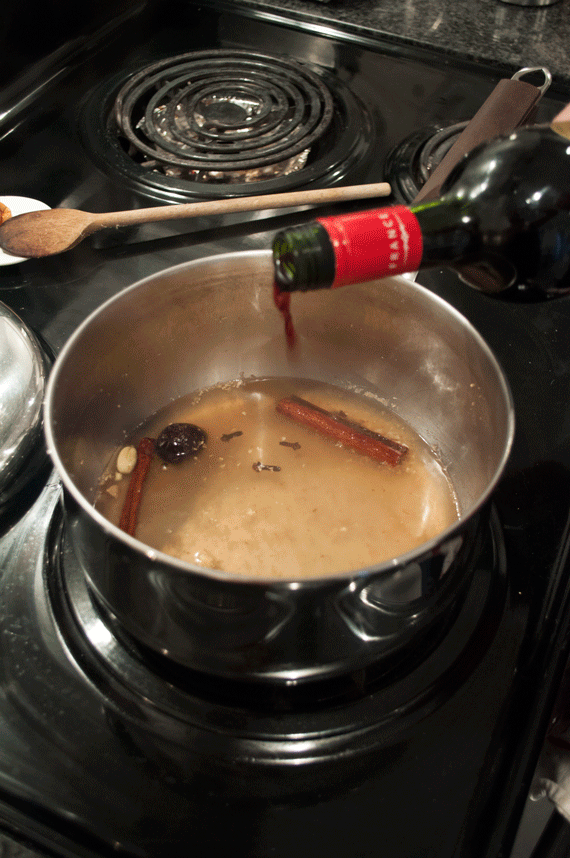

It’s the time of year when we start thinking about family. For some of us, this means a warm, happy feeling …. let’s follow that!
Growing up Claire would visit her Grandma in Hamilton, Ontario and at some point they’d end up making these cookies.
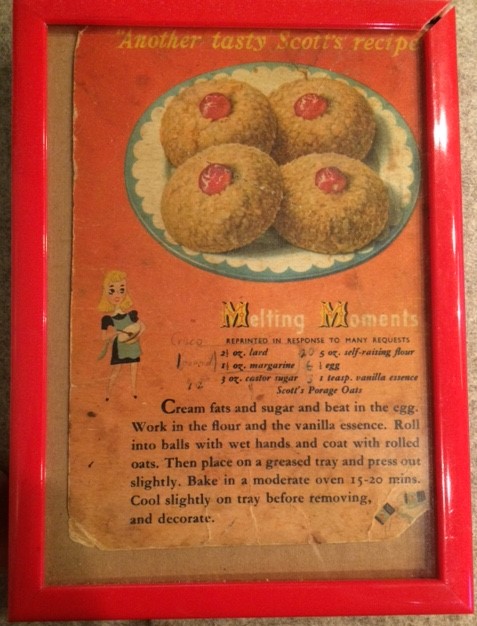
Based on a wartime recipe, clipped off the back of a cereal box in post-war London, these cookies melt in your mouth and somehow give you that warm feeling of family.
You want that, right?
Here’s how they’re made:

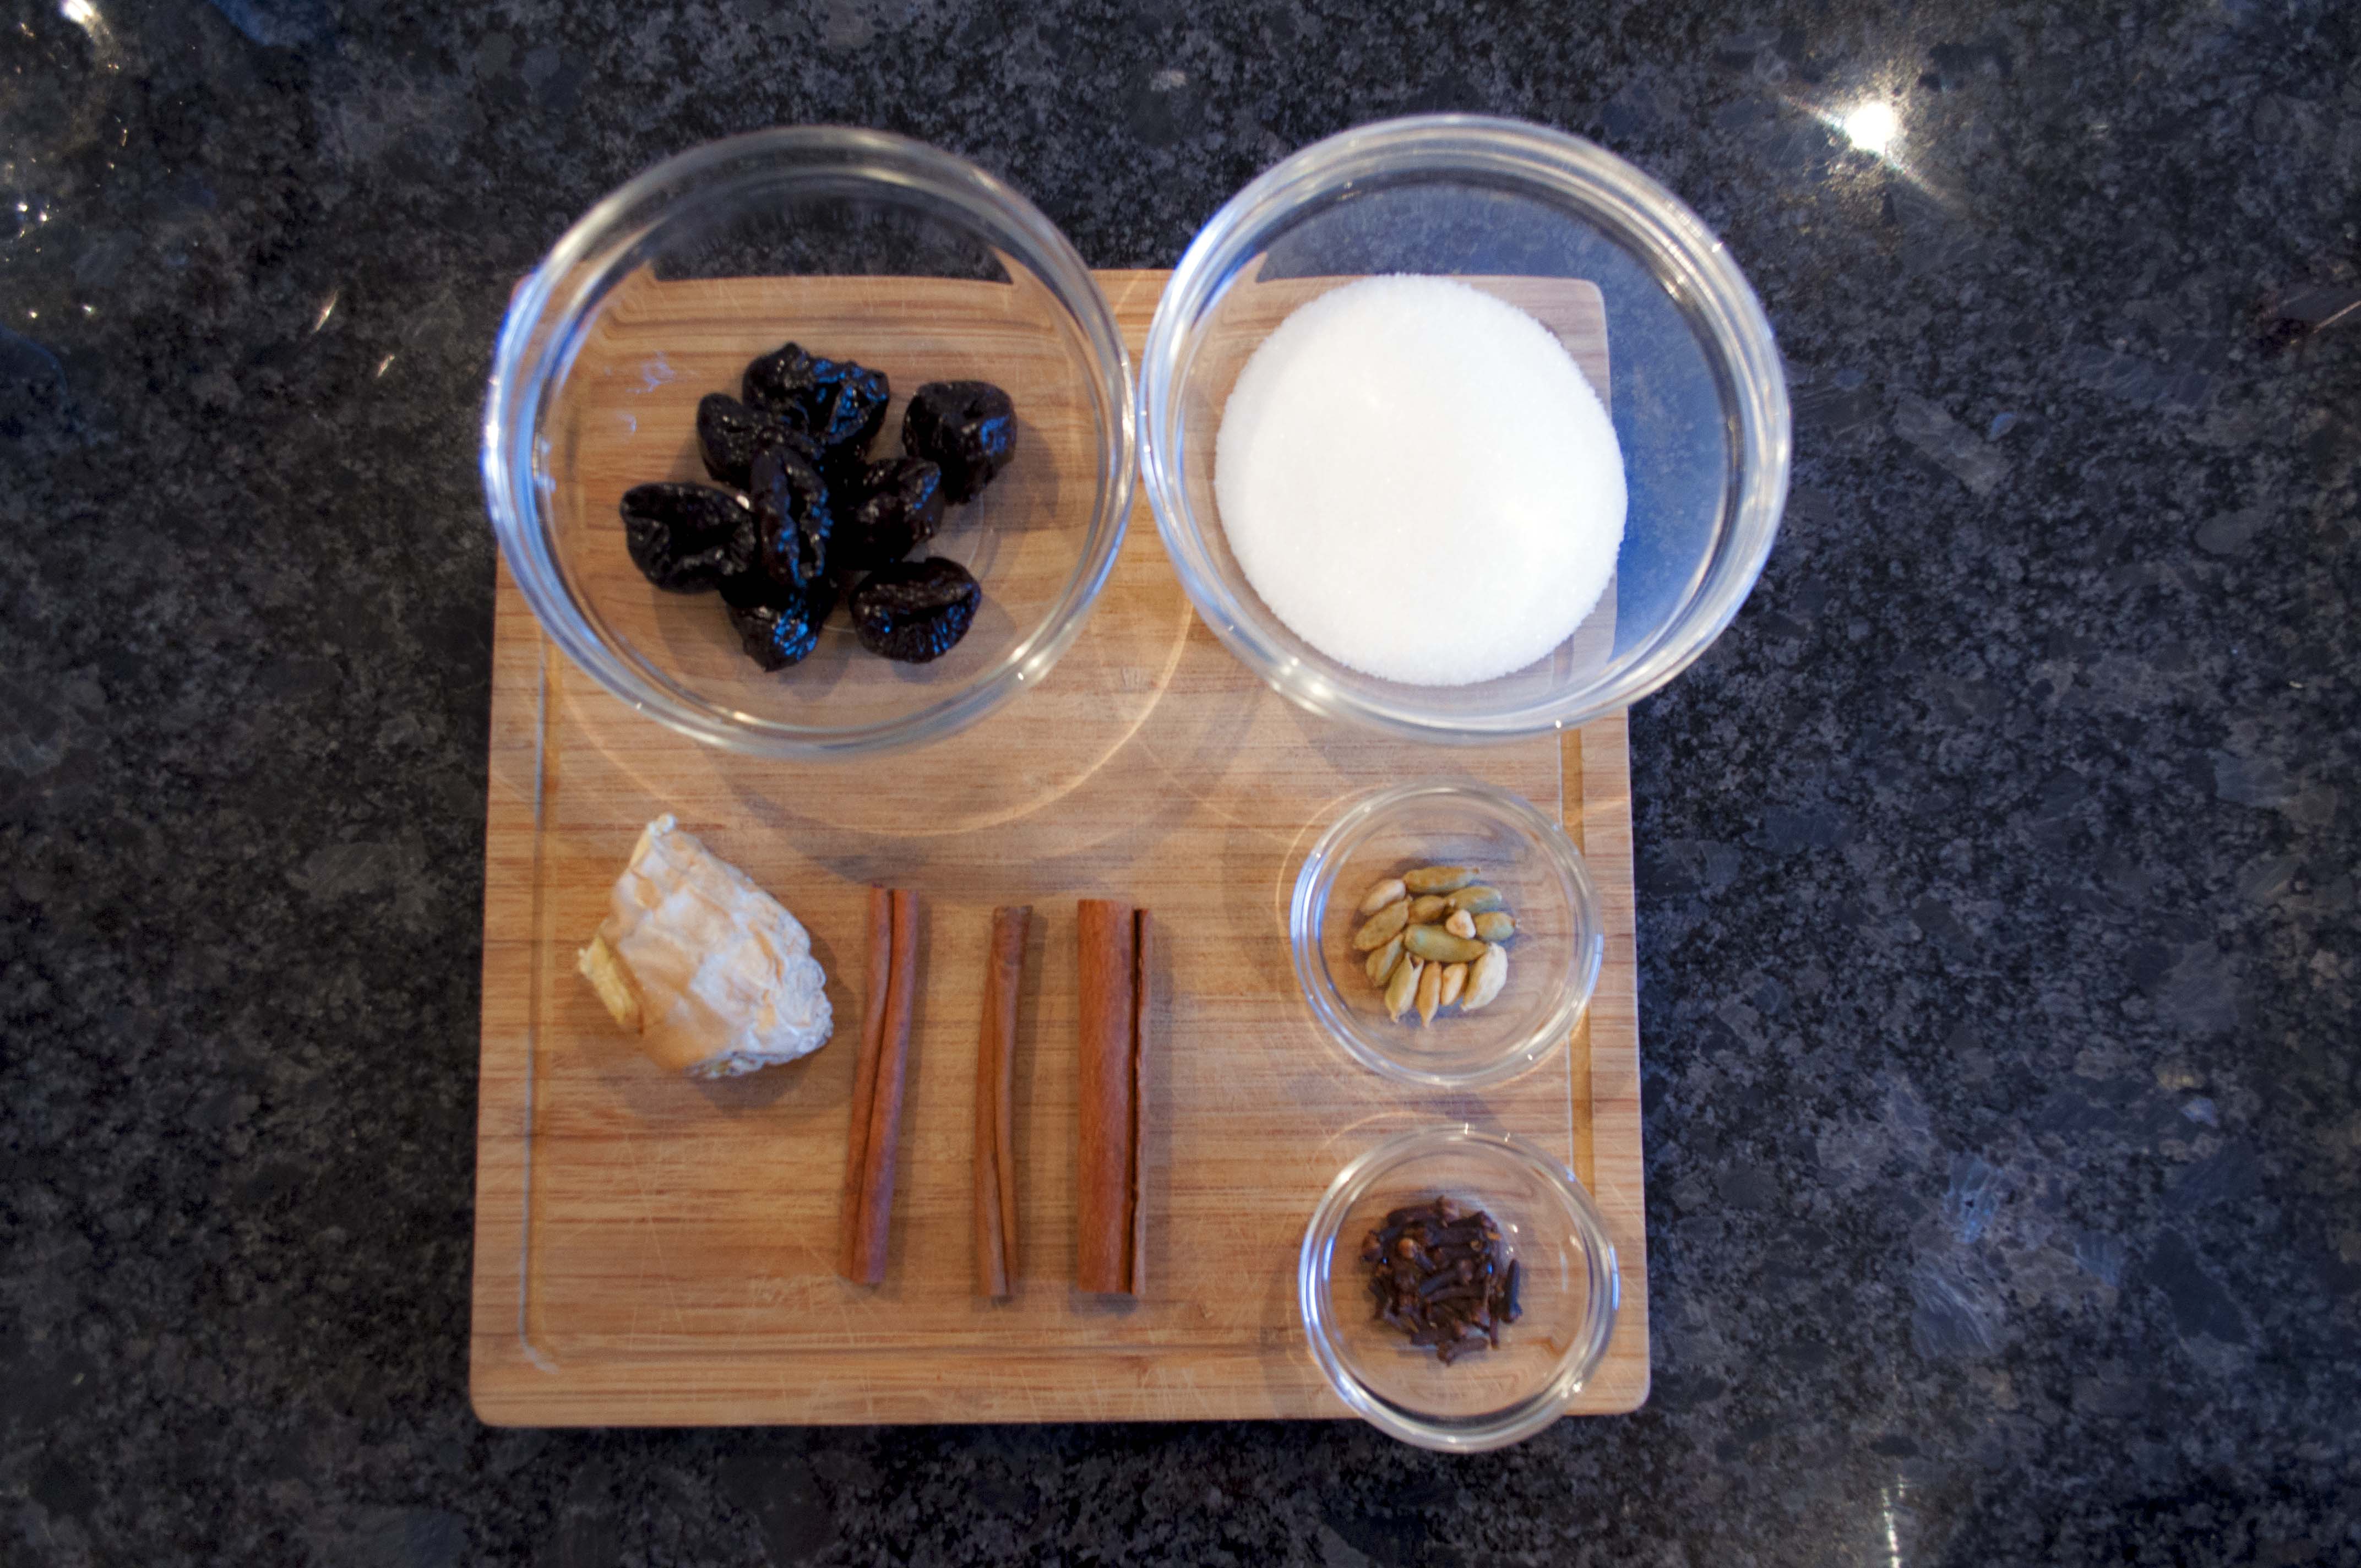
You’ll need:
- 4 cups of all-purpose flour
- 5 oz of white sugar
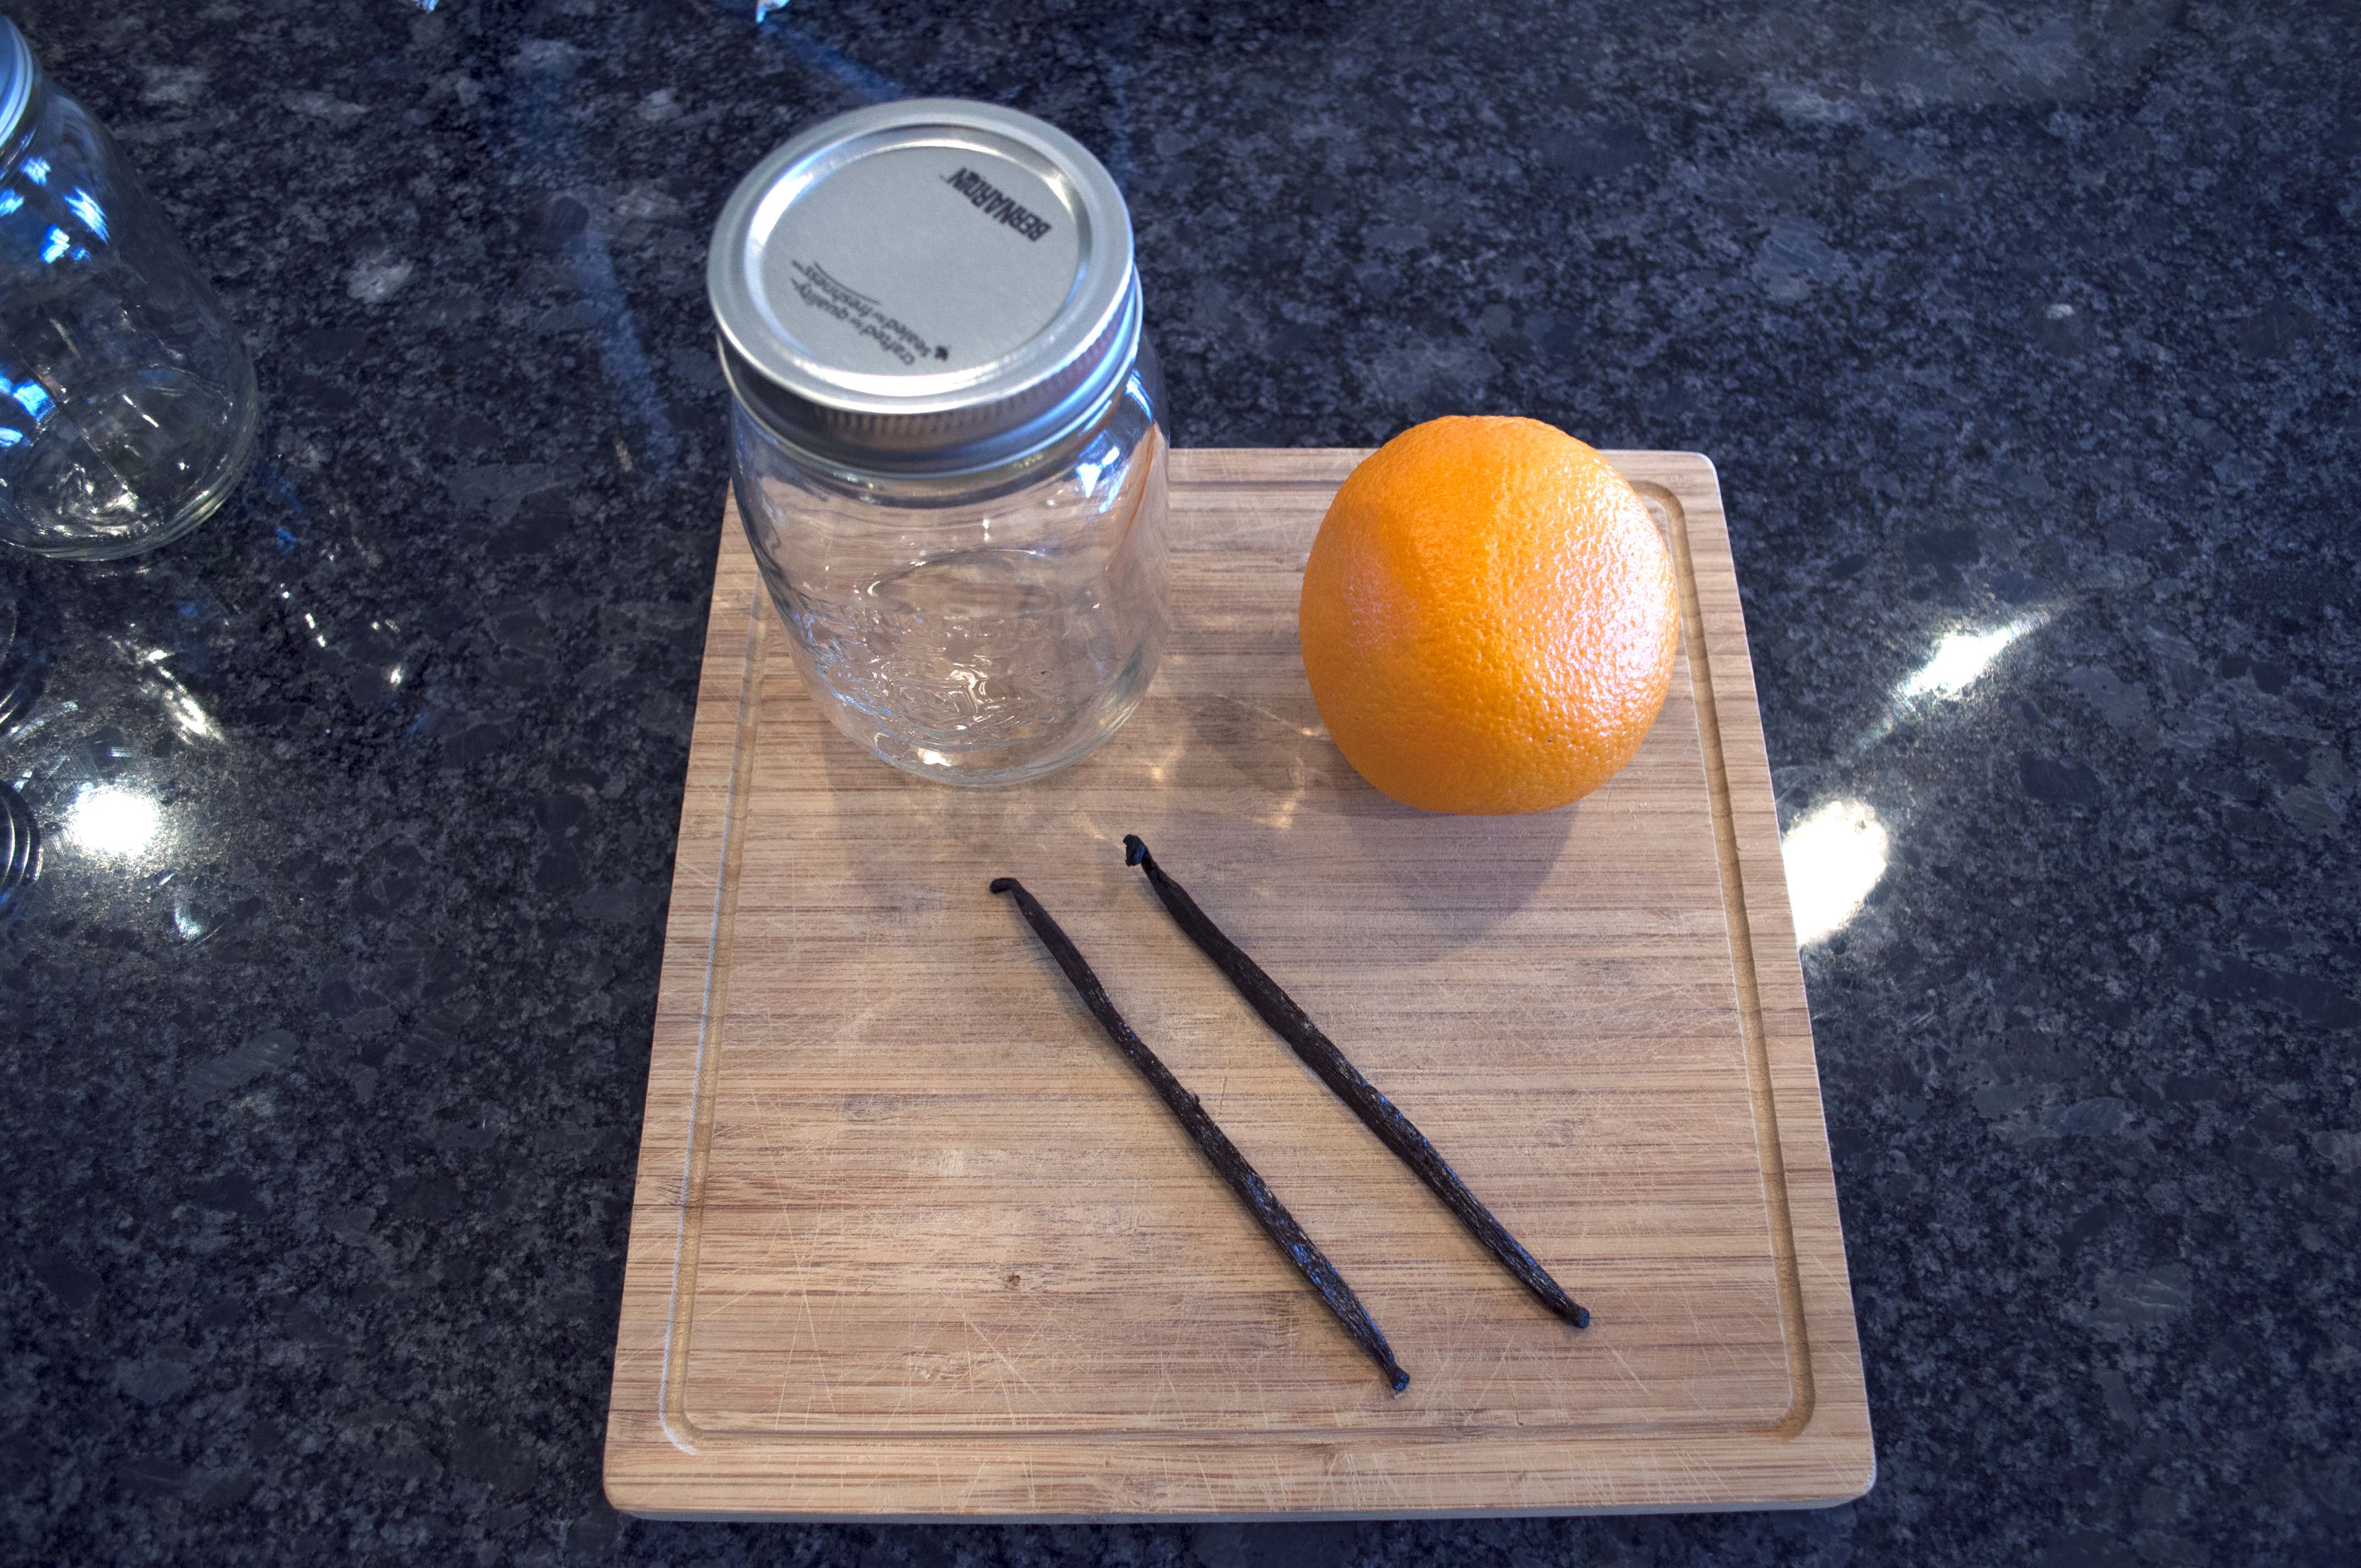
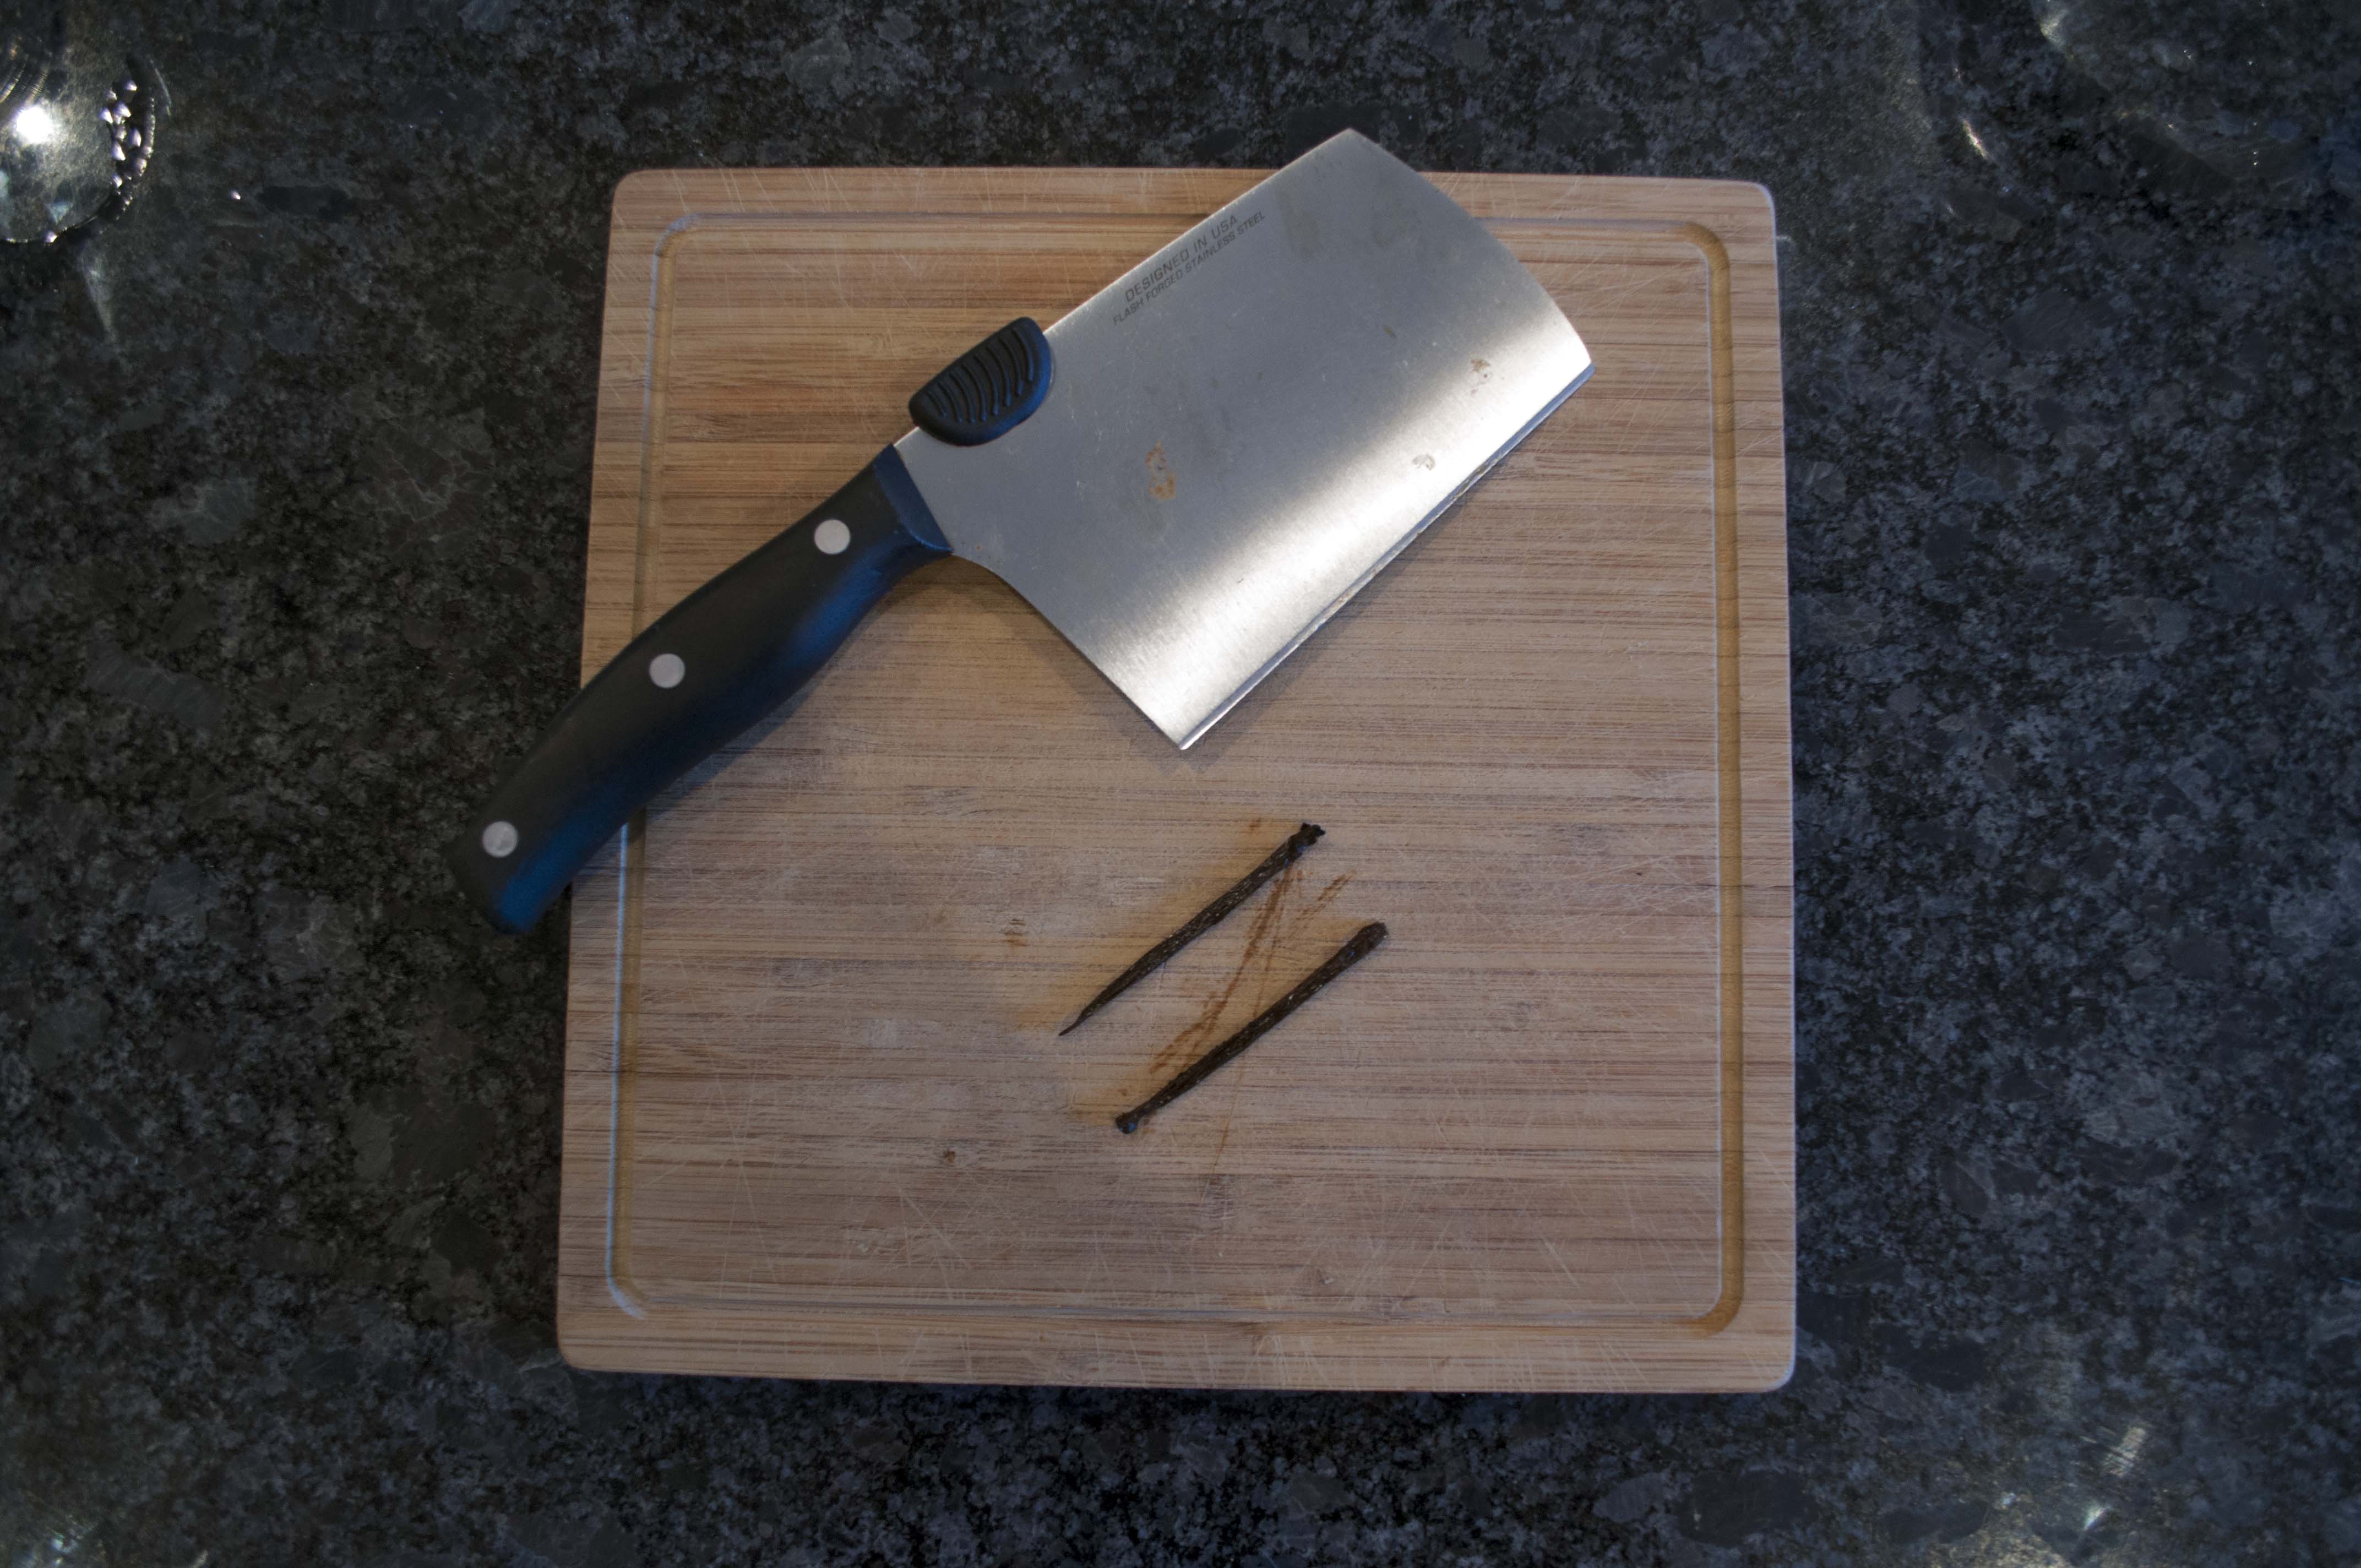
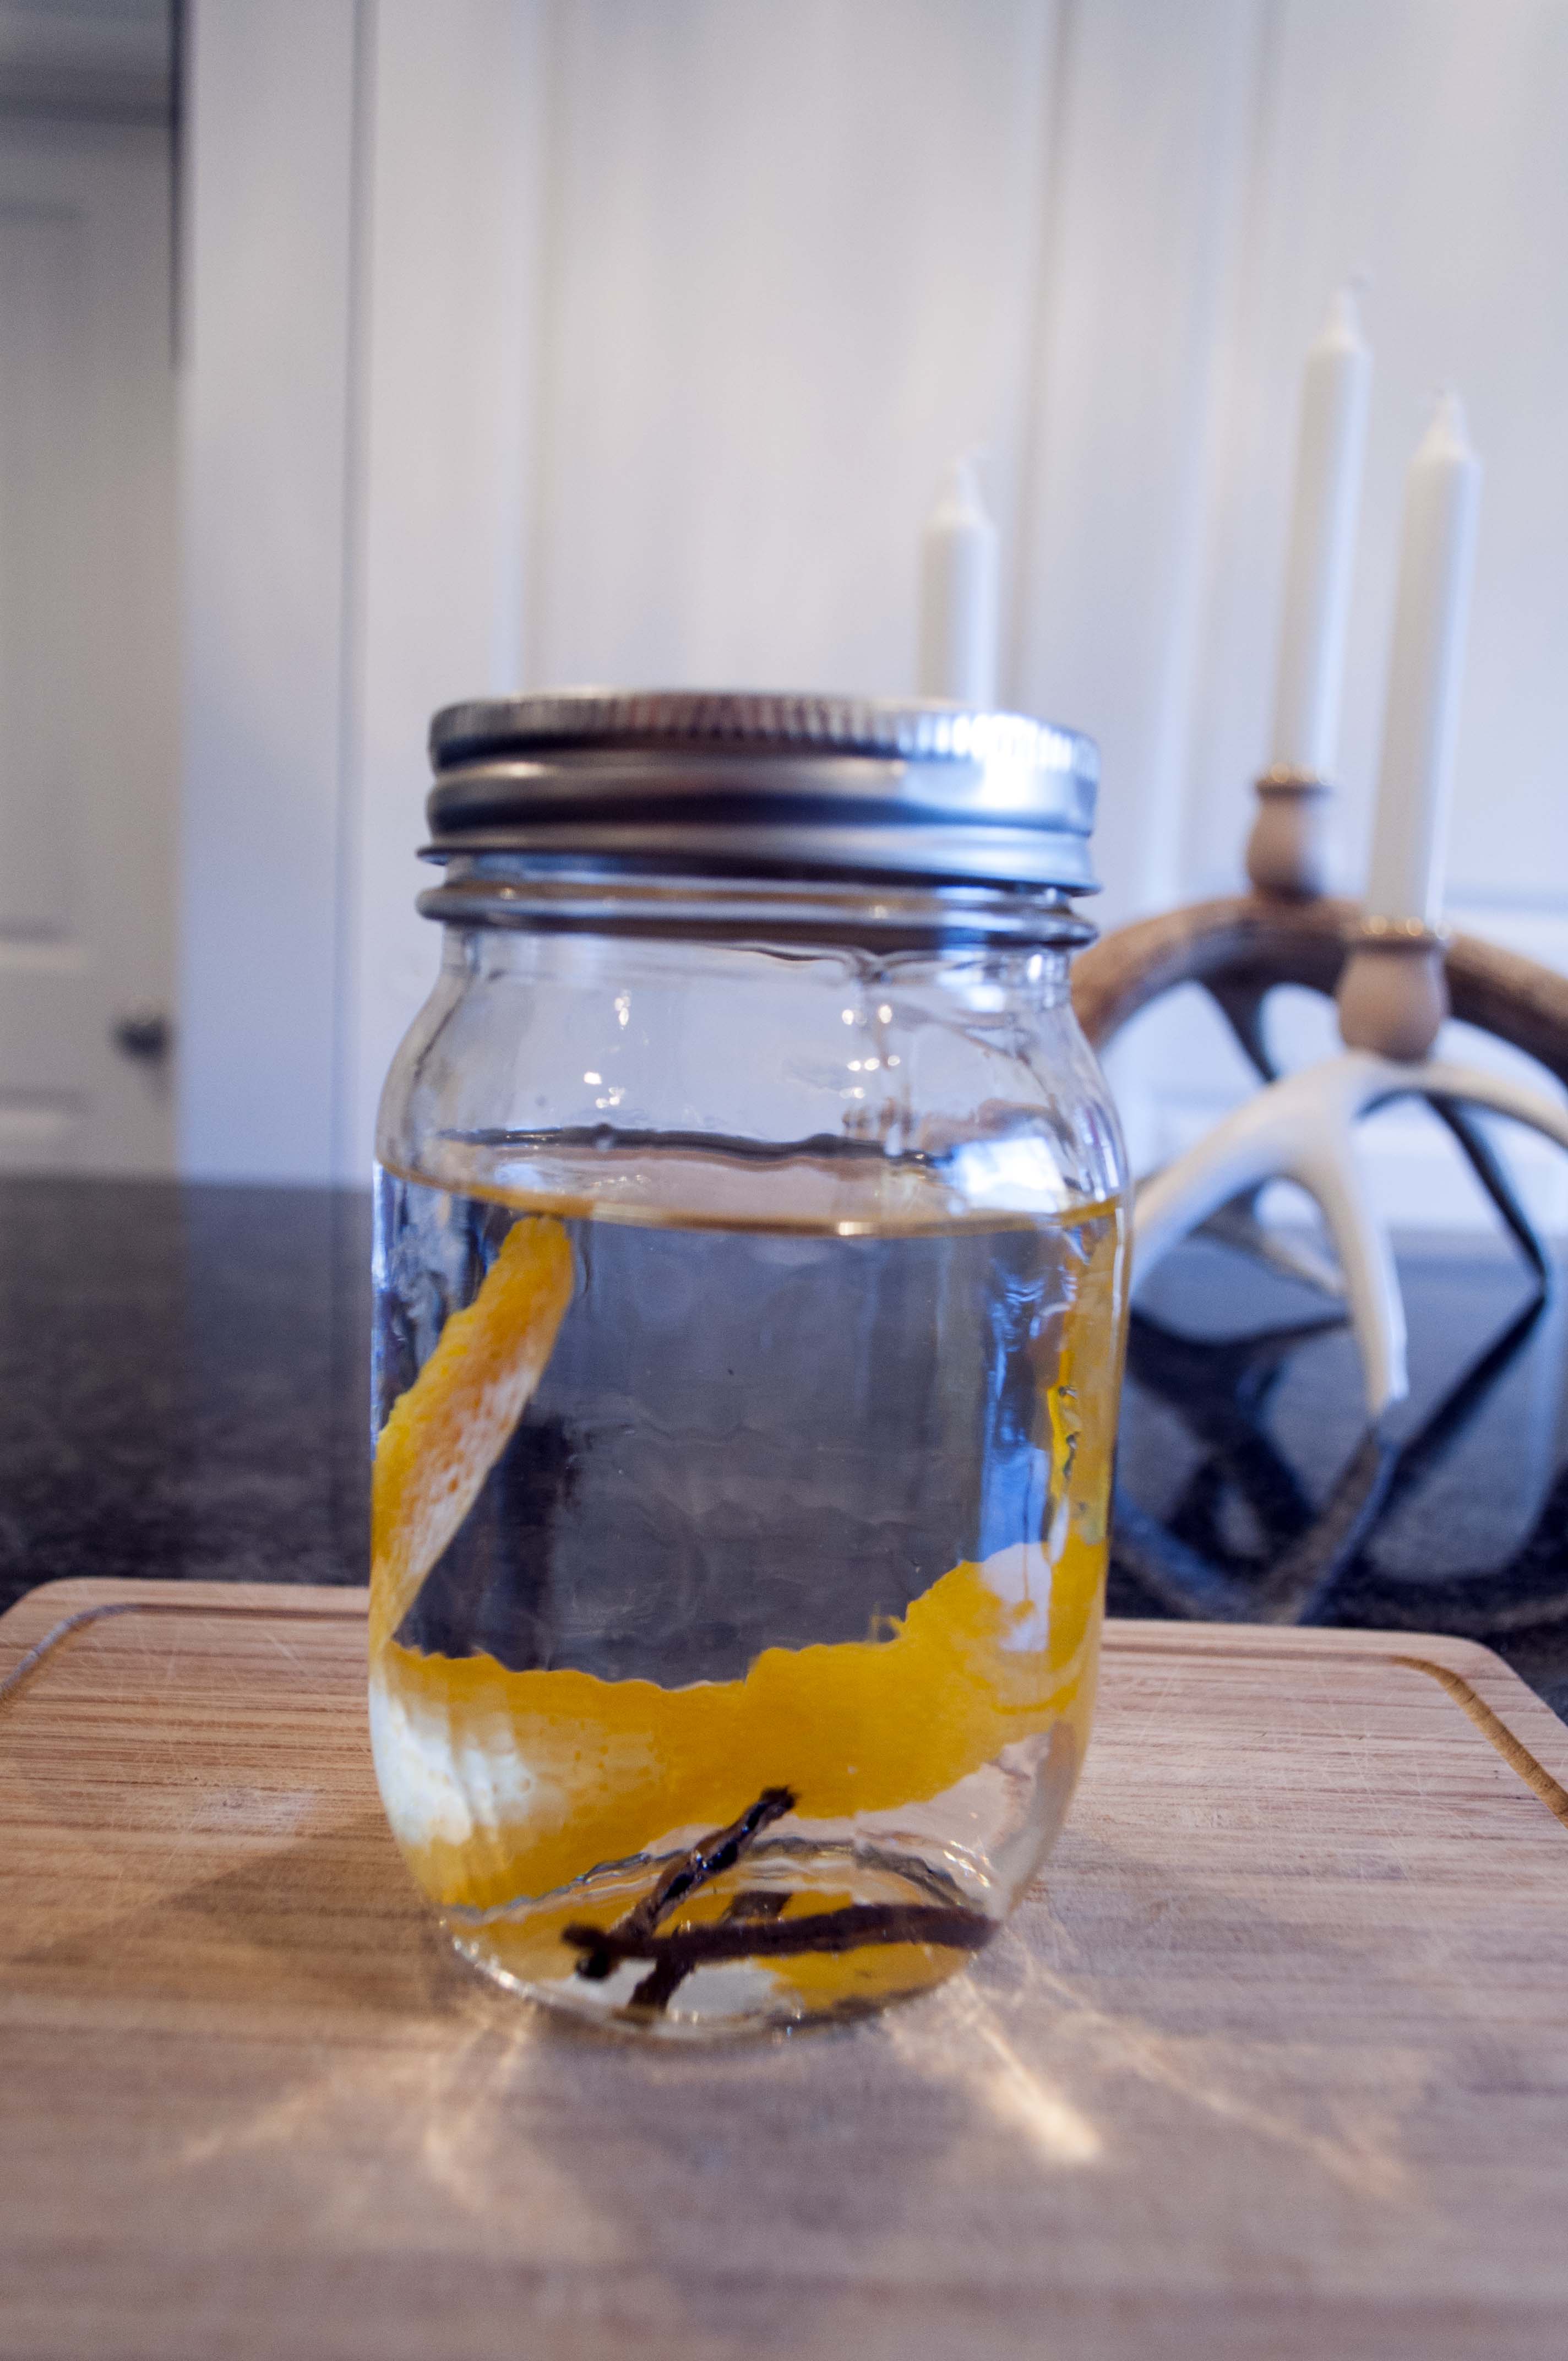
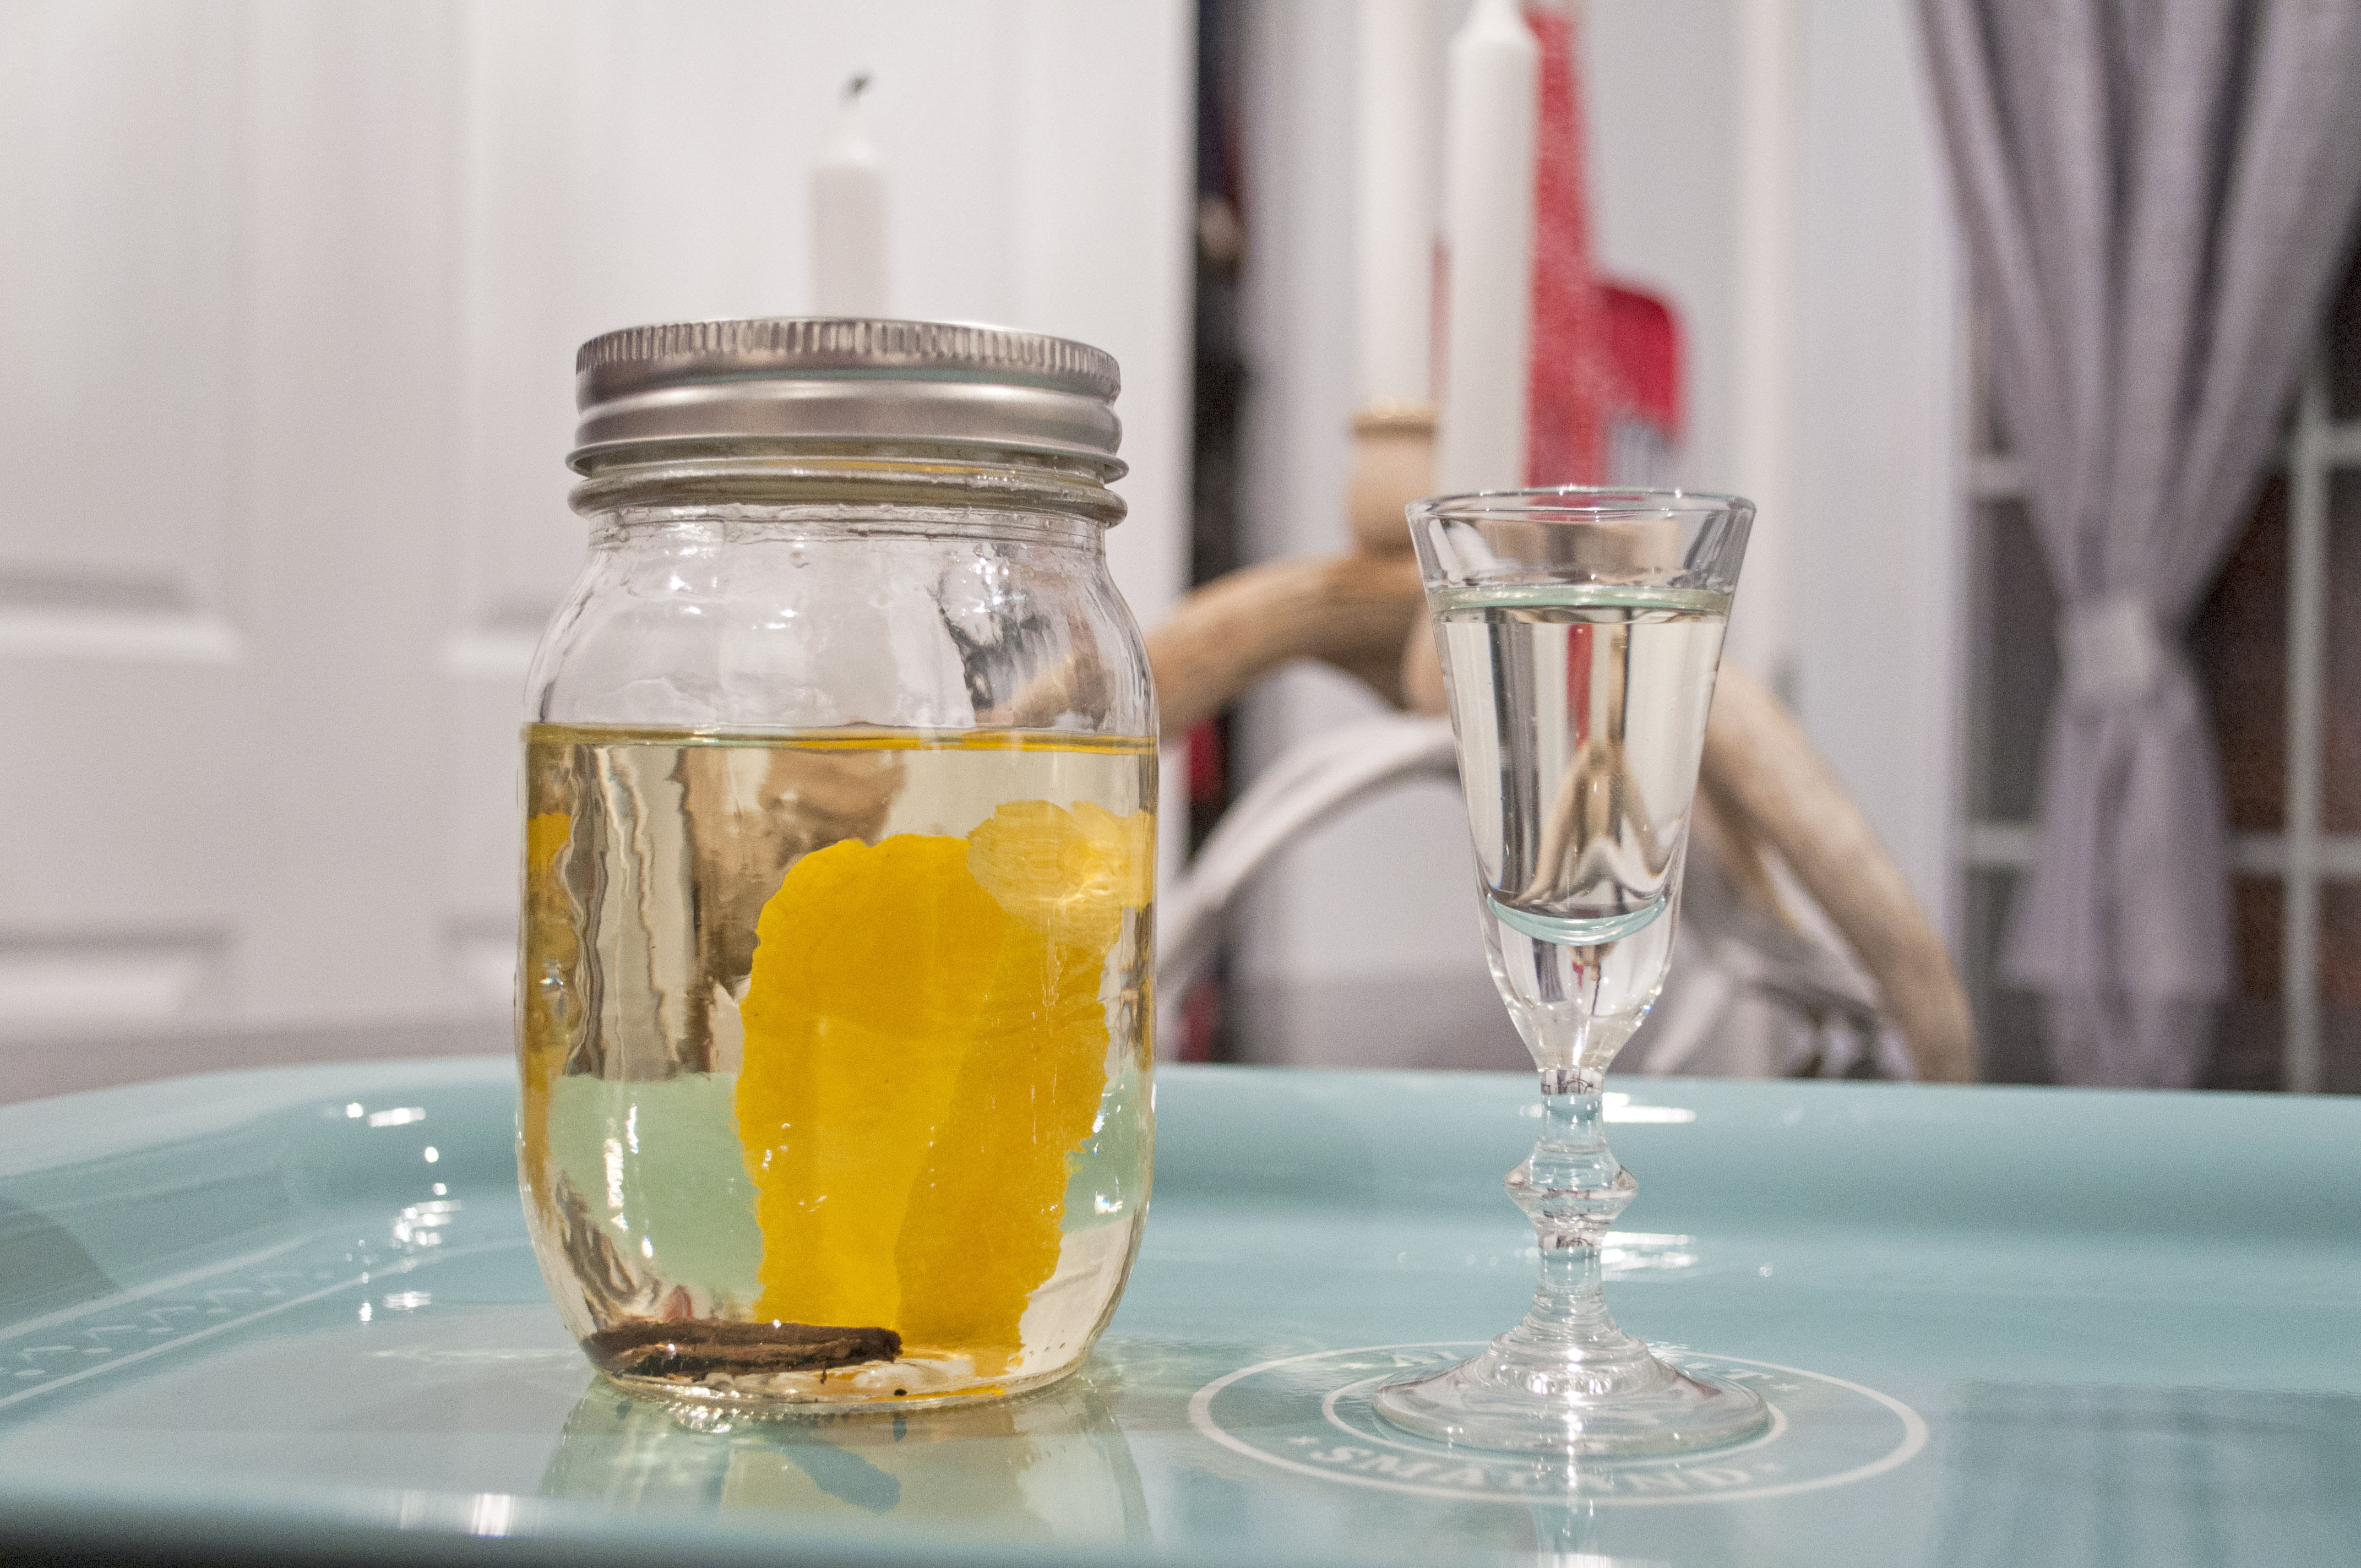
- 3 packets of vanilla sugar (if you can’t find this, letting a vanilla bean sit in white sugar for a few days will create vanilla sugar)
- 1 package of Crisco
- 2 tsp of baking powder
- 1 cup of chocolate chips (or more if you like!)
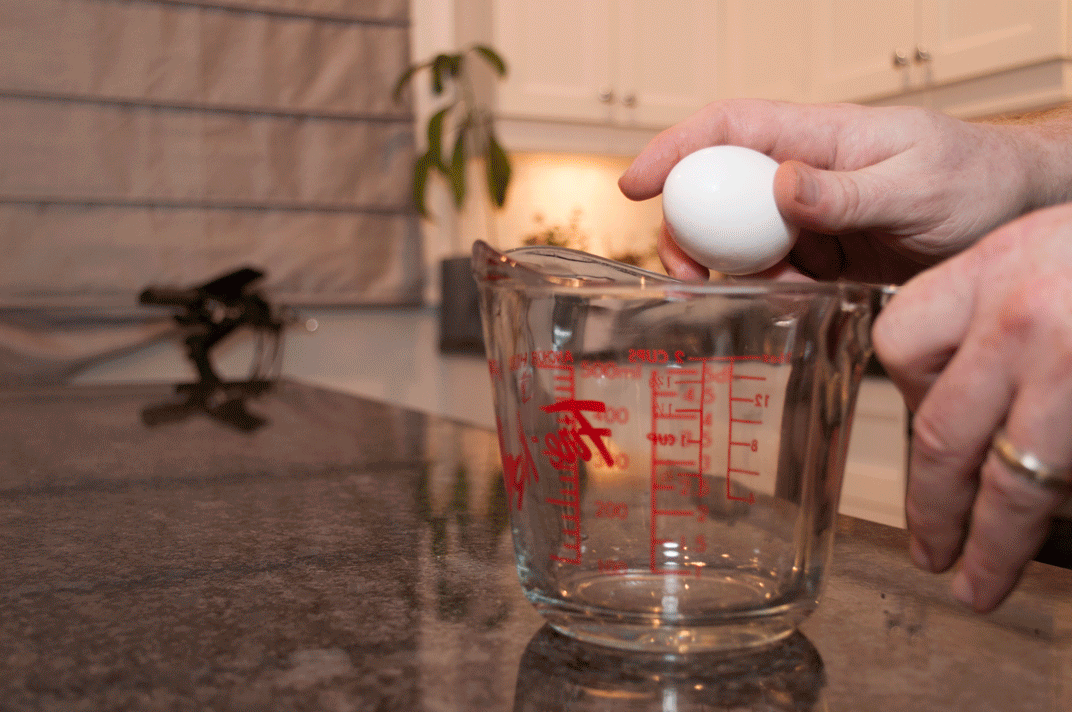
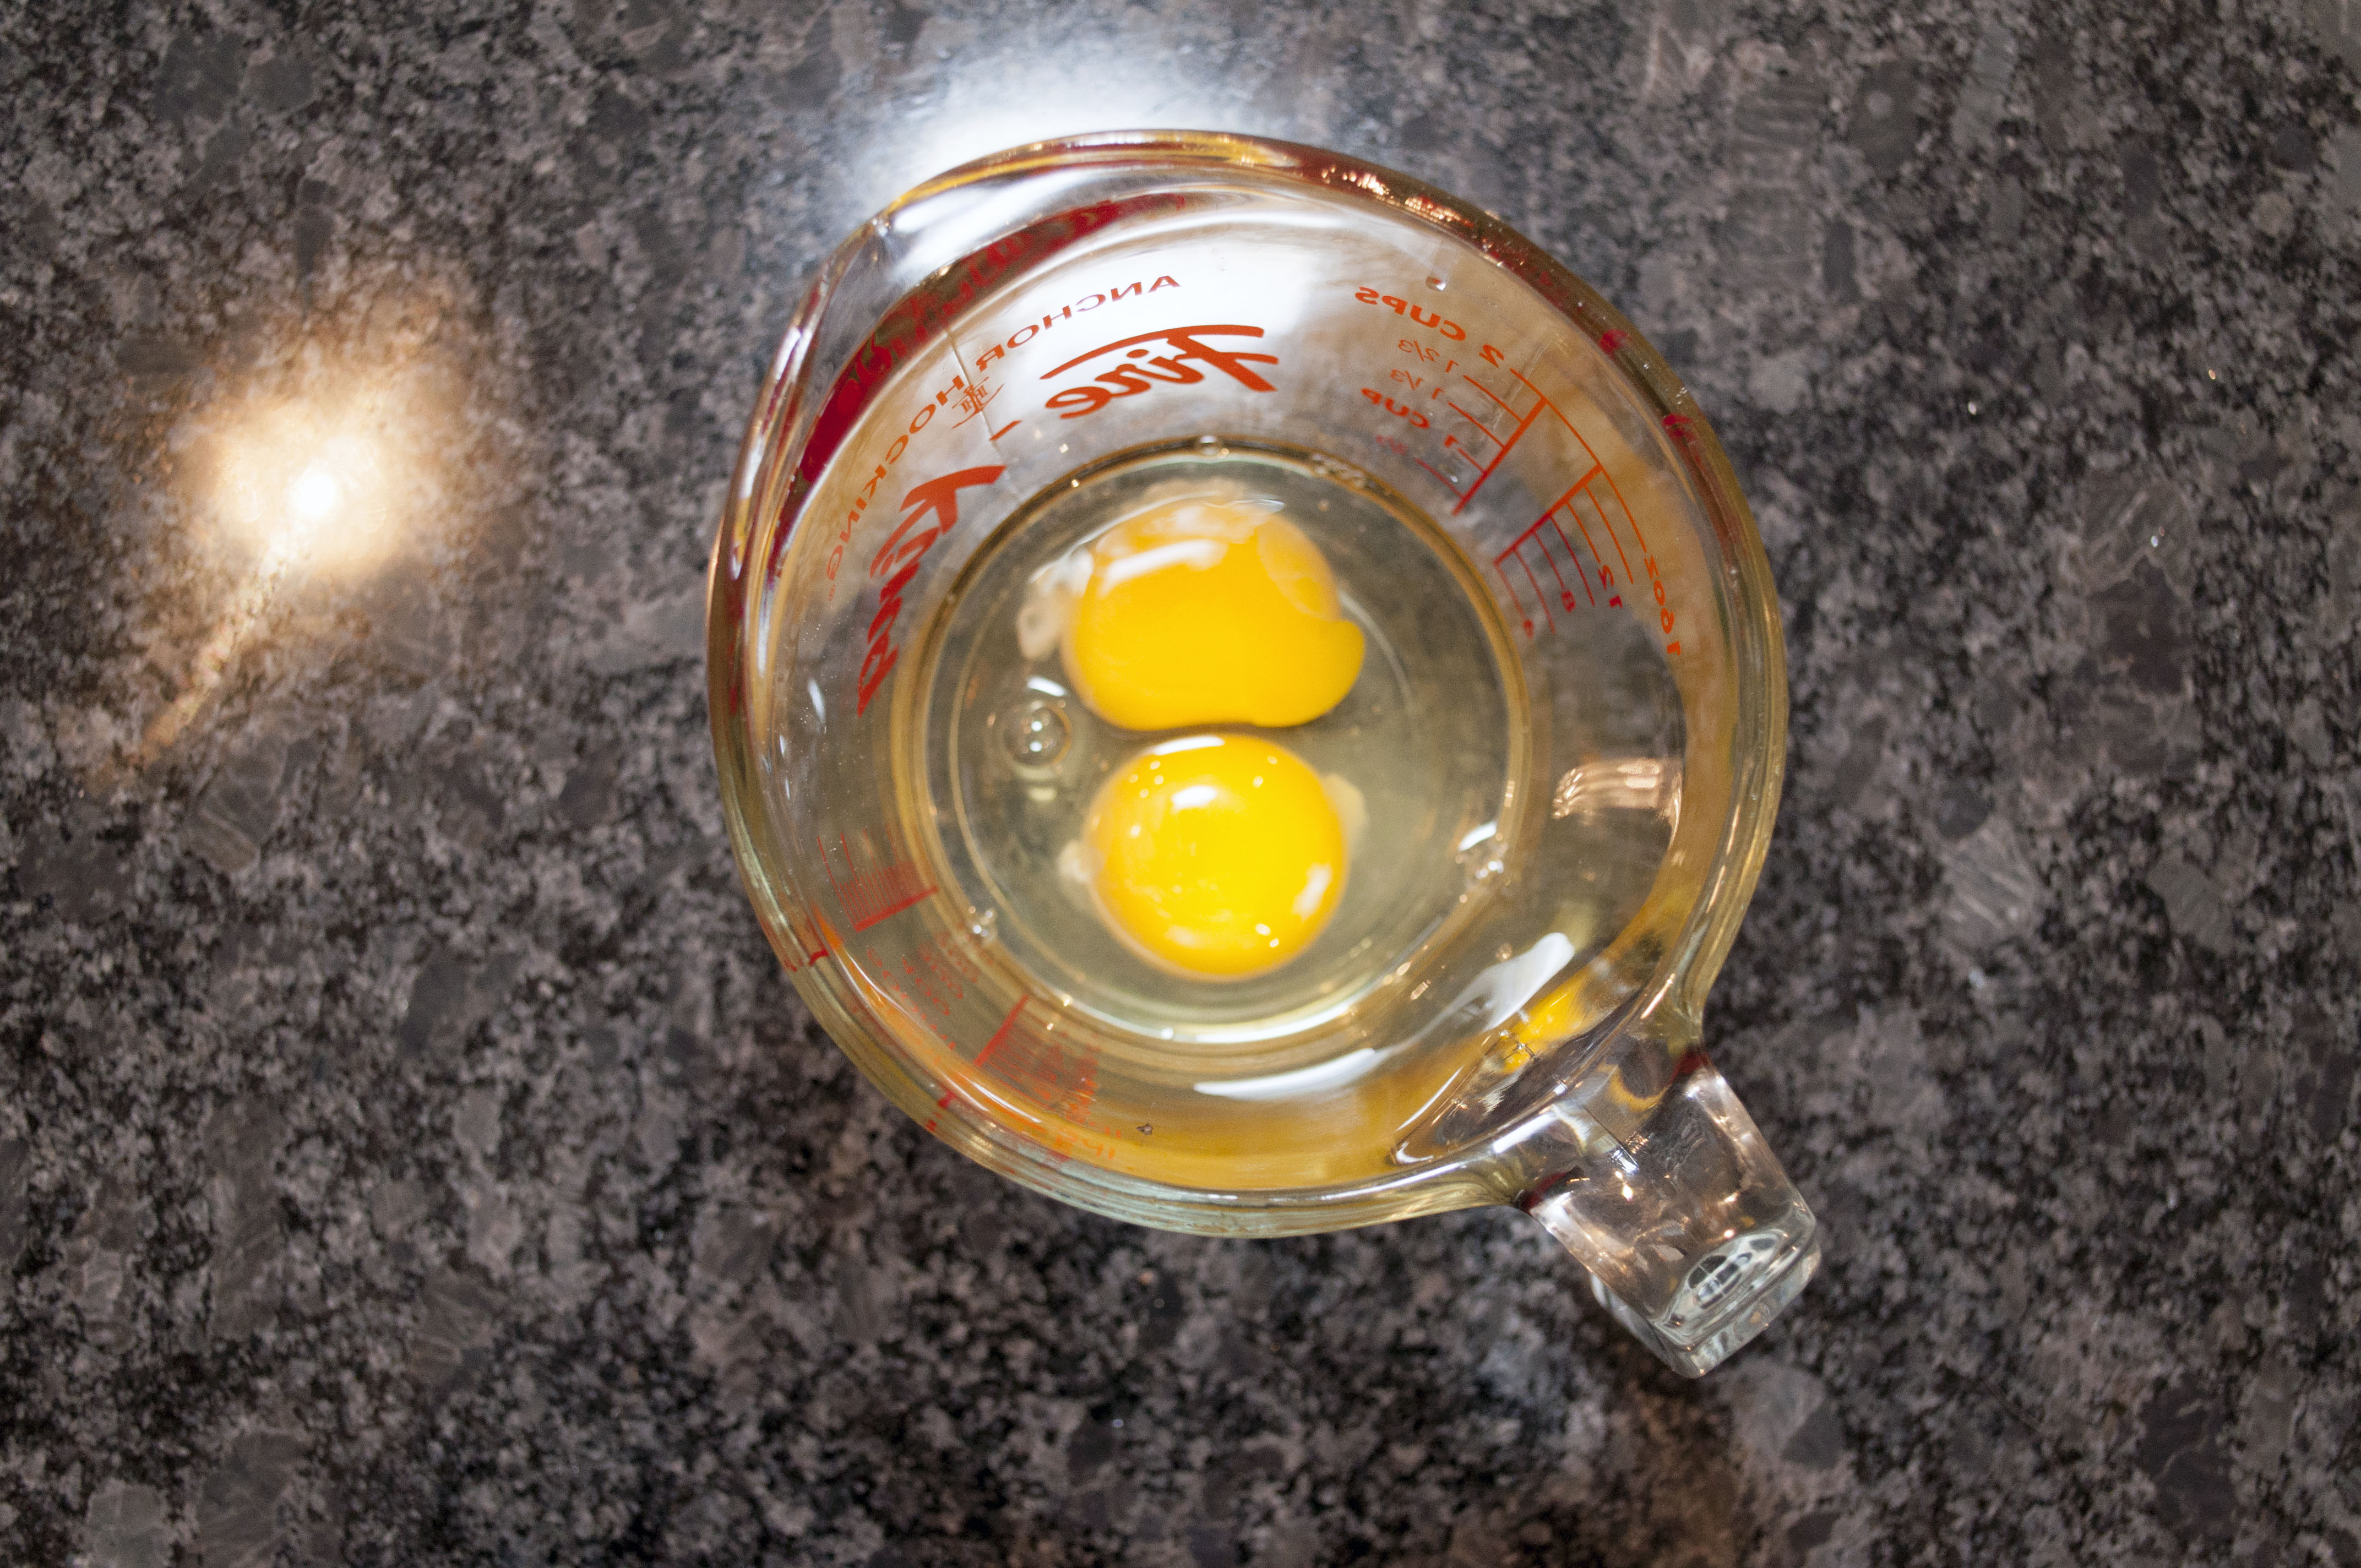
- 4 eggs
- candied cherries (for garnish)


Add flour to the mixing bowl
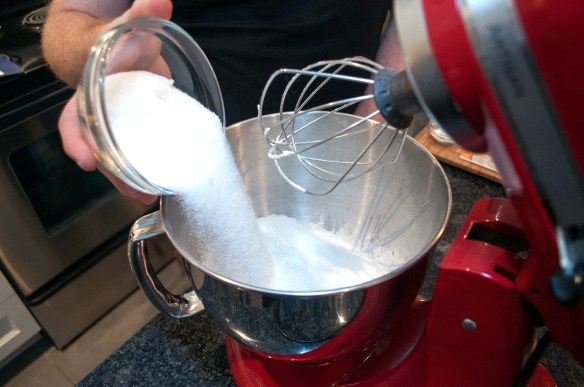
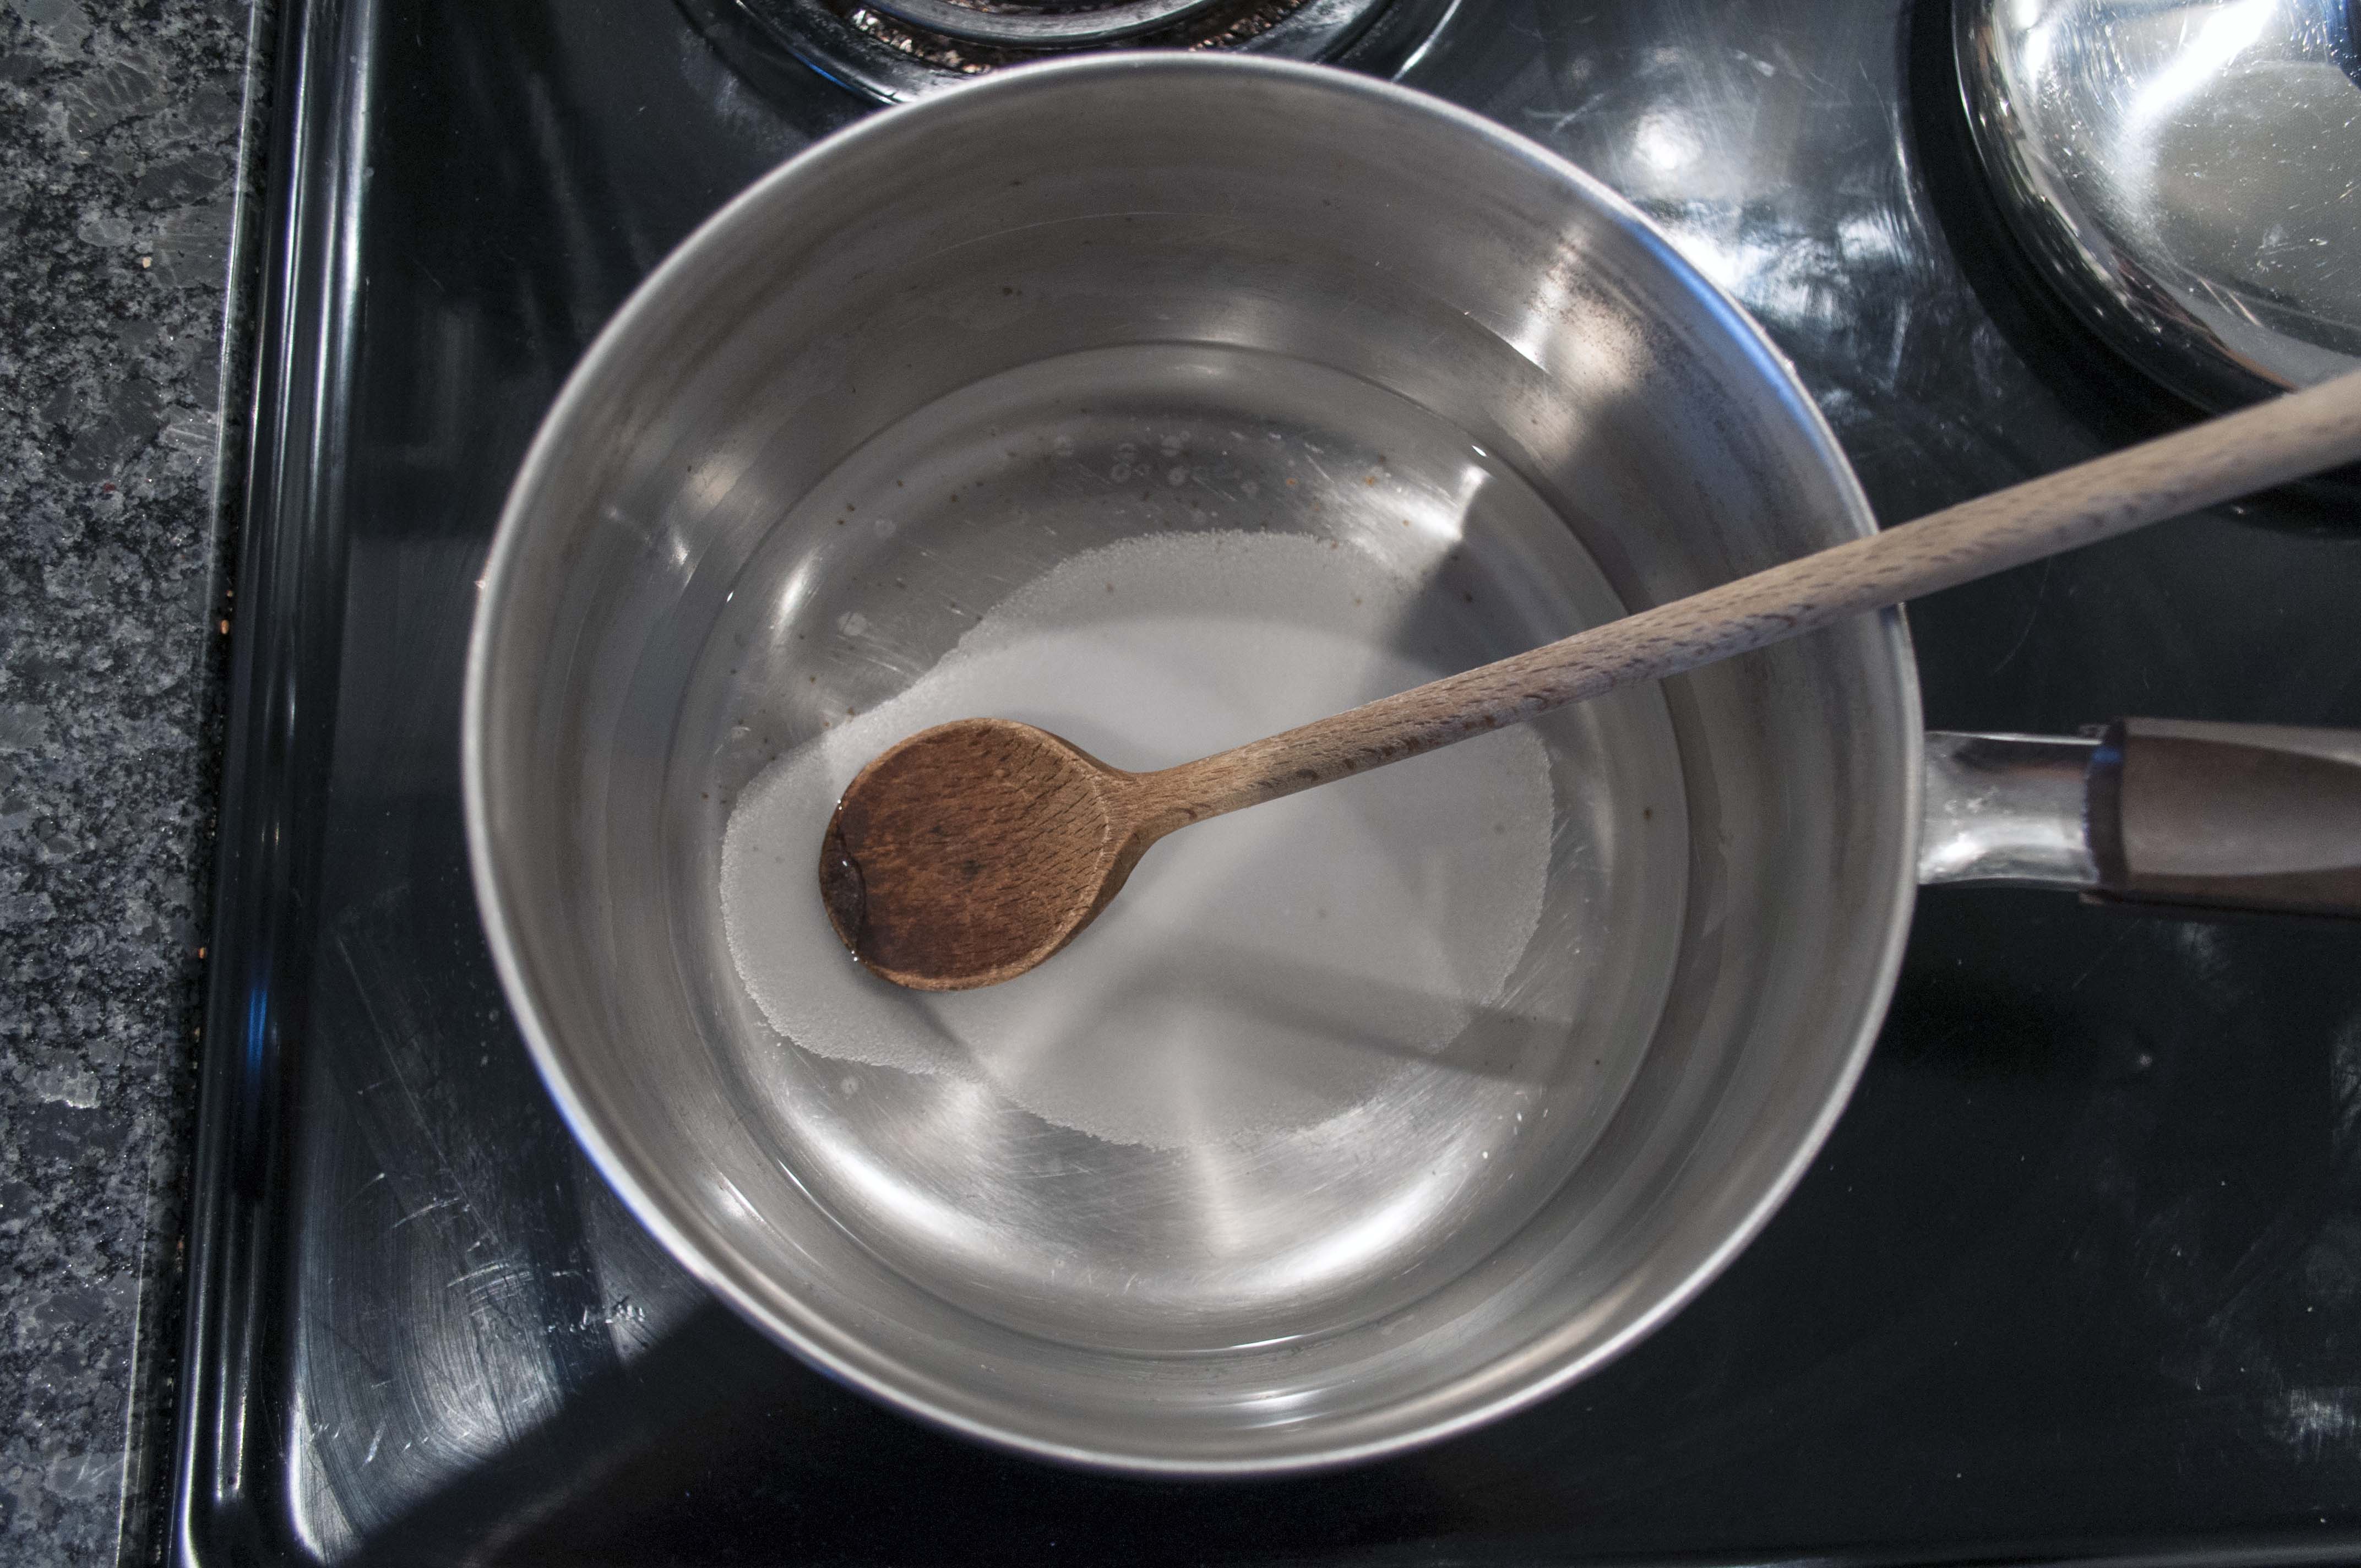
White sugar!
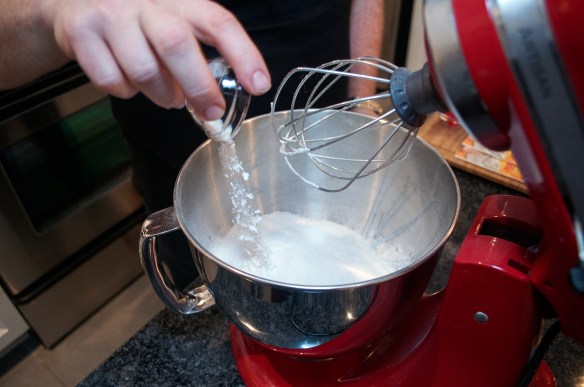
Baking powder.
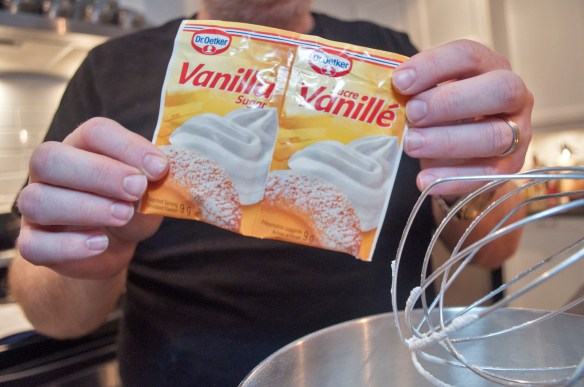
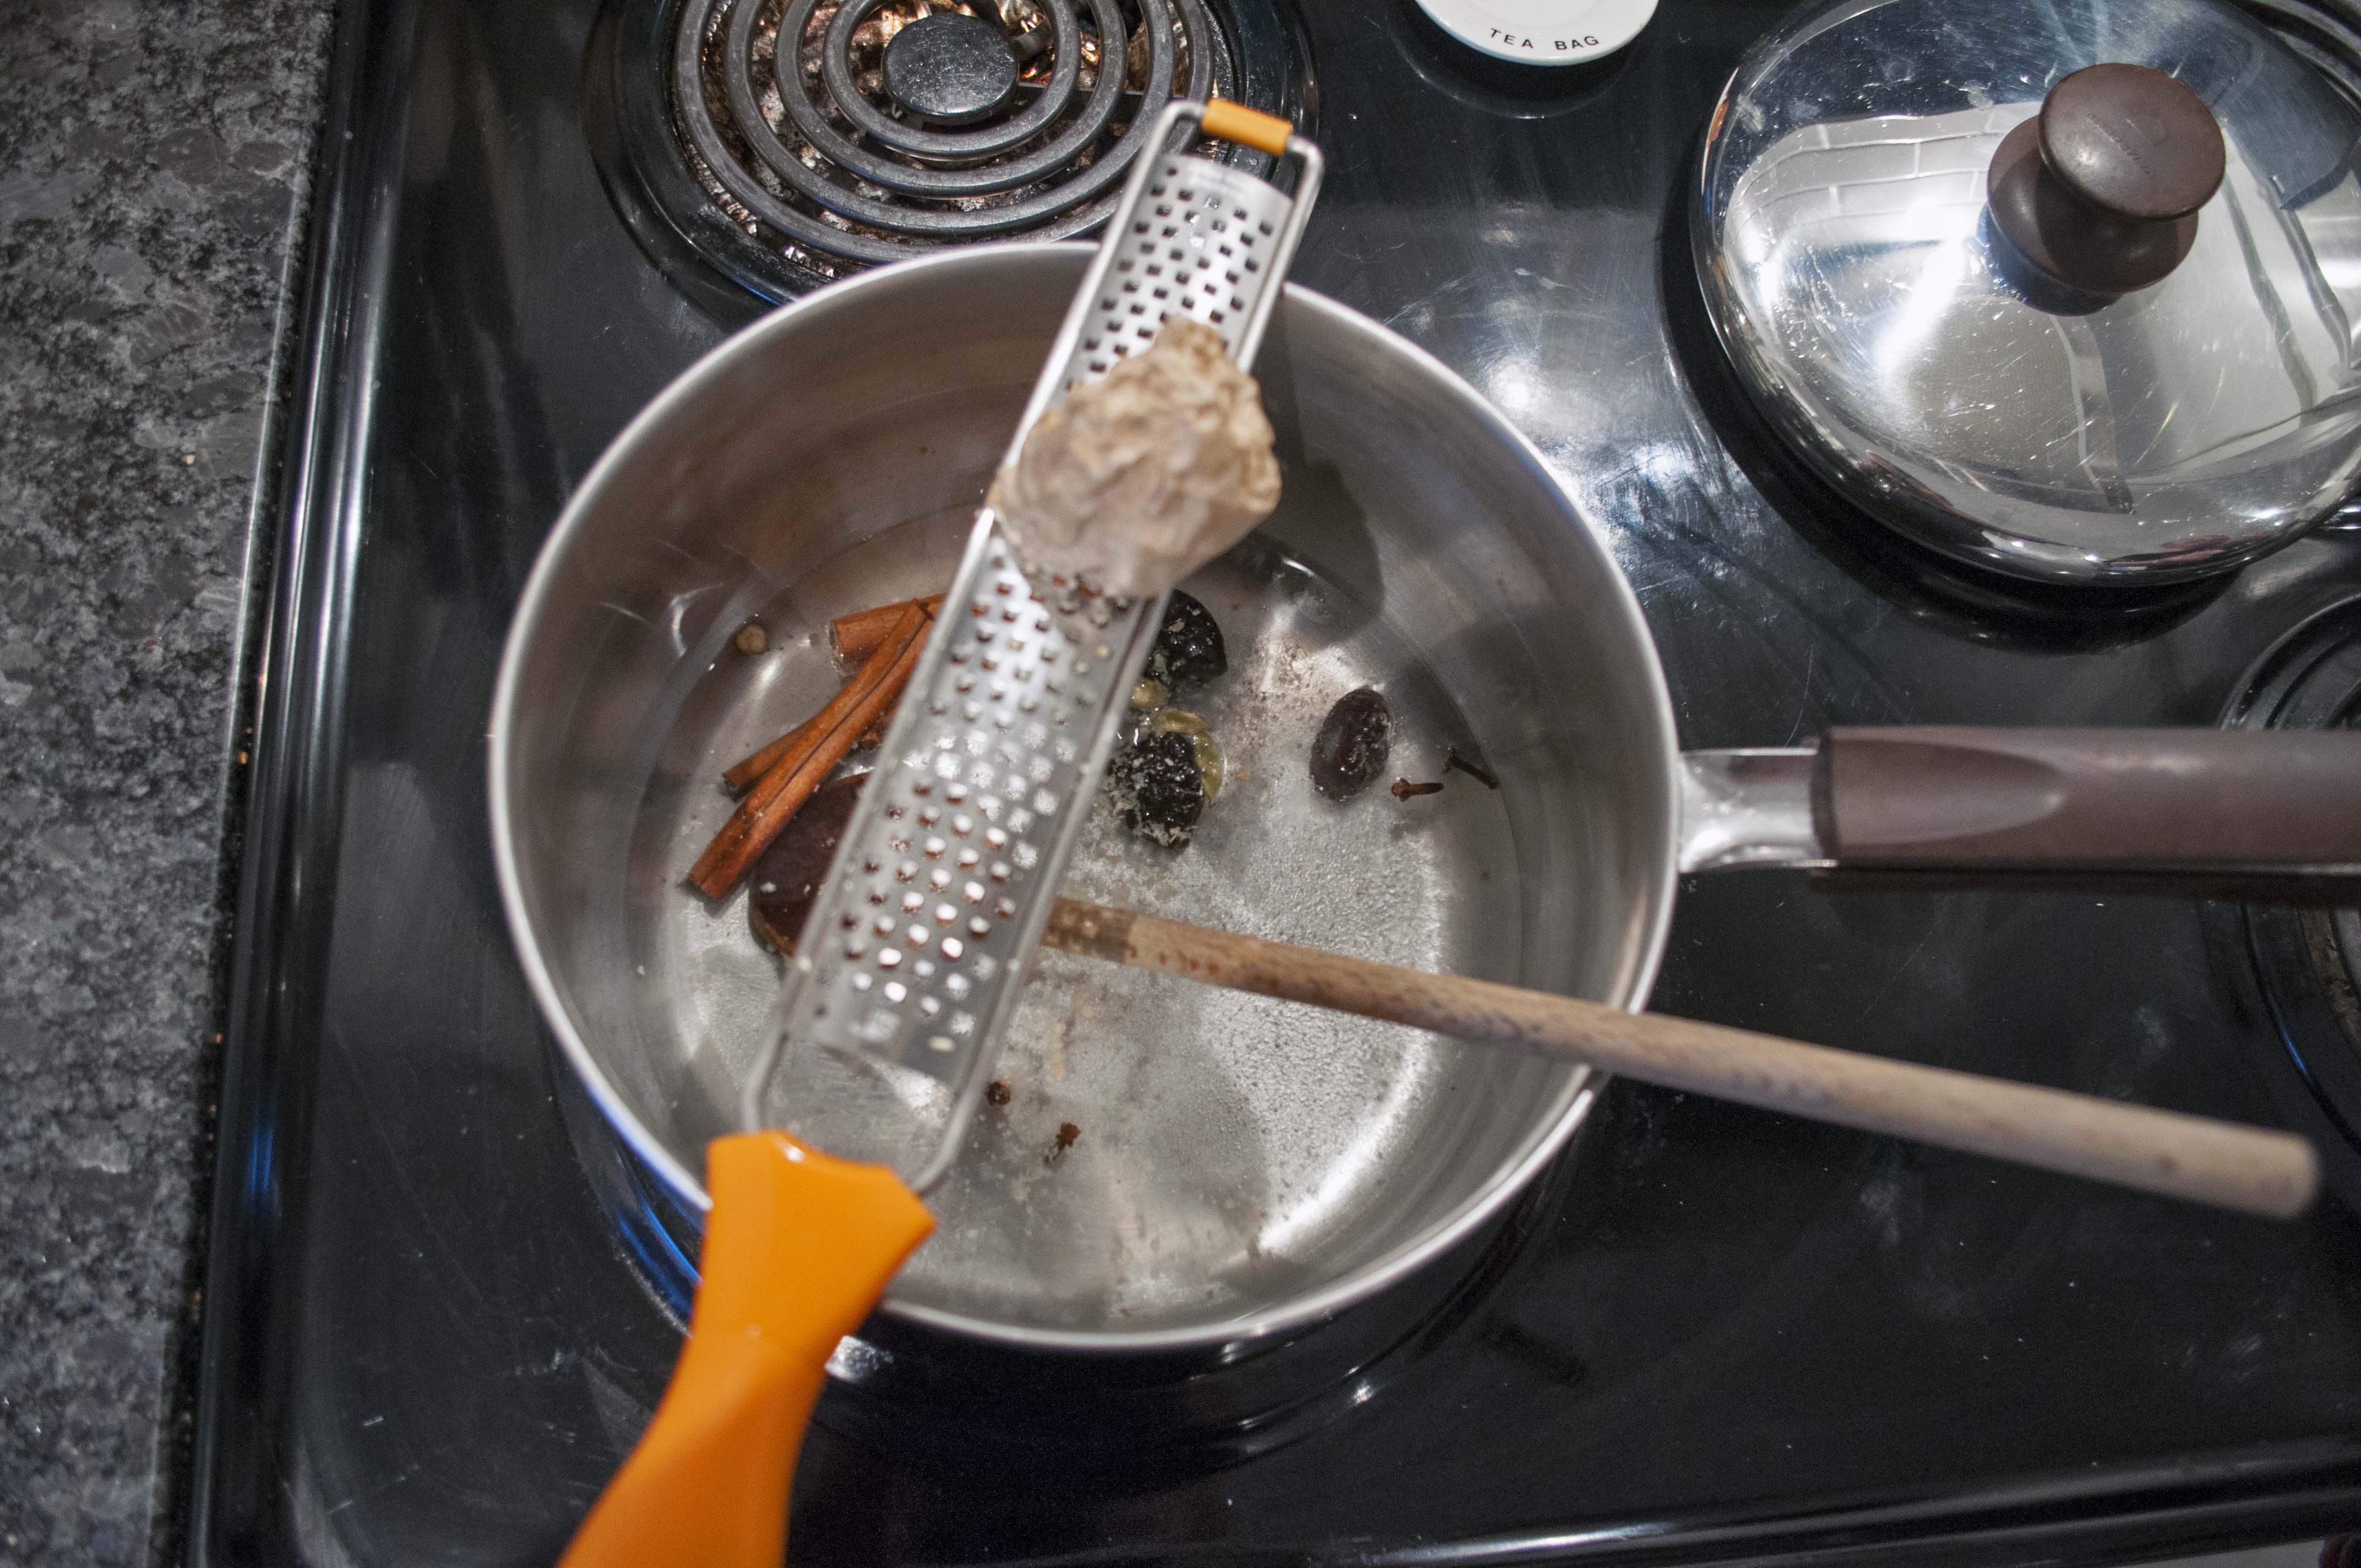
Here’s the vanilla sugar we mentioned.
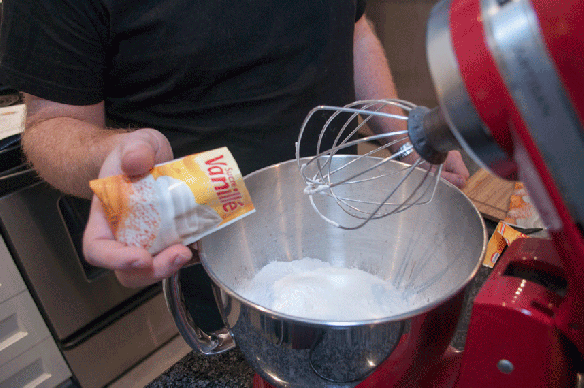
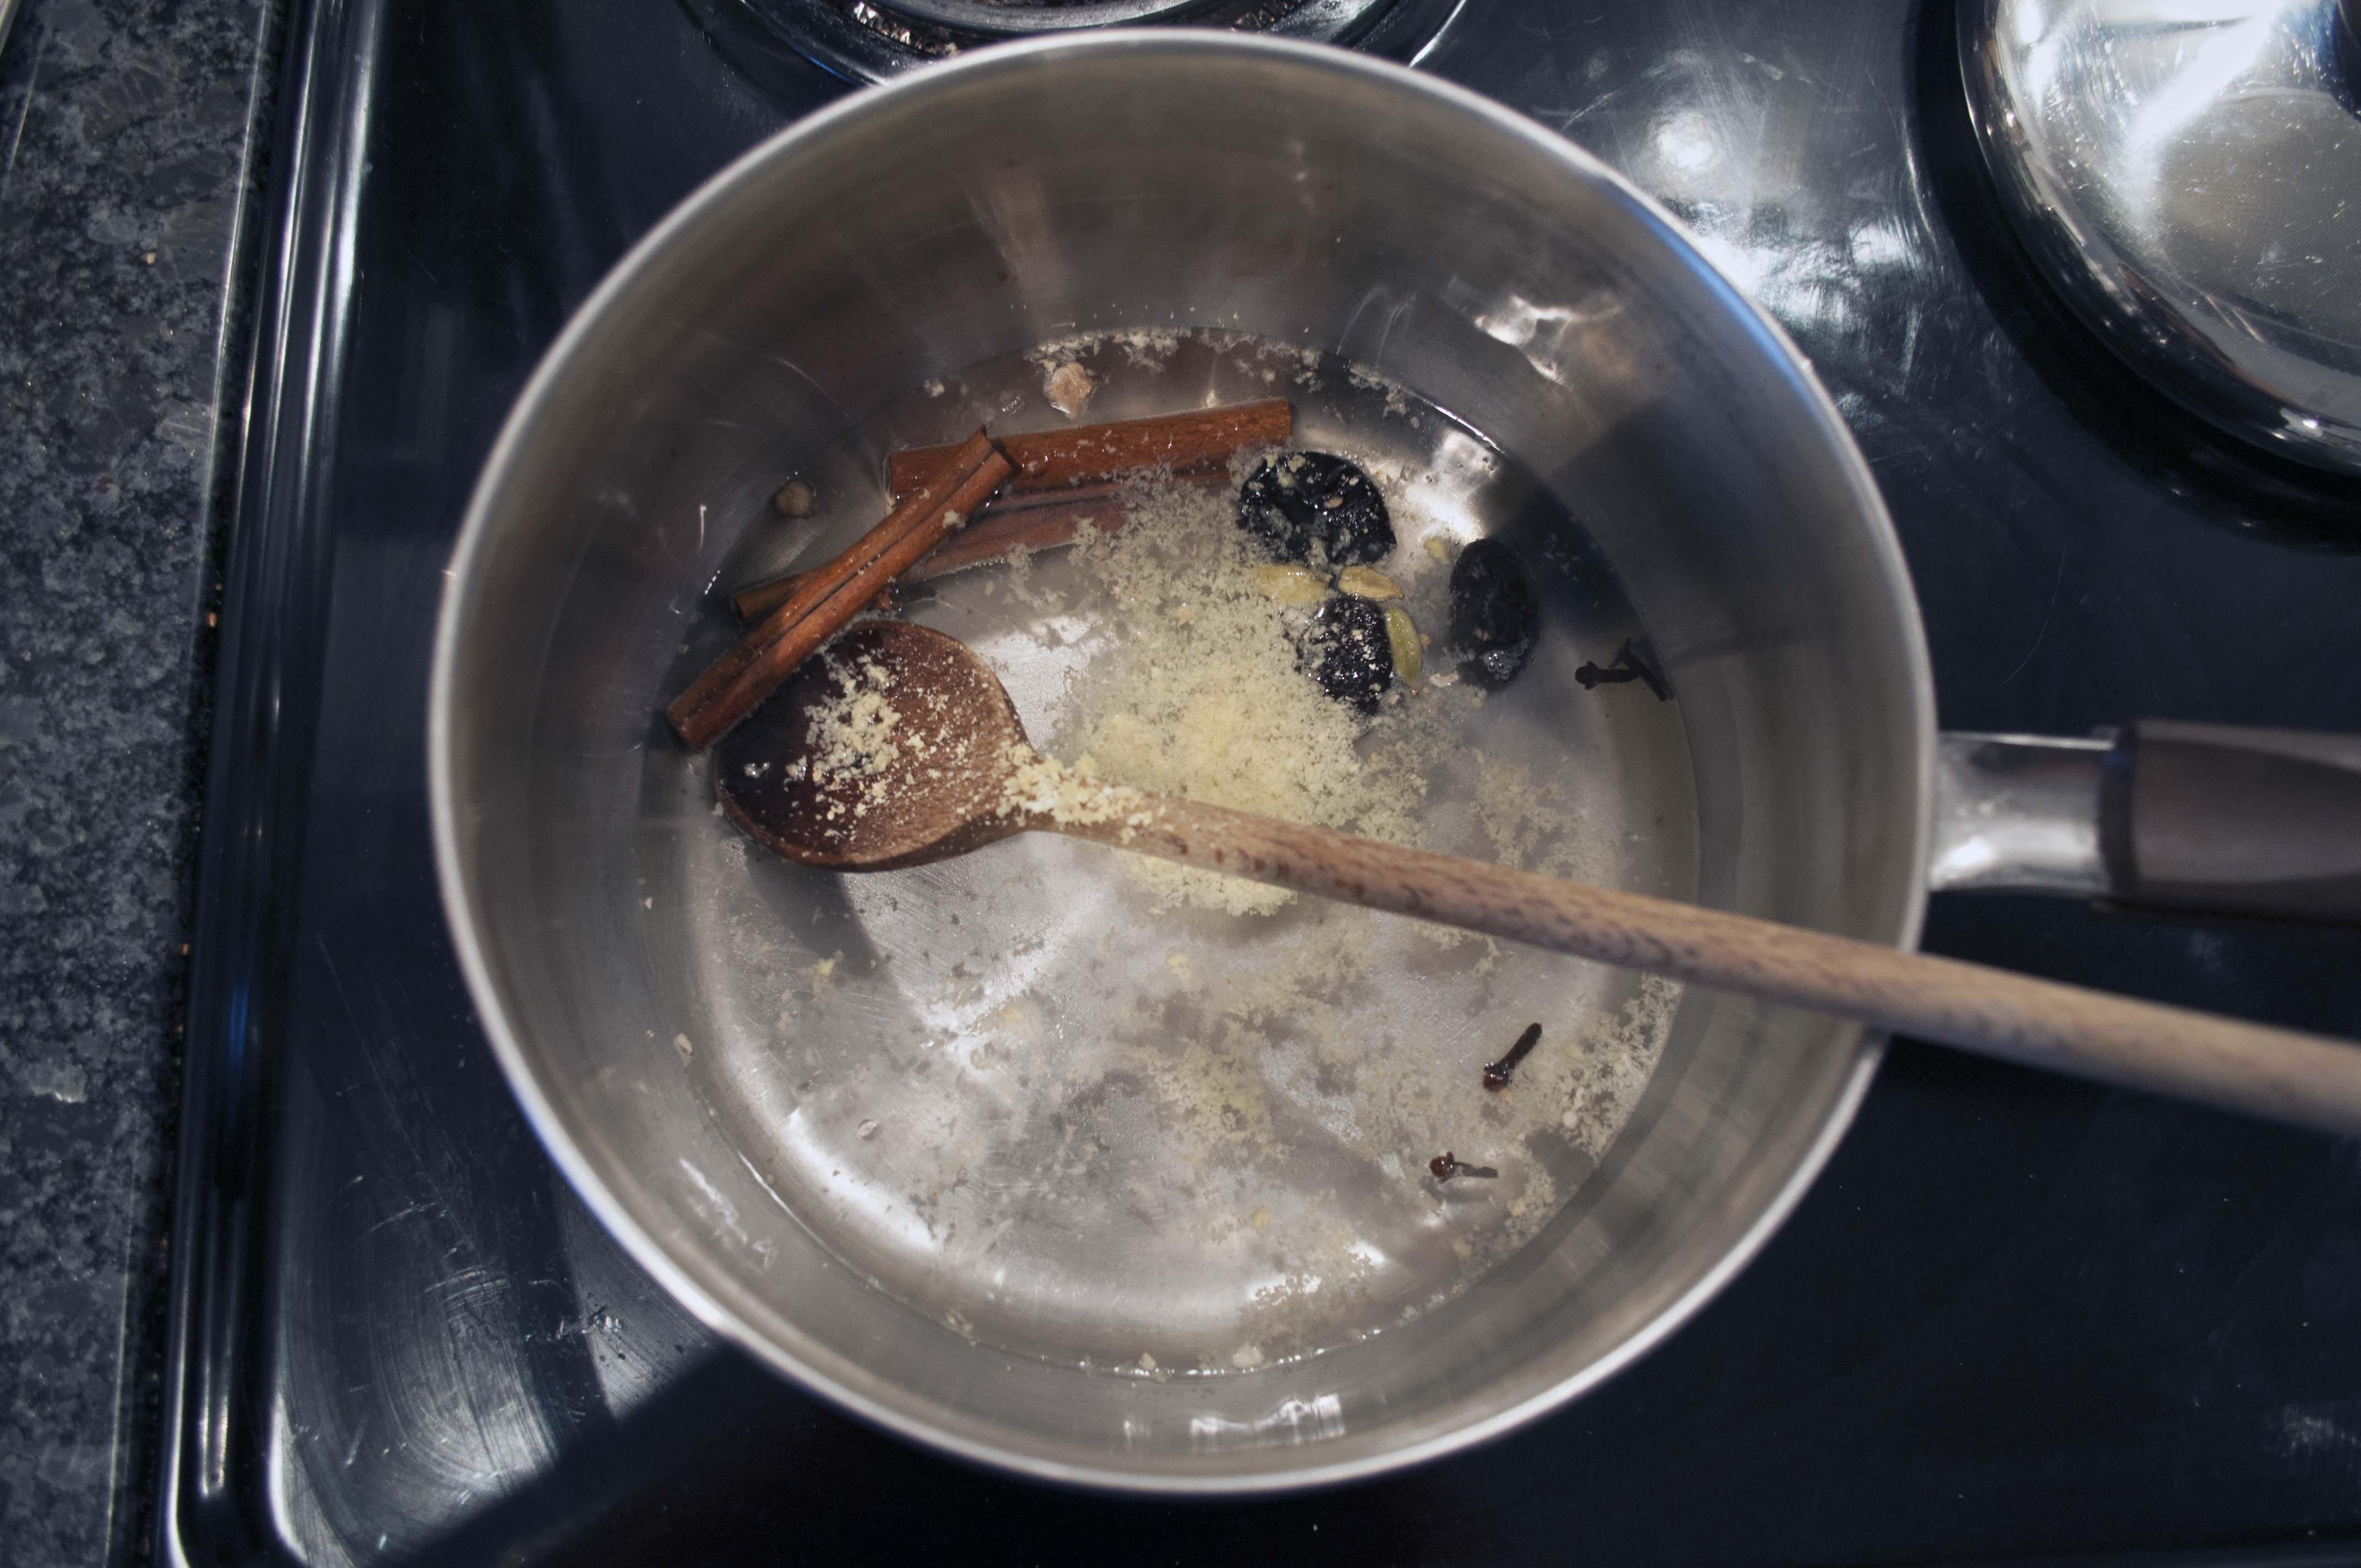
Add that to the mix.

Blend all those ingredients together.


While that’s mixing, add the chocolate chips!
Once that’s done, turn off the mixer.
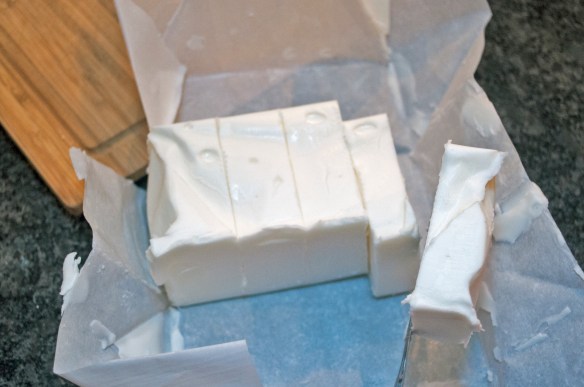
Slice the Crisco into small pieces.
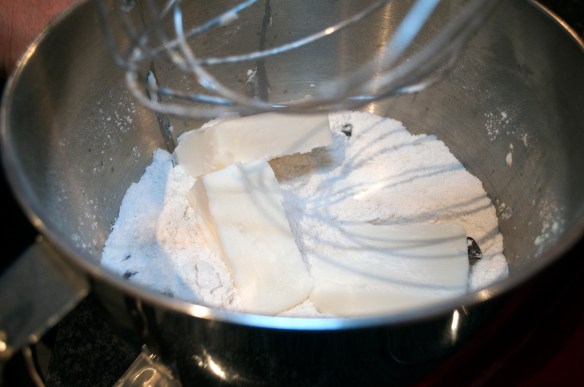
Now add that to the mixing bowl.
Mix until the Crisco is blended with the dry ingredients. It will still be lumpy, don’t worry!


Add the eggs!

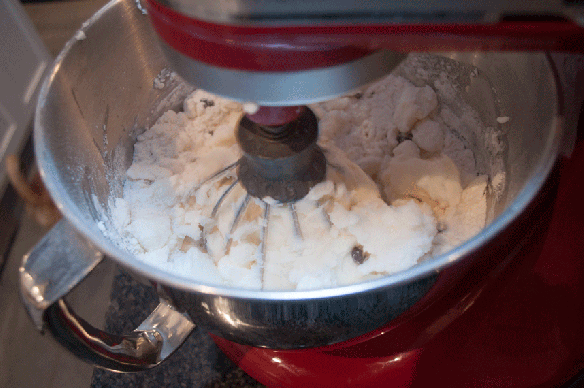
Again, we’re mixing until it’s blended.

The dough should still be a bit lumpy, but look like ice cream. (Doesn’t this look like chocolate chip ice cream?)
Let the dough chill for a few hours in the fridge OR you can roll it into large balls, wrap them in wax paper, and put them in the freezer to use at a later date.
We’re gonna make them now!


Take a small amount of dough. Roll it in your hands and place it on a cookie sheet. Flatten the ball into a round cookie shape
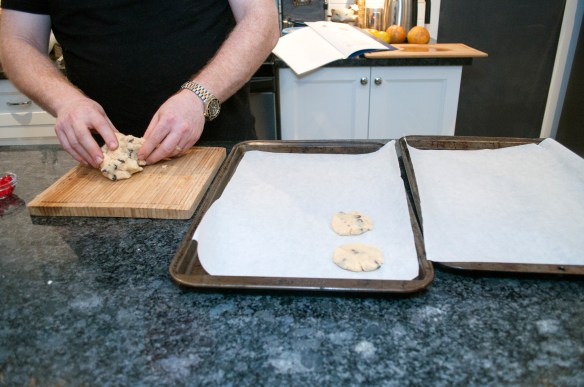
Repeat this step! If you have children or grandchildren, you have a workforce to help you out at this point, go for it!

Go get those very sticky candied cherries and cut them into pieces.


Place the cherries in the centre of each cookie. You can obviously play around here. If you have a child work force, this may be a good time to let them get creative!

Into the oven at 350F for approximately 12 minutes. Watch for the cookies to start to get golden around the edges and take them out (these cookies do not get brown … unless you burn them).
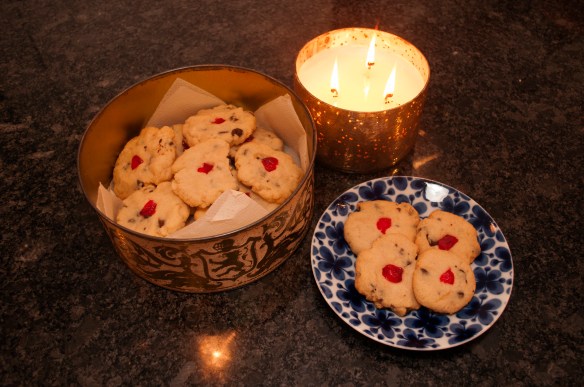
And there you have “Grandma” Cookies! Serve them with a nice cup of milky tea or a cold glass of milk. Perfect to leave out for Santa Christmas Eve!
Bon Apetit!